
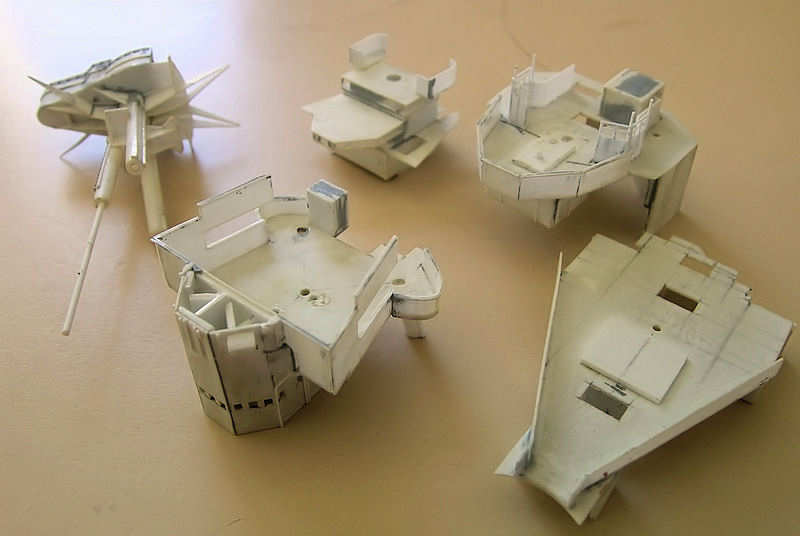
The bridge consists of five separate parts. From the lower deck up, they are: admiral’s signal platform, conning tower platform, admiral’s bridge, fore bridge and spotting top. These decks are placed on the conning tower deck of the previous post in this series. All these decks can be taken apart at any time, so that I can paint the decks and add the stairs and railing before gluing all decks together. It’s really difficult to replace a section, as they were cut simultaneously with all stair openings at the same position (filing all decks at once), so that was never a reason to keep the parts segmented at the time of building. The aft legs of the tripod are now also segmented, and drilling the correct locations was tricky. Once the bridge is completed, a rod can be placed through all parts of the tripod legs for a bit more stability of the parts. This picture is already quite old (2005 at the latest!). As mentioned earlier, this is already the second bridge. The first bridge was made using 0.25mm plate for the decks. This is nice and thin, but it warped a lot. Using 0.4mm seems like a small change but helped a lot.
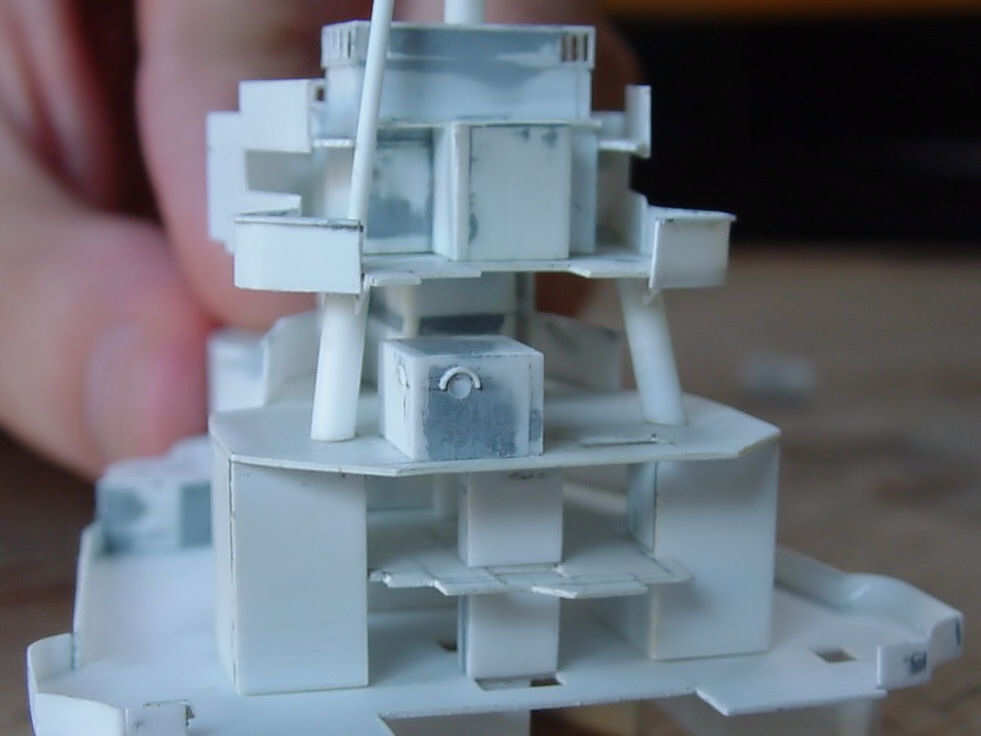
This is a nice shot of the aft of the bridge in progress. All the openings of all stairs cases are carefully placed. This is one of the details that take a lot of effort and—if all goes well, that is—won’t be noticeable when the model is done.
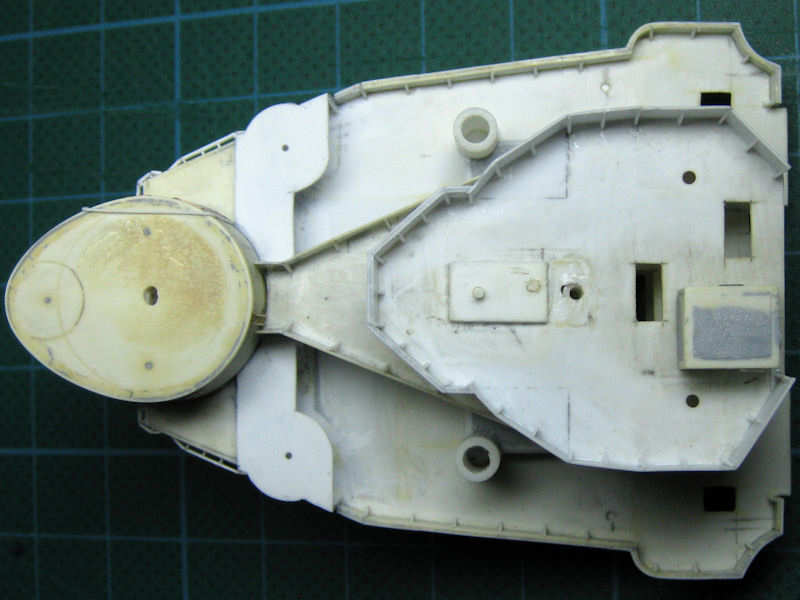
This is a picture of this weekend, showing the admiral’s deck from above. If you compare this deck with the available drawings, you’ll notice the layout is much different and there is a steel bulkhead around the deck. You’ll notice the scars at the forward left and right of the deck, where the old deck was rudely cut out and replaced with new parts (compare with the first picture). Chances are you have never seen this layout or bulkhead on any other model as this is a recent discovery based on a new picture.
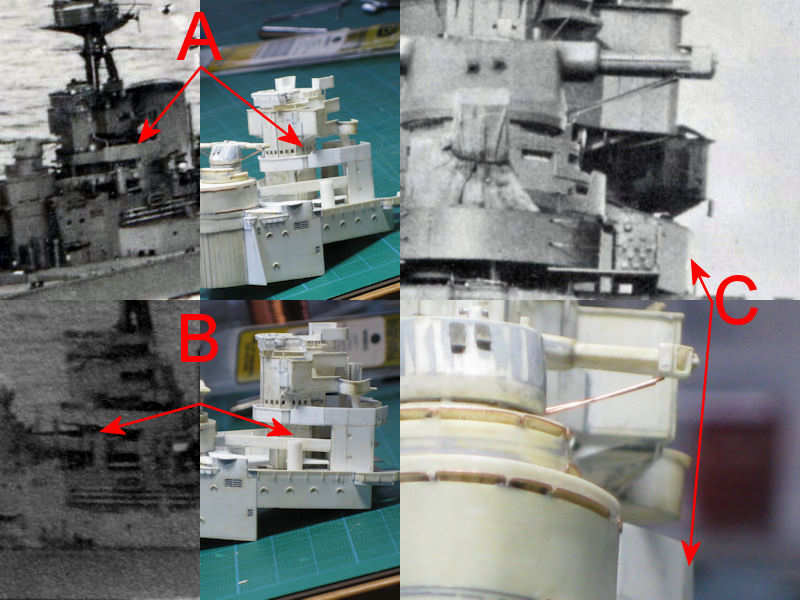
On this composite picture it is clearly visible that the new layout resembles the pictures quite well (from the HMS Hood site). At the top left image, the high splinter shield is seen wrapped around the bridge level. It steps down a bit with an inward step (A). The bottom image shows that this high splinter shield ends just above the 5.5″ control director base (B). The right image shows that the bulkhead is steel, not just covered railings, and that it can be seen that the shield makes a few angles; a small piece of the aft shield is seen at (C). This picture is not new, but I never noticed it.