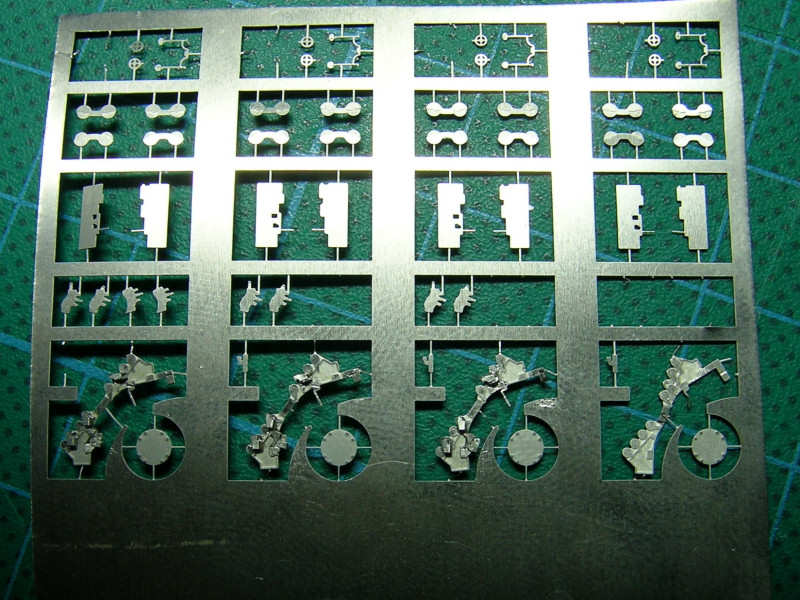
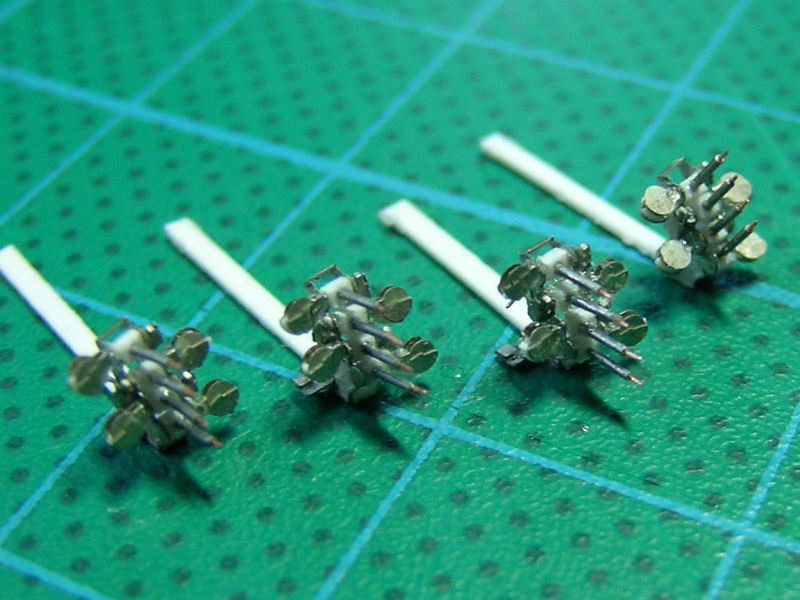
HMS Hood carries four quad 0.5 inch machine guns. Rather ineffective and antiquated weapons I’d guess. I designed the etched parts a year or two back, and I forgot how I got carried away drawing these parts on a large computer screen using John Lambert’s excellent drawing. When I saw the final etching, I wondered if I hadn’t perhaps gone little too far. A test assembly didn’t really work out, some etched parts were just too small to handle. The final assembly worked out far better, although I spent as much time folding and gluing the parts as I did scraping away excess glue. Not an easy task, as this part is very weak and doesn’t tolerate much, if anything.
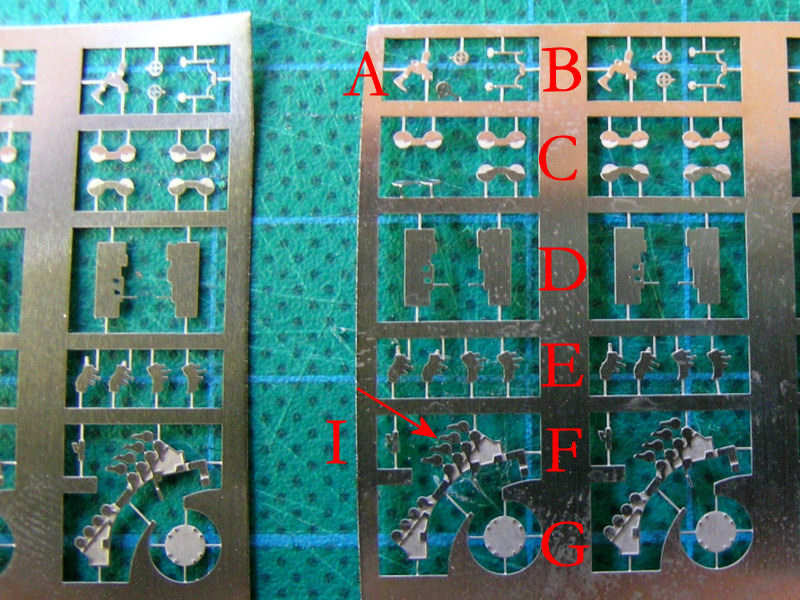
This is the original set of etched parts. Visible are the elevation gear (A), the elevation and traversing hand wheels and open sights (B), the ammunition drums (C), the bullet proof shields (D), some construction to collect or eject spent casings (E), the main part (F), the base plate (G), and some part which I forgot goes where (I). The indicated detail of F was supposed to be folded onto F, but most parts suffered some wear and broke off during folding. I added them by hand, but it was really difficult to spot the difference. In the end, I cut them all off. Unfortunately, part E was counting on the added 0.2mm thickness, as it partially overlaps parts A, so parts A were trimmed.
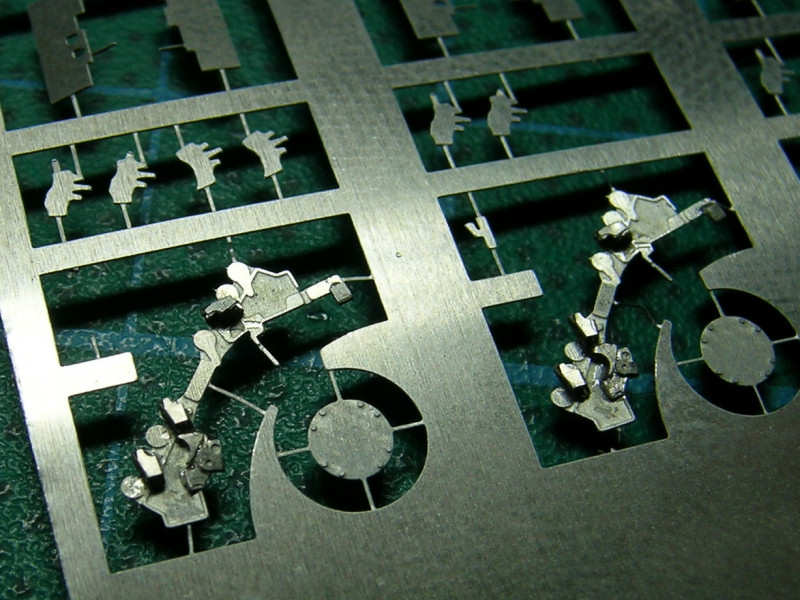
Parts E are very small, and it was impossible to keep them apart during the trial fittings. But, dry fitting went quite well, so I decided to keep the parts. Here you can see them glued onto the main body. With such small parts, you really need something to hold on to, so keeping the parts in the fret isn’t such a bad idea.
A close up with the elevation gear and spent casings ejectors (?) added. Note the detail in the main body, which will later be swamped by detail and superglue. The smallest lines are only 0.1mm thick, the thinnest allowed by etching 0.1mm thick plates.
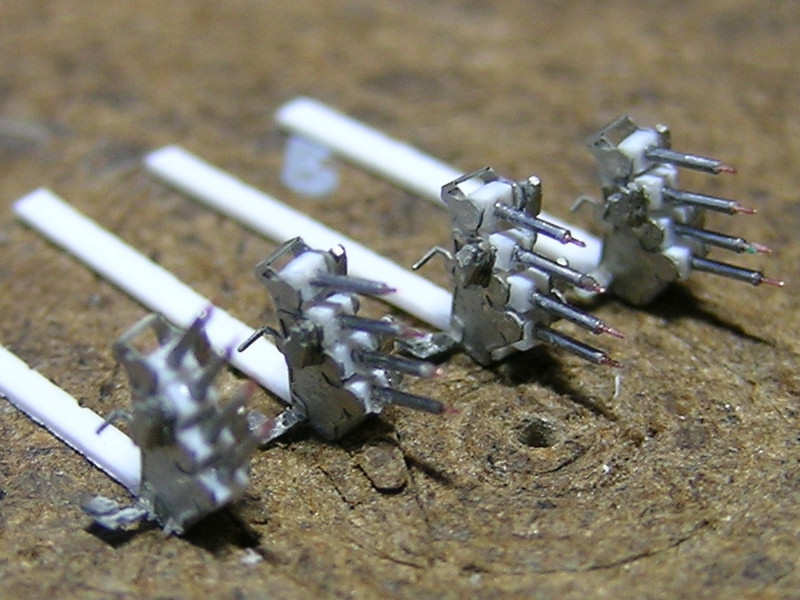
Here you can see the guns under construction. The barrels are made from Scale Caliber tubing, purchased from www.cammett.co.uk . It’s the finest tubing they sell. A small brass wire is added to be the barrel. A small styrene block with a tiny hole keeps the barrels together. The final assembly shows some sloppy gluing from gun to gun, I’m not too happy about it. But, I doubt it will be visible on the final model. I decided to have one gun at a high elevation, so people can notice it’s scratchbuilt and not some standard part.
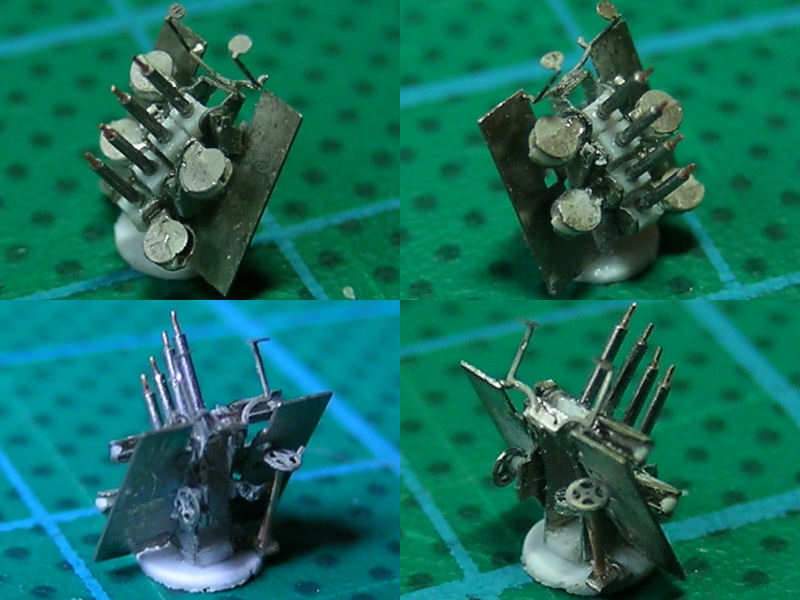
Two close-ups of the finished part. Here you can see that the ammunition drums where made with a small arc, not half a disk. The hand wheels and sights are added as well. Argh! Notice that wheel being misaligned! Hmm, the ammo druks aren’t glued properly either. Also notice that the gun is mounted on a styrene disk, aligning the part on the etched base didn’t work out at all.
Now with the ammo cases fitted. That is really some interesting fitting and aligning… Note that the ammo cases are all aligned with the barrels, particularly well noticeable with the high-elevation variant (which was the point in the first place).
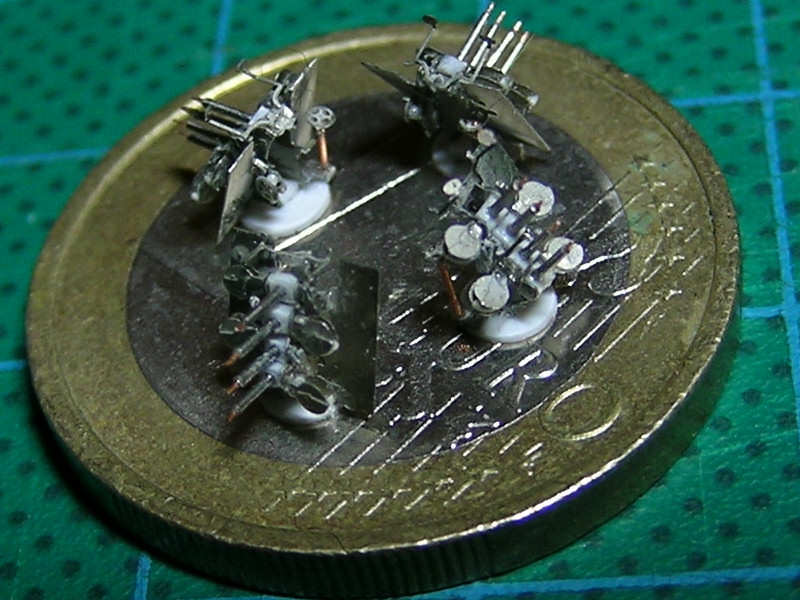
All guns on a small 1 Euro coin. It’s easy to spot small inconsistencies on the photographs, but these guns are really very small as you can see. They are about 5mm/0.2″ tall.
This was a very interesting exercise and taught me a thing or two about designing my own etched parts. The ammo drums where supposed to be glued exactly into place, but I forgot to add some markers to align them. Some parts just broke off during folding and handling (and keep on doing that). Anyway, the results look satisfying and I think this is the most detailed Vickers quad 0.5 inch in 1/350 scale. I feel comfortable tackling 30 triple 25mm guns in the future…


