
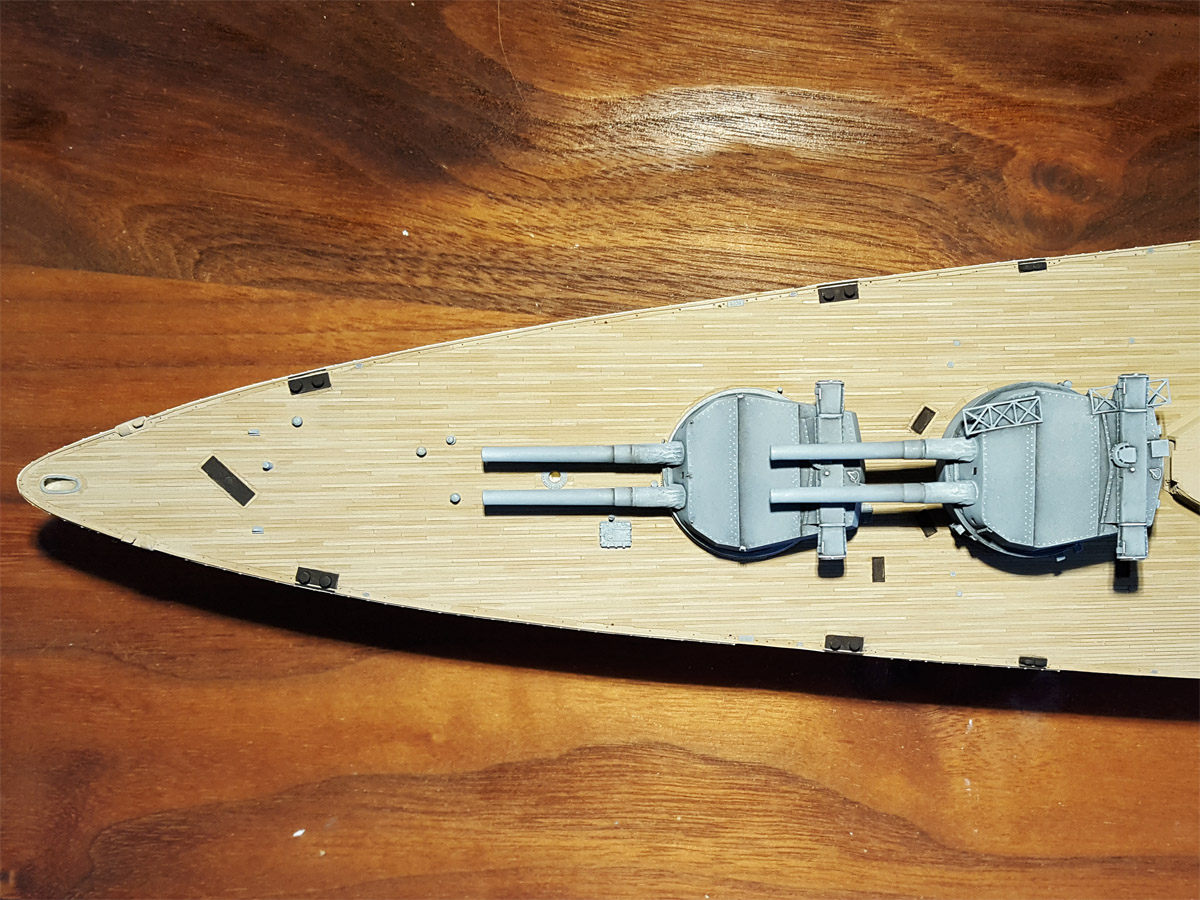
The next step after having added all this great deck detail is adding a bit of colour. I previously experimented a bit with various colours and stuck with one combination that got acceptable results. Note that some pics were taken in daylight and a few using LED lights that throw the colour off a bit.
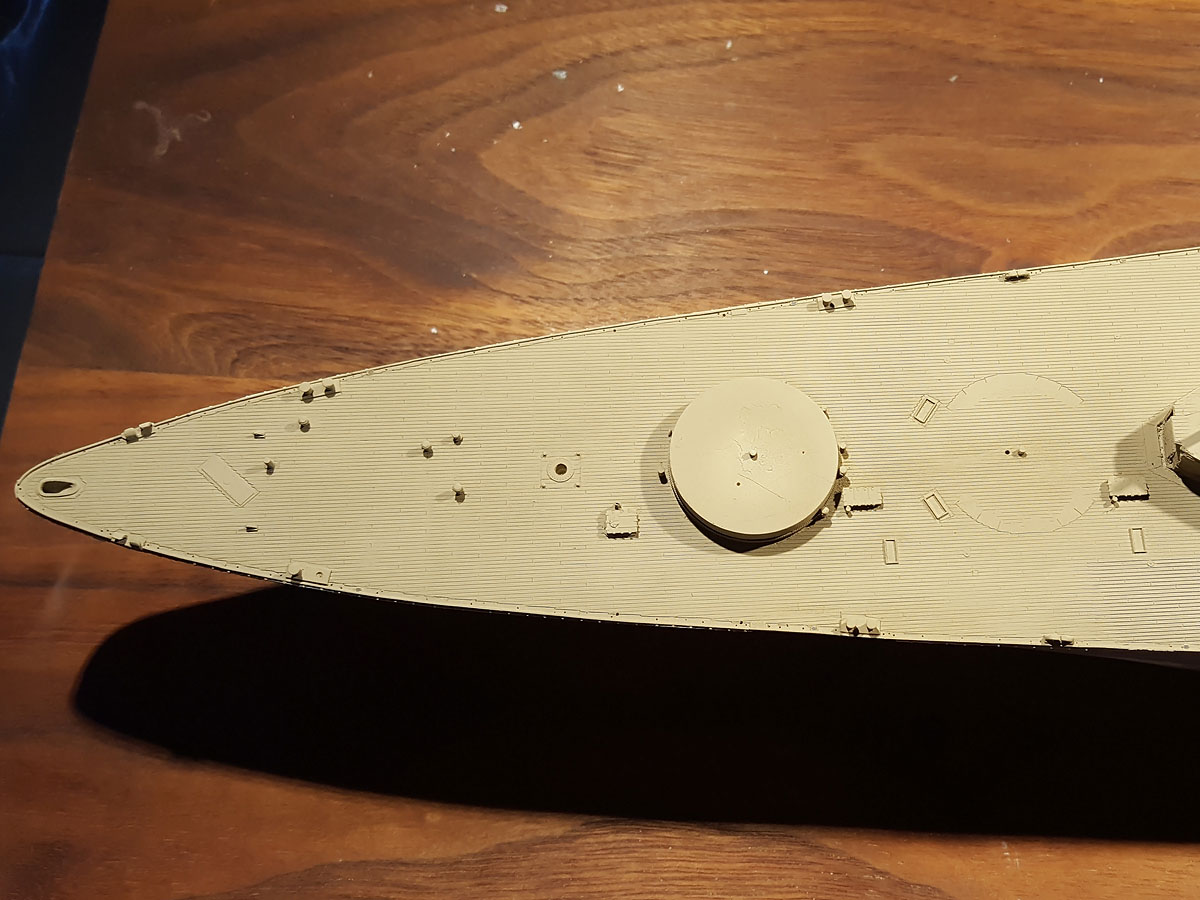
Step 1: The base is Humbrol H72 Matt Khaki Drill.
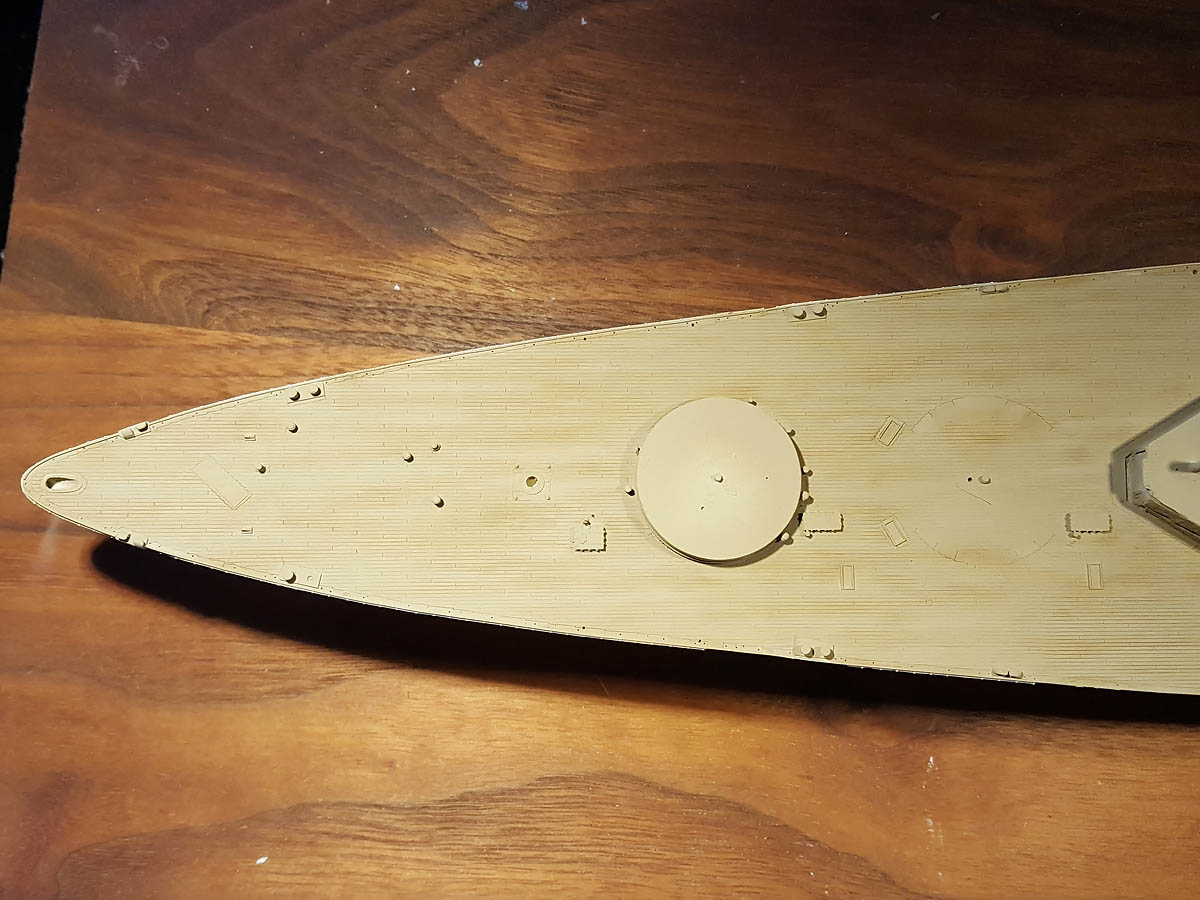
Step 2: spots of H72 modulated with H110 Natural Wood and H34 Matt White were blended in. I’m not sure if this step leads to anything you can see once done so I guess this one can be skipped.
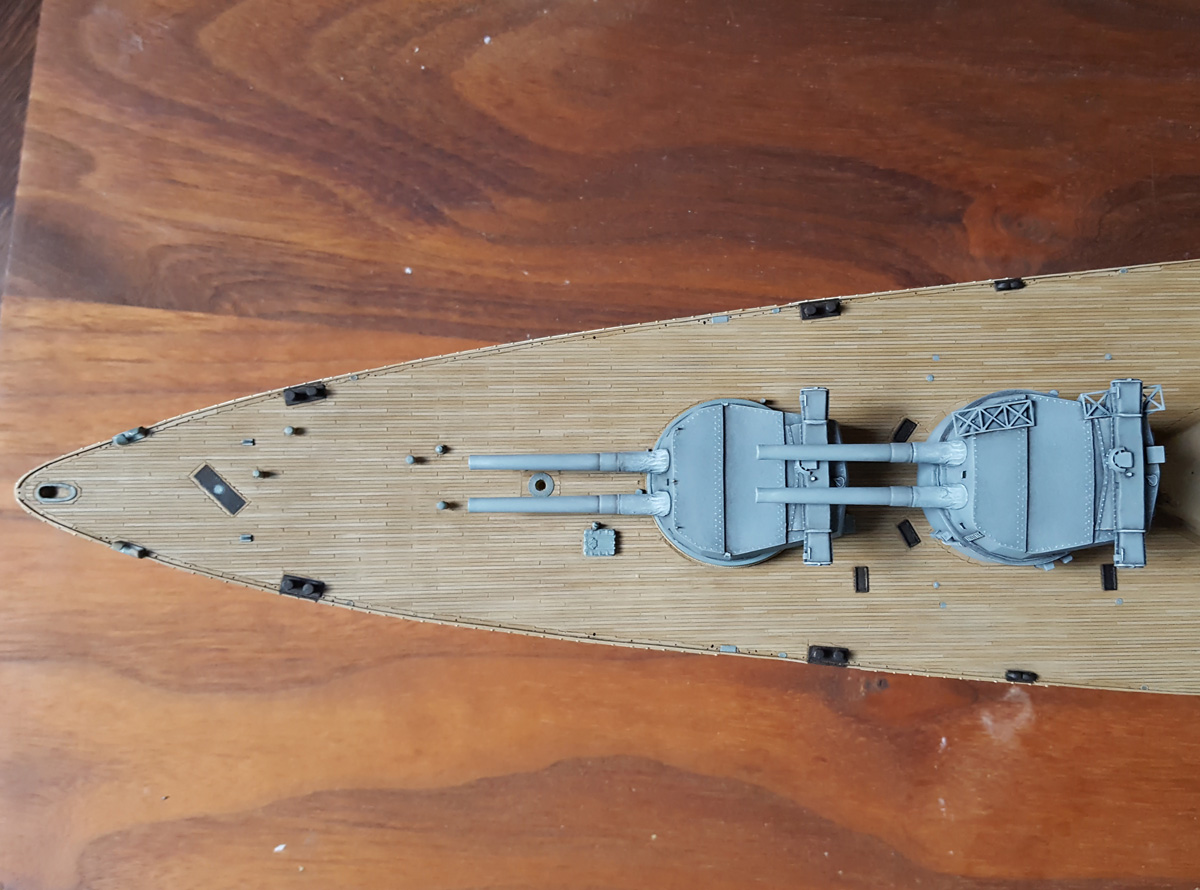
Step 3: adding colour to the individual planks using a H72/H110 and H72/H34 mixture (roughly 2:1). This is simply a matter of taking a very fine brush (Winsor & Newton Series 7 #0 ), turn off your sense of time and add one line after another. I had a correction brush standing by to remove painting out of bounds.
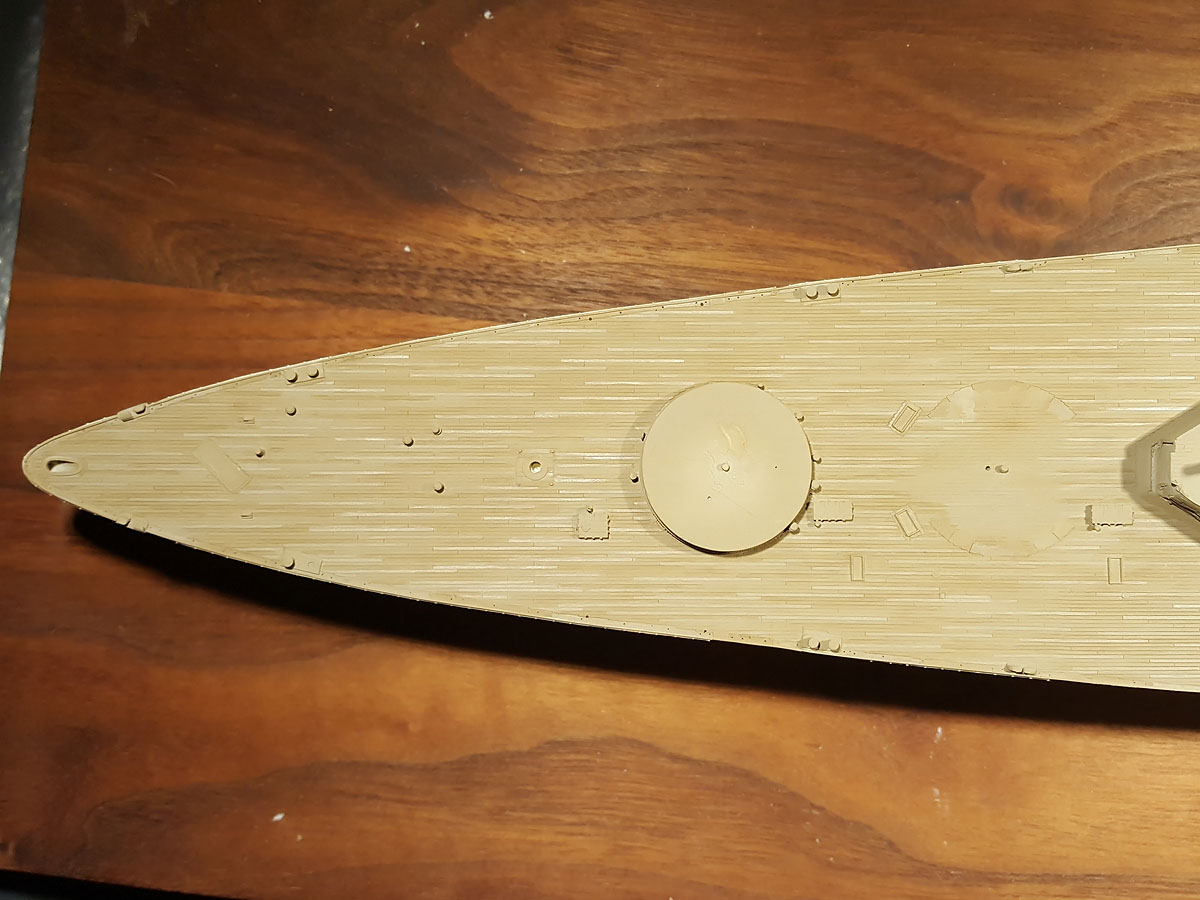
Step 4: the last pass is H187 Sand. The tins I have are a slightly yellower and lighter sandy colour compared to H72 Khaki Drill and they combine wonderfully; it’s nothing like the tone that Humbrol has on its website though. Actually, what is in the tin, what is on the lid and what is on the website seems to be largely unrelated lately and so unreliable I’m about to give up on Humbrol altogether. I read Humbrol had a brief adventure in China and now produces in the UK again, and that the Chinese tins are to be avoided. The H187 tin I bought are from the pre-Chinese era that my local hobby store was selling at half price as they dropped the Humbrol line. For my next model I’ll probably go for another brand and ready-to-airbrush paints… we’ll see. Anyway, this final round of colour didn’t dry up matt so one layer of varnish is probably required too.
Step 5: the deck details are given a bit of colour. I decided to simply hand-paint them in and not using hours of masking tape. I needed two or three passes.
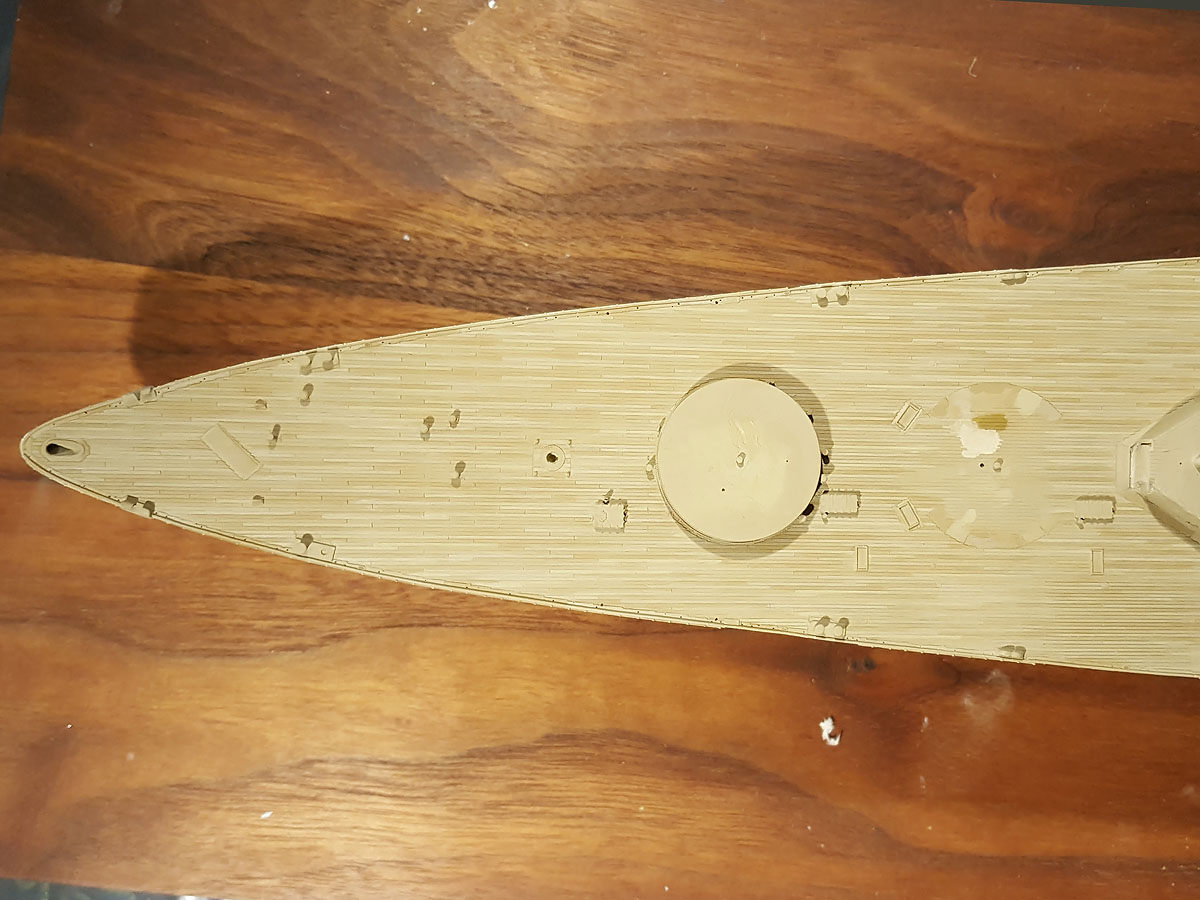
Step 6: two layers of van Dyk brown oils were added for a wash.

Step… wait? People report their pristine laser-cut decks lifting from the model because that couldn’t possibly happen with these artisanal decks? Well, after the wash the styrene lifted a bit, probably in combination with the very hut summer we had and it sunk my spirits. Note that below this deck there is still a WEM resin hull from which I removed the deck detail and repaired some damage with putty. Not the smartest move, I admit, but then I knew nearly nothing about modelling! You can see two large bulges and two spots where the deck later lifted a bit later.
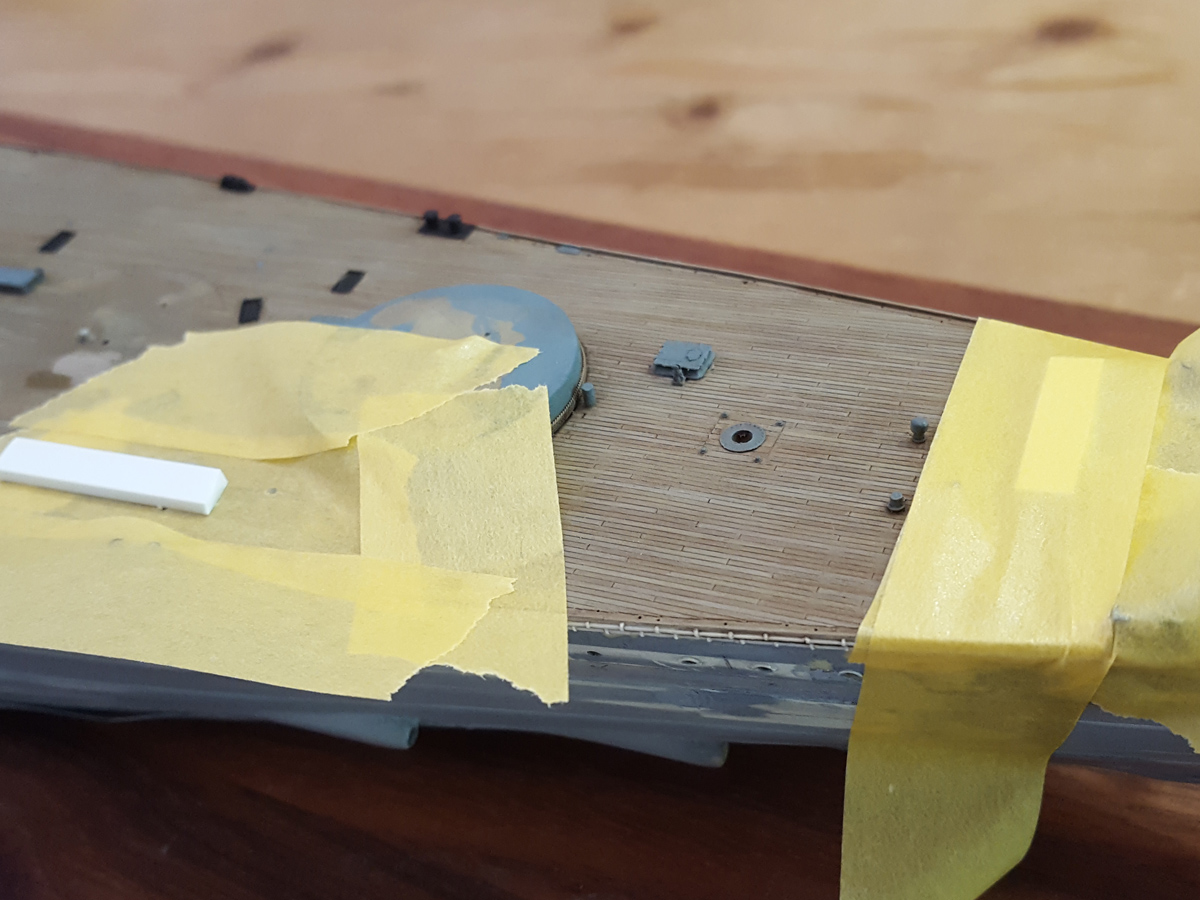
So after gathering my courage and went in using the Jim Baumann style; that is, appraise the situation and then solve it no matter the stage the model is in and get excellent results regardless (practising that last point). I simply drilled in the deck, added a lot of glue and put the deck back. The damage was filled with a few styrene discs, puttied over, lines scribed back in and repainted. This I had to do twice because new spots either surfaces or went by unnoticed. The repair job was done… not entirely to my liking. The model was shelved for about half a year…
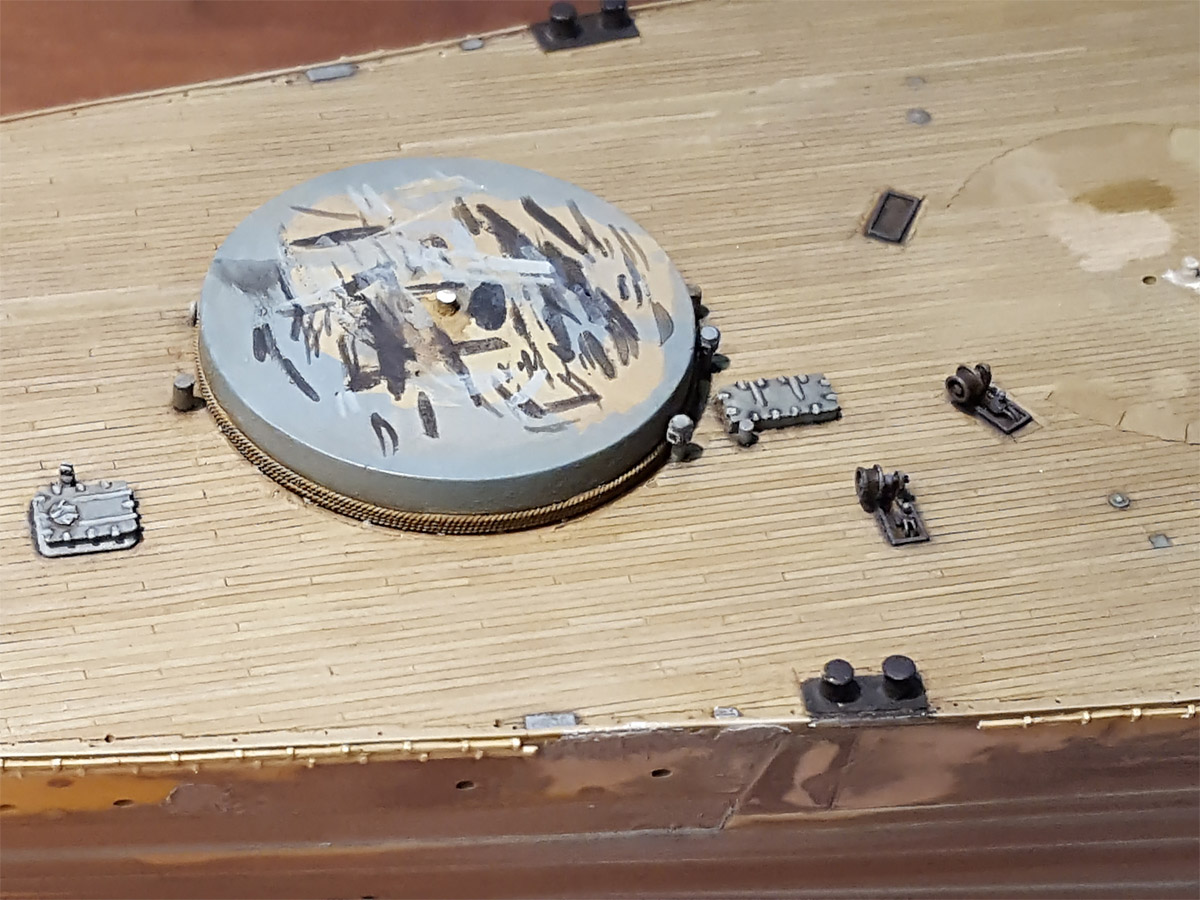
After the depressing repair action the deck details were given their shadows and highlights using some techniques I picked up from Marijn van Gils’ model of the USS Lexington. Rather than adding a wash + plus drybrush runs, all the shadows and highlights are added by a #000 brush with a #0 brush with pure thinner standing by for corrections. Although this takes a bit more time, it also allows for better contrast and control. But I have to add that at this stage I do notice that sloppy painting require a lot of correction moves adding a bit of a wash of their own; I am far from satisfied with the width of the shadow lines, but some lines were pretty hard to make on a large and stationary model. Although the results is fine, looking at macro pics taken with my phone shows more practice is in order. Now I’m about ready to repeat this exercise for the boat deck and the bow that are nearly done with their details for my next Christmas (deck below the boat deck was included in this phase).