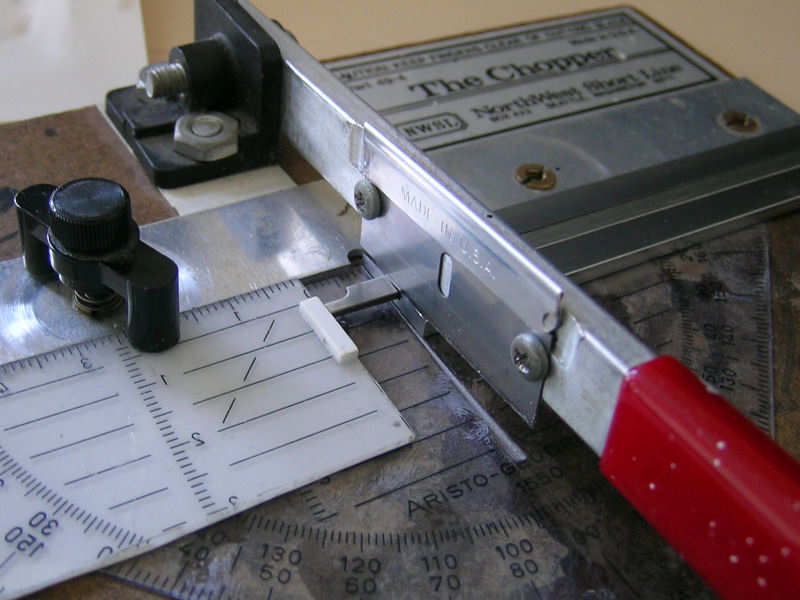
The most important tool for my modeling is the chopper. I bought one from NorthWest Short Line a few years back. They say it is “one of the most useful tools ever, for model building, working in wood, or styrene strip materials”. For once, I agree with a manufacturer’s claim. As with many modeling tools, the quality is wanting (to be fair, it is cheap) and I made a few simple modifications. The base plate damages rather quickly, so I added a plastic ruler as a base plate. You can buy these in our local bookshops. I also added some plastic at the base of the lever to correct for the added thickness. I intend to replace it with a more rugged design later, perhaps. Or buy one of their more expensive variants. This chopper wouldn’t function properly without my trusted Mitutoya vernier caliper. They are expensive, but indispensable for accurate modeling. If you want to start with accurate scratchbuilding, consider them your most important tools.
In stead of measuring with the caliper, I use the depth probe to set the chopper. I purposely avoid the calipers with a digital readout. They are more precise, but I think I would spend too much time setting the depth probe to an exact setting! I changed the cutting miter so that it works with the depth probe of the caliper, but this does wear down the razor blade. So, I need to change razor blades frequently but they are inexpensive and come in a box of 100.
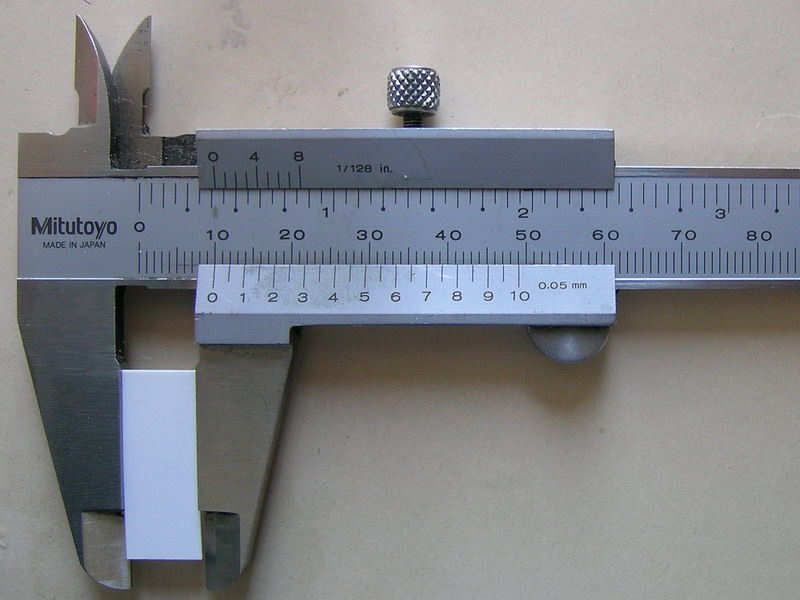
You can measure the result to see if the setting was satisfactory, in this case 10.0mm. Setting the depth probe to a certain depth usually doesn’t result in a cut of the same length, but with some trial and error you can change the setting (+ 0.1mm in my case) that usually gives a good cut. In fact, it is now so easy to set my chopper that I can have accurate and reproducable parts in seconds. If I need to replace a part (and I wrote down its dimensions somewhere), I know it will be of the same dimensions. Somehow I enjoy replacing or adding parts to a subconstruction years later, only to find out that the parts were made with high accuracy. It’s not just important that the part is made accurately to scale, but that the model is built consistently. Although a tenth of a millimeter doesn’t really matter to all but the smallest parts, in my opinion it can be the difference between a very sharp and a rather poor build; stacking a few decks which are all off by a few tenths of a millimeter will show up in the end.
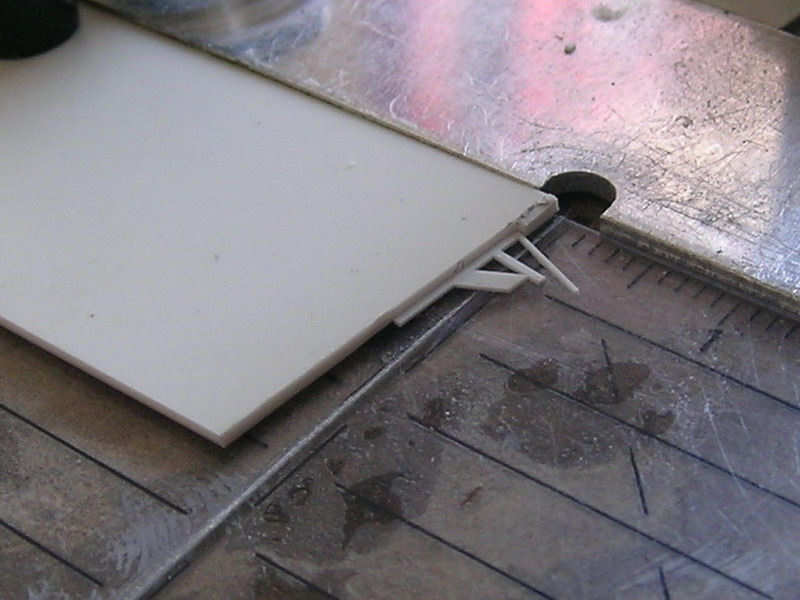
The chopper itself cannot swivel, but you can make inclined cutting miters. Here you can see a part for one of Hood’s fast motor boats about to be cut to size. When cutting these very small parts, I add a small strip of plastic to the miter so that I can be sure that I reposition the parts consistently (when using inclined miters, the position along the miter influences the part’s final appearance, so you need to fix the part’s position along the miter). Using these cutting miters can require more trial and error with positioning when the dimensions of the part are absolutely critical. If you need simple parts with a slope, first add the slope and then use to straight miter to cut the part to size. You can also first cut strip to length and then cut a slope to one end but that is usually asking for mistakes.


