Category: Tips

Drilling with the Punch & Die set

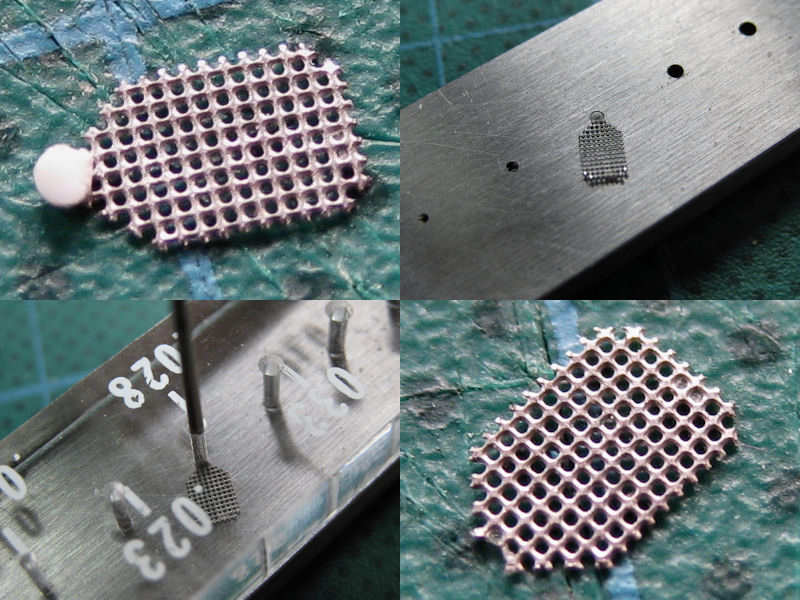
Another small tip with a Punch & Die set. It can be used as an alternative for drilling, which is near impossible for the part below. The problem is always aligning the part with the set so that the punch is properly centered, but that can be easily solved

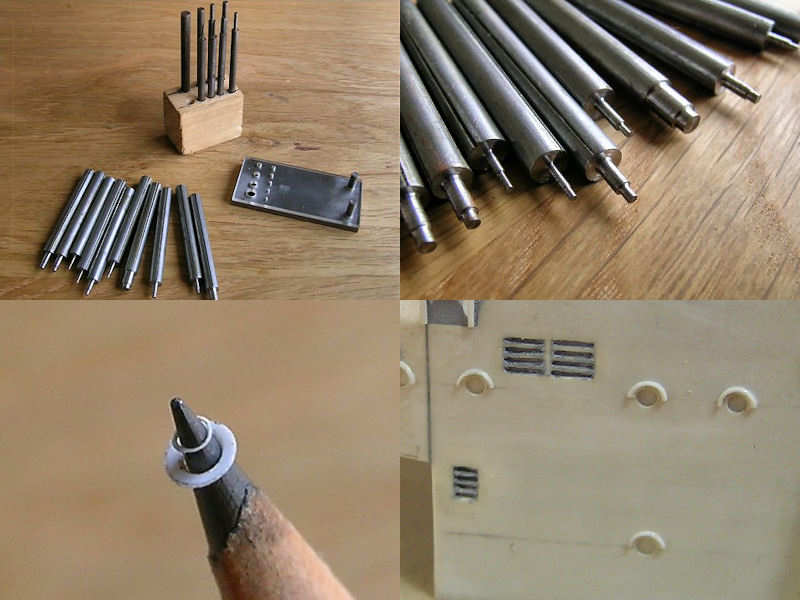
This series of pictures shows the in-progress platform of HMS Hood’s type 279 radar antenna. The platform is very small and is to be fitted to the mast. But as it is very small, it will show when it is off center making proper alignment more important. I use the Punch & Die set to punch off a part leaving the end of the platform circular, making it easier to position and glue to the mast. In stead of making a lot of platforms and keeping the one which worked out best, you can also first glue a disk (or rod) at the exact location where you want to punch out excess material. With styrene parts, you have some time before the glue sets and shift the disk to its proper location (top right). You can then—after the glue has set—use the disk to position the part with respect to the set simply by putting it in the correct hole. Just tap the punch gently and the part is done.

I use this trick quite often as it is easy to use and accurate. Drilling very small parts isn’t always possible, as you don’t have any space to hold them fast and they often tear when using larger drills. Very small parts can be destroyed during the punching as well, but less often than with drilling.

Making rings with a Punch & Die set

If you have a punch & die set—either by Waldron of Historex—you can update the tool so that it can make rings. You need to have access to a lathe, or harass either manufacturer into producing an update set.

This is the Historex set. It doesn’t have the range of diameters that the Waldron Precission Punch & Die Set has, but I find it a very useful tool nonetheless (I just bought the Waldron set, but haven’t used it yet). The top-right image shows the set of sub-punches I made myself. Use a normal punch to first punch out a disk. Move the plastic sheet to the subsequent hole and use the smaller diameter of the sub-punch to align the part concentrically. Then you can punch out a small ring. The lower-left image shows the range and fineness of such a small ring that you can make. For example, I use the sub-punch set to make rings for eyebrows. Very thin rings often get teared to pieces, sometimes even depending from what side of the plastic sheet you’re working one.

This is a nice trick to make a good tool (albeit very expensive) even better.

Chopper

The most important tool for my modeling is the chopper. I bought one from NorthWest Short Line a few years back. They say it is “one of the most useful tools ever, for model building, working in wood, or styrene strip materials”. For once, I agree with a manufacturer’s claim. As with many modeling tools, the quality is wanting (to be fair, it is cheap) and I made a few simple modifications. The base plate damages rather quickly, so I added a plastic ruler as a base plate. You can buy these in our local bookshops. I also added some plastic at the base of the lever to correct for the added thickness. I intend to replace it with a more rugged design later, perhaps. Or buy one of their more expensive variants. This chopper wouldn’t function properly without my trusted Mitutoya vernier caliper. They are expensive, but indispensable for accurate modeling. If you want to start with accurate scratchbuilding, consider them your most important tools.
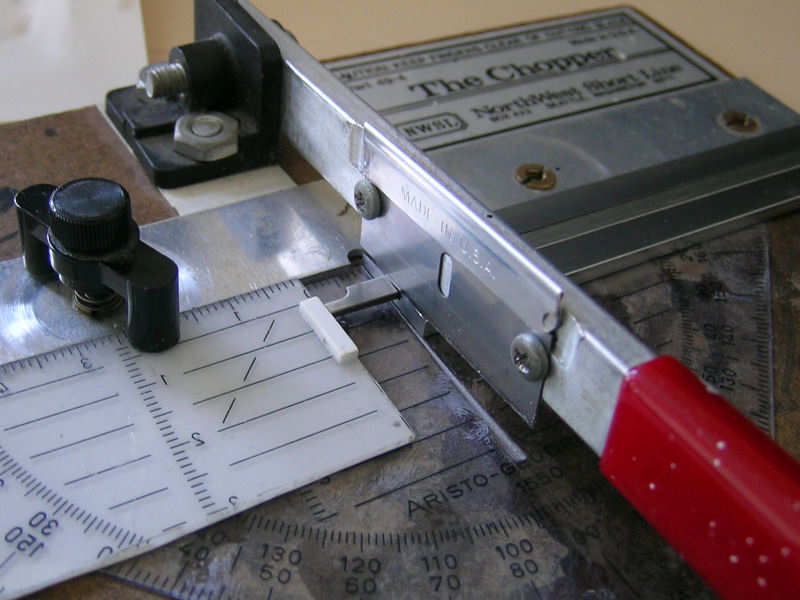
In stead of measuring with the caliper, I use the depth probe to set the chopper. I purposely avoid the calipers with a digital readout. They are more precise, but I think I would spend too much time setting the depth probe to an exact setting! I changed the cutting miter so that it works with the depth probe of the caliper, but this does wear down the razor blade. So, I need to change razor blades frequently but they are inexpensive and come in a box of 100.
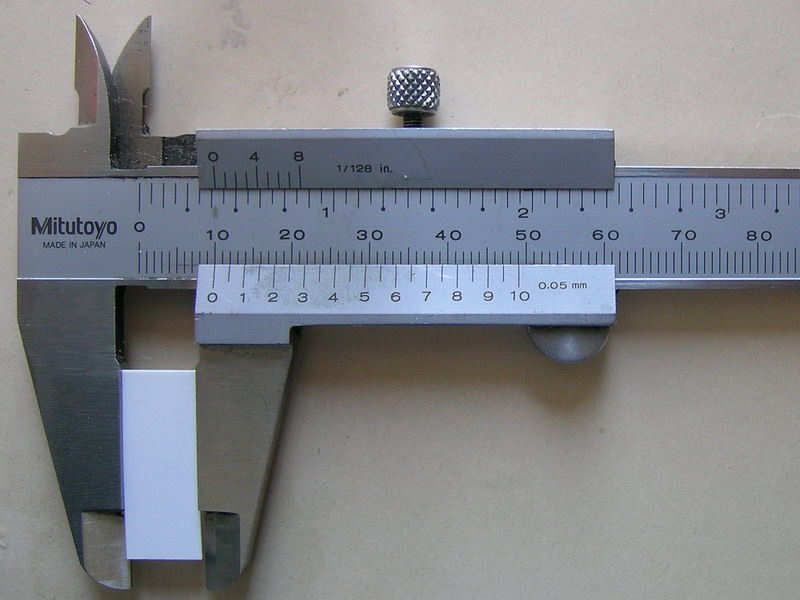
You can measure the result to see if the setting was satisfactory, in this case 10.0mm. Setting the depth probe to a certain depth usually doesn’t result in a cut of the same length, but with some trial and error you can change the setting (+ 0.1mm in my case) that usually gives a good cut. In fact, it is now so easy to set my chopper that I can have accurate and reproducable parts in seconds. If I need to replace a part (and I wrote down its dimensions somewhere), I know it will be of the same dimensions. Somehow I enjoy replacing or adding parts to a subconstruction years later, only to find out that the parts were made with high accuracy. It’s not just important that the part is made accurately to scale, but that the model is built consistently. Although a tenth of a millimeter doesn’t really matter to all but the smallest parts, in my opinion it can be the difference between a very sharp and a rather poor build; stacking a few decks which are all off by a few tenths of a millimeter will show up in the end.
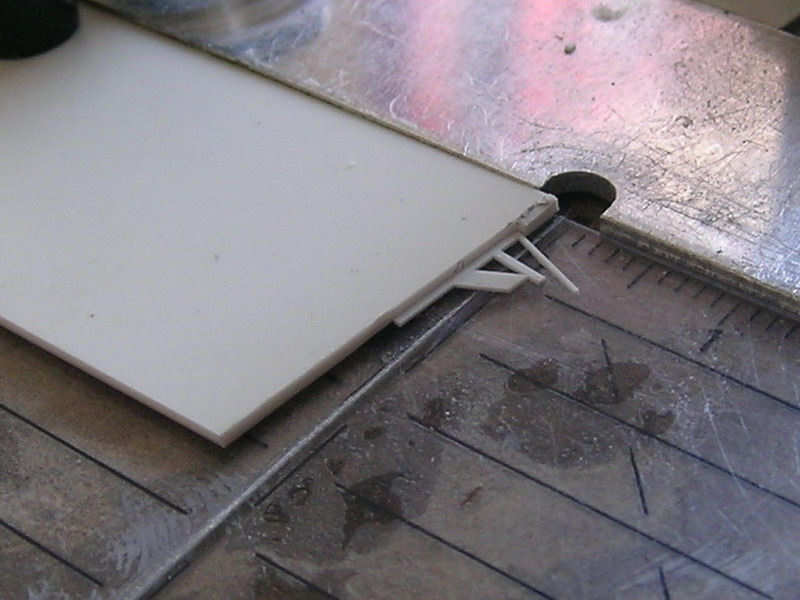
 The chopper itself cannot swivel, but you can make inclined cutting miters. Here you can see a part for one of Hood’s fast motor boats about to be cut to size. When cutting these very small parts, I add a small strip of plastic to the miter so that I can be sure that I reposition the parts consistently (when using inclined miters, the position along the miter influences the part’s final appearance, so you need to fix the part’s position along the miter). Using these cutting miters can require more trial and error with positioning when the dimensions of the part are absolutely critical.  If you need simple parts with a slope, first add the slope and then use to straight miter to cut the part to size. You can also first cut strip to length and then cut a slope to one end but that is usually asking for mistakes.

Vacuum Forming

Vacuum forming is a very simple technique that can produce thin-skinned parts of various forms. I mainly used vacuum-forming for producing the gun shields for the twin 4″ mounts and the hulls of all the boats and launches.

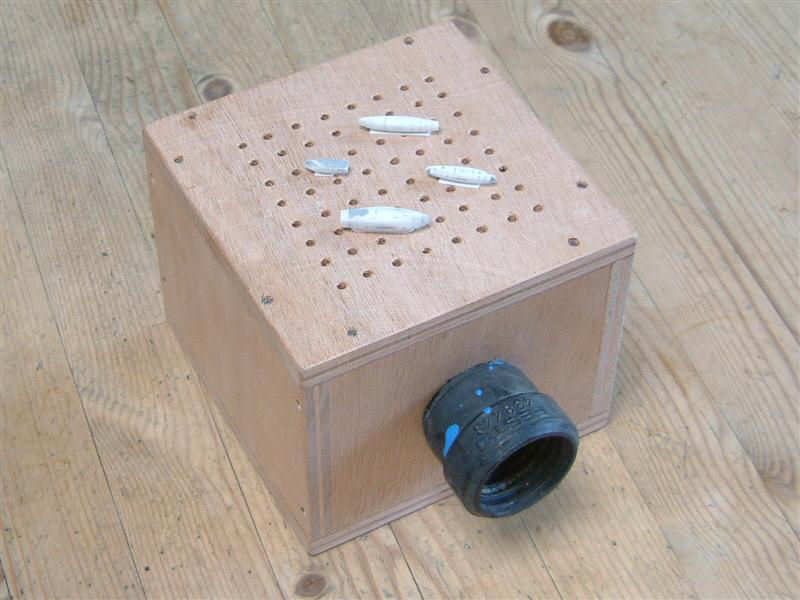
This is it, basically. A small box with a connection for your vacuum cleaner and a series of holes in its top plate. Try keeping the box airtight at the seems. This is my small version with the basic forms of several small hulls awaiting to be copied.

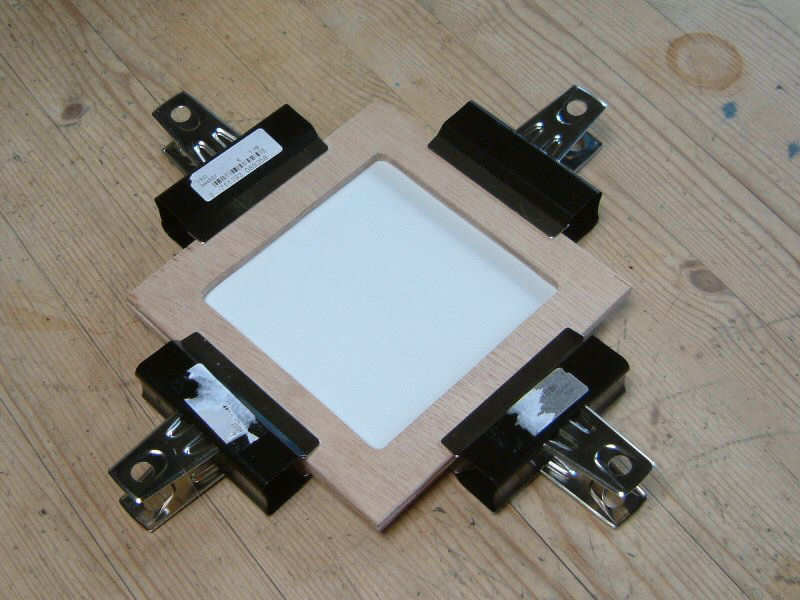
Part two is a small  double frame holding a sheet of plastic. I used a few simple clamps to keep the plastic sheet firmly in place. As you need to heat this part, not using metal might be a good idea.

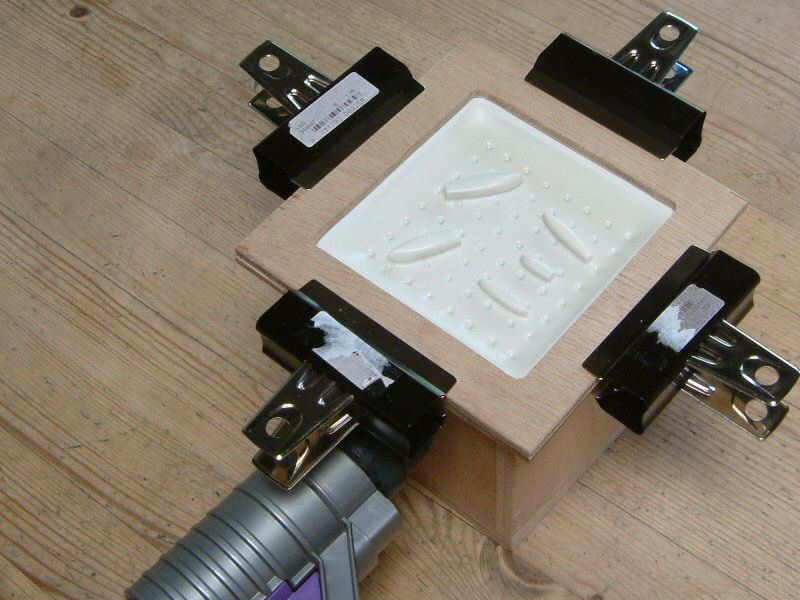
Heat your oven to some predetermined level, whatever works, and start heating the plastic sheet. Once the plastic gets warm, you’ll notice it will droop down. When you think the plastic is soft enough, fire up the vacuum cleaner, take the plastic from the oven, and thrown the sheet on the vacuum former. The plastic will nicely form around the moulds. This will take some practice and sometimes a mould tips over or the plastic won’t form properly over the mould (folding around edges). This is also the part where I should warm you that you can burn your fingers. I use large plastic sheets, not the more expensive styrene by Evergreen. When an attempt fails, I usually throw the sheet back in the oven and start again. 

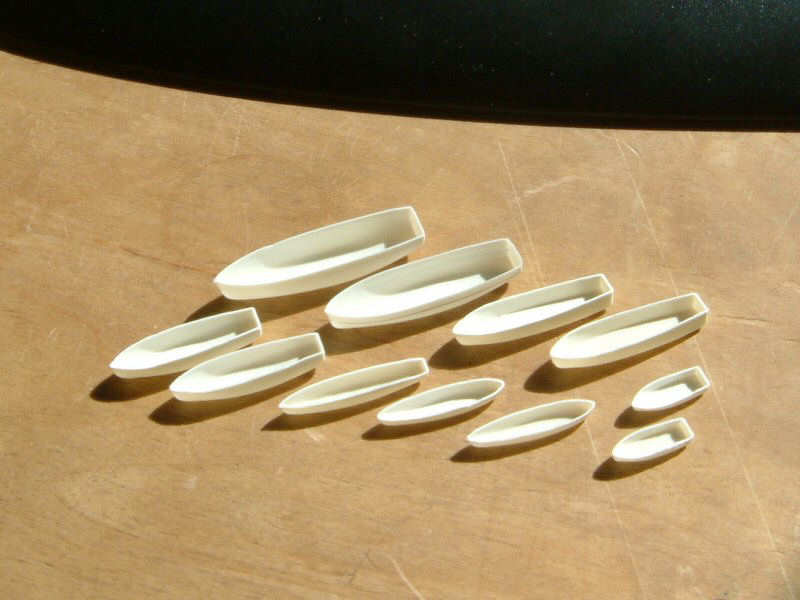
 Here is a series of copies of hulls. You still need to trim all the parts to size. The reproducibility is as good as the moulds (they might suffer a bit) but this is a very easy technique to use.

Copyright © 2024 On The Slipway

Theme by Anders NorenUp ↑