
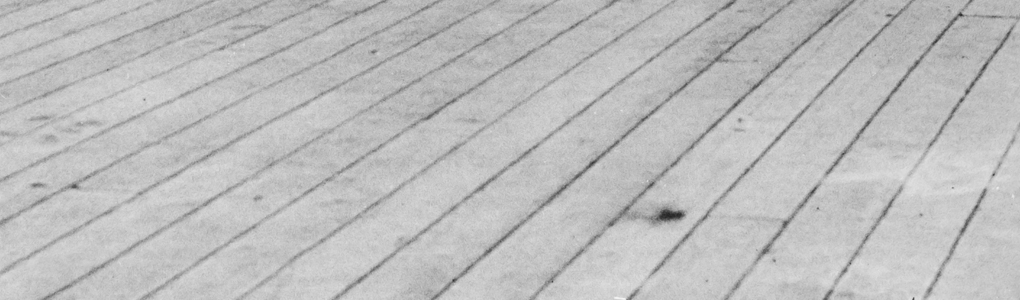
In the previous posts I discussed the deck details with margin planks, waterways, nibbing etcetera. The difficult part was getting the plank nibbing effect correct; if the spacing isn’t really regular it may show and scribing is quite tricky. You need to scribe a very small line of 1/3rd of a plank width consistently which translates to about 0.2mm; and then over 300 times for the entire ship. This kept me busy for many weeks and I experimented with various approaches, trying something new, failing, giving up, and then having another idea a few weeks later… and so on.
Approach one: Etched templates

This approach revolved around scribing templates that use the spurnwater as an reference edge; this strip was already present on the model (Plastruct 90709, wonderfully small! Go get some). Now, even drawing lots of these templates in CAD was a lot of work to do well so I made a small program in Matlab generating scripts and loaded them one by one in the etch drawing.
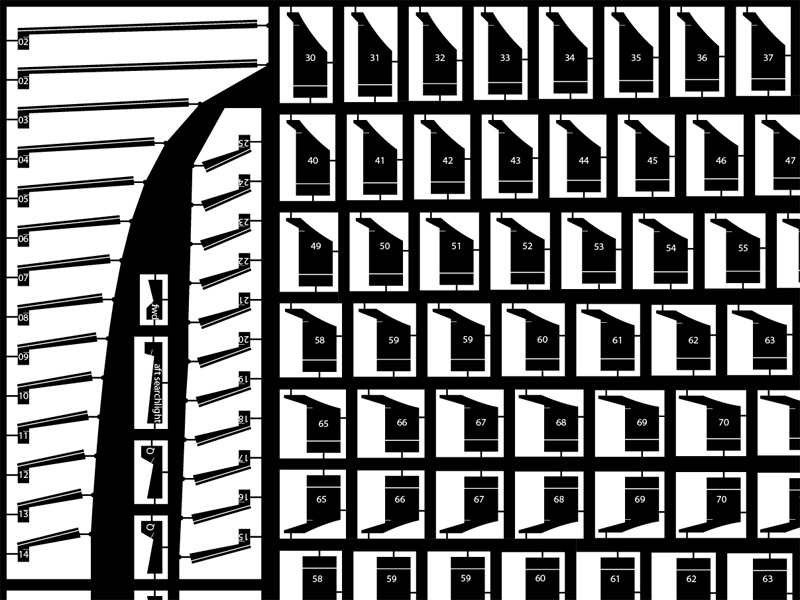
There are two templates, one for straight edges and one for the barbettes. I knew this might not work and sent in the etch anyway.
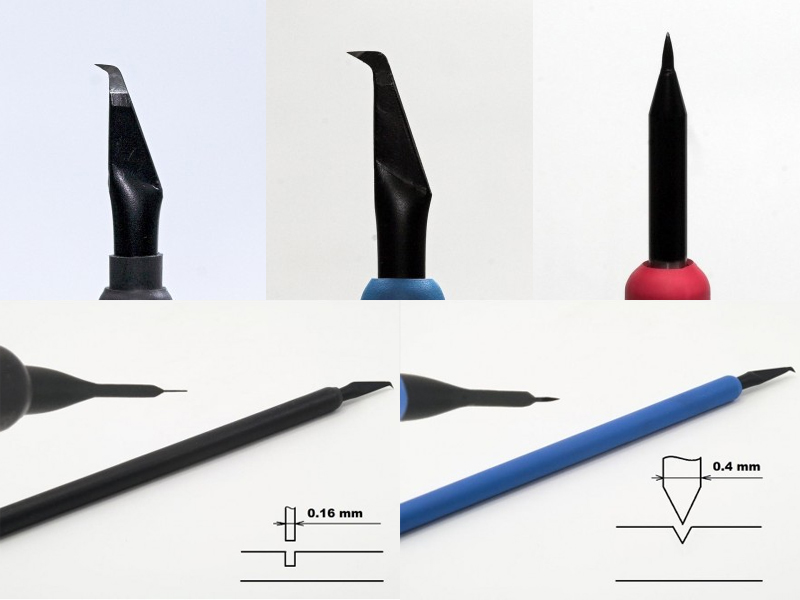
Meanwhile, I ordered three scribers from Uschi van der Rosten and started exercising scribing. I thought the fancy tips would work wonders to obtain a consistent result, but now I only use the needle scriber; I think that’s the only one you need and don’t drop it because you’ll need a new one. The etch came in and the results were… absolutely horrible. The templates are very difficult to hold, difficult to align, and scribing a 0.2-0.3mm line is just too difficult. When you are scribing you always need some lead way at the start and for 0.2mm you just don’t get any, you’re just poking the model. At this point I was fine with no deck details as I thought the technique was pretty far fetched.
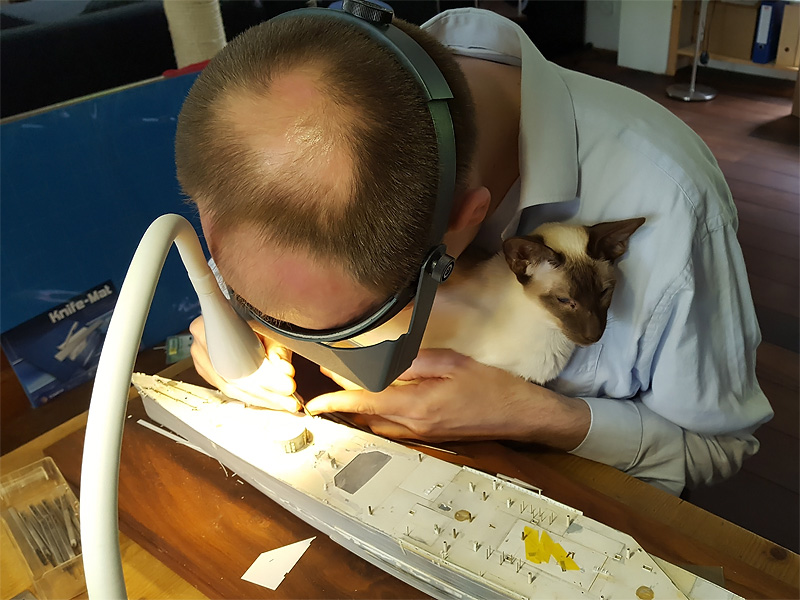
Fortunately mother nature intervened a few weeks later when one of my cats took the protective cover from the scriber and tossed the Mr Scriber Narrow on the floor; the tip was broken off. What was left was a nice and small knife edge that gave a very thin line when pressed into styrene. I mutilated it a bit further into a 0.3mm wide tip, stared pressing small lines. The results were actually not bad… but also not good. I tried making more ‘chisels’, grinding down small screw drivers but it was difficult to get a nice sharp and mainly straight edge. I ordered the Grizzly H5915 Miniature Chisel set from Amazon for a few dollars but the quality was absolutely horrible; good thing I didn’t order them from Germany for over 50 Euros! I tossed them in the trash and dropped the idea again.
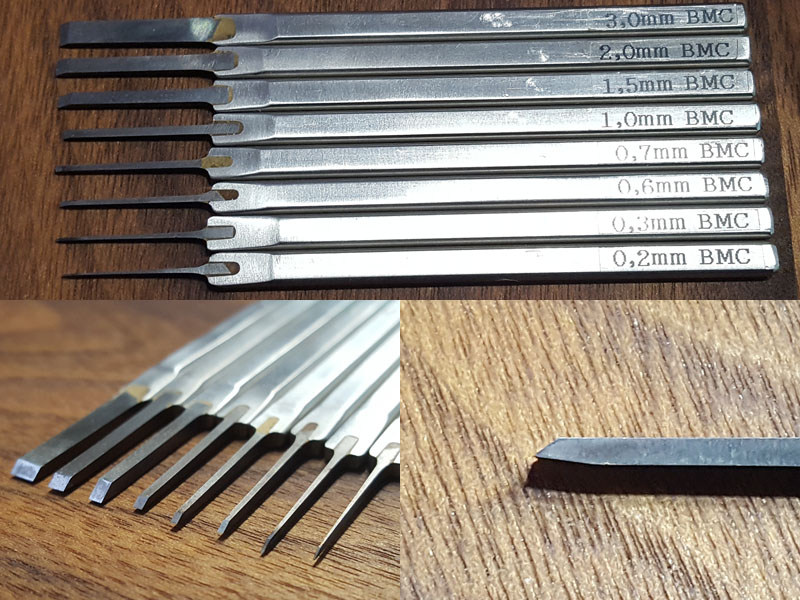
While searching the net I found these chisels by Sujibori-do; outrageously expensive starting at about €20 each—usually more—and that is without the import tax to that if you order them from Japan; they are also out of stock in most shops and you can find them well over €100 each on Ebay. But they come in a very nice range of exact widths in steps; the tip of the tool is made from tungsten steel and very, very sharp. With the flat stainless-steel grip they easy to hold without a holder you can order separately (not that I did so). They are so expensive it just had to work, right? I bit the bullet and ordered a few from Hobby Search. I started with sizes 0.2, 0.3, 0.6, 0.7, 1.0, 1.5, 2.0 and 3.0mm wide.
The tip of the chisel is asymmetrical and you need to tilt it back about 15 degrees when you press a line. I spent a fair amount of time practising on scrap styrene as you have to be careful to adjust the amount of force you exert; the 3.0mm chisel requires too much force for making lines and you’d be better off using the 2.0mm or less. By pressing in the point you just push the styrene to the side, so you need to use the chisel as an actual chisel and remove the excess styrene carefully. For this job the 3.0mm chisel was really much more useful than the others. Giving a scratched line a correction pass with the widest chisel improved the overall line quality. Removing excess material was very dangerous at first, because if you apply the tool too steeply you’ll carve a channel in your deck, but this was a matter of some practice.
Now that I have these chisels I use them for cleaning up other parts, sharpening cut-out corners, making small corrections, putty knives (boo!). In fact, I consider them as one of the most useful additions to my arsenal of modelling tools and even ordered a few more and now have the complete set minus the two I dropped, that is… Oh well, live and learn.
Approach two: Guidance template
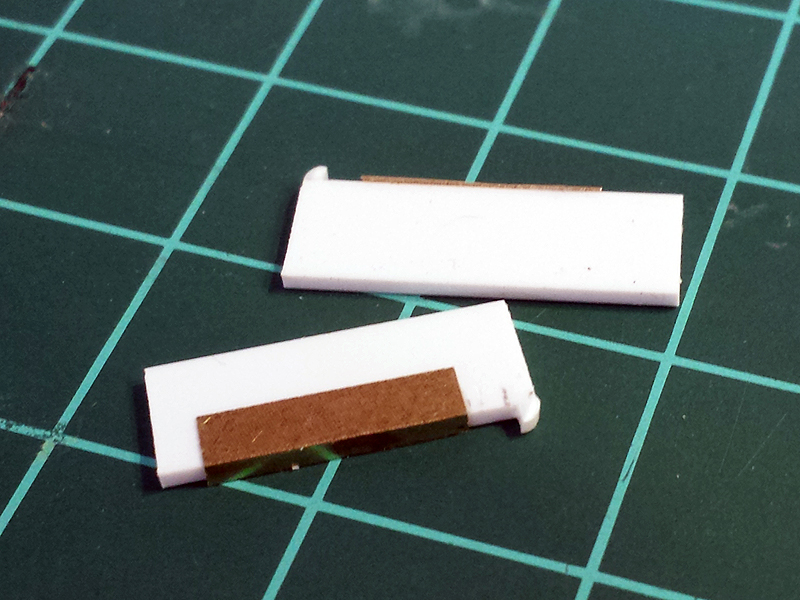
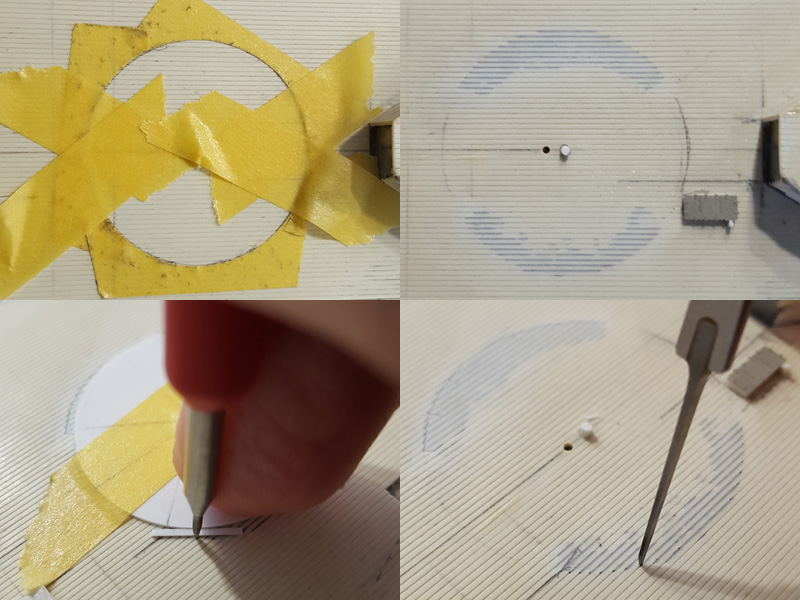
I devised a new strategy with my scribers using a small template to get the margin planks consistently. It’s basically of a small styrene strip, a small circular spacer at the end to hit the spurnwater at exactly the right distance no matter the angle of the deck, and, a small brass strip that drops just below the styrene strip to follow the V-groove in the deck; note that the brass doesn’t go up entirely towards the quarter circle because some on the deck line have been puttied a bit. Adding the 0.2mm line would be simply a matter of position the chisel at the quarter circle and pressing.
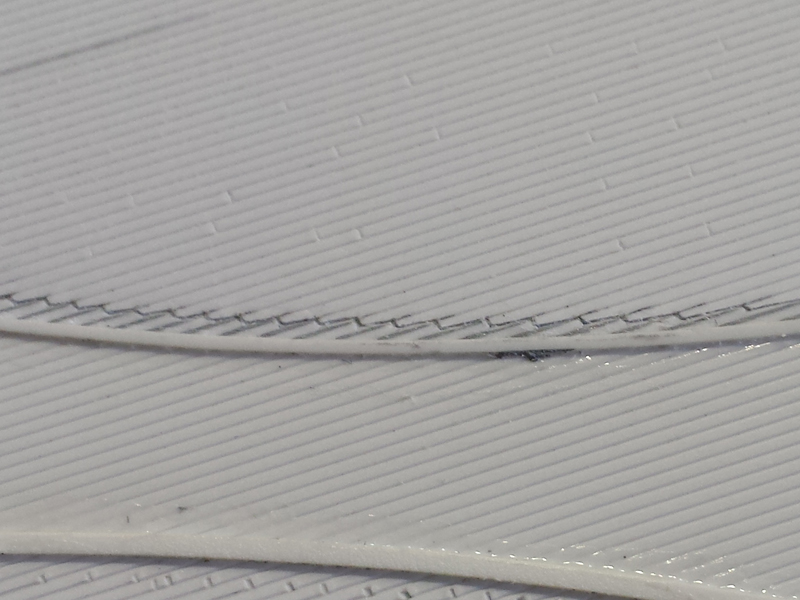
This worked really well on fresh, grooved styrene (this is even a 0.5mm spacing between planks, less than what I put on Hood). I thought it was really clever. But on the actual model, it didn’t go well. At all. The decks on the model are from the earliest attempts of my scratch-building and they have damage and corrections; the scribed lines are just not always deep enough for the template to follow. For very shallow angles near the center of the model the template would just ‘derail’… and that’s if the template can be used at all with a lot of deck detail already in place.
Approach three: manual labor
So in the end I came up with the stupid approach… basically this is a departure from using clever templates and relying more on my own skills. The margin plank is first taped off and puttied; after removing the excess putty the plank lines were well visible, so I just took a spacer strip and created a marker by gently pressing at the right position using needle scriber, or later, only using a very very fine pencil to outline the intersection line. The 0.3mm chisel was then placed at the marker, eyeballing the right position, and a small line was pressed in. Once all the lines were added it was simply a matter of connecting them with the other chisels and scribing for the longer planks. Excess putty can be removed easily from the grooves with the needle scriber. After scribing in the line I’d typically give the entire nibbing line a pass with the scriber to really connect all of them, clean up a bit, prescribe and re-chisel, clean, putty errors and repeat. Repeat again and repeat the repeating some more.
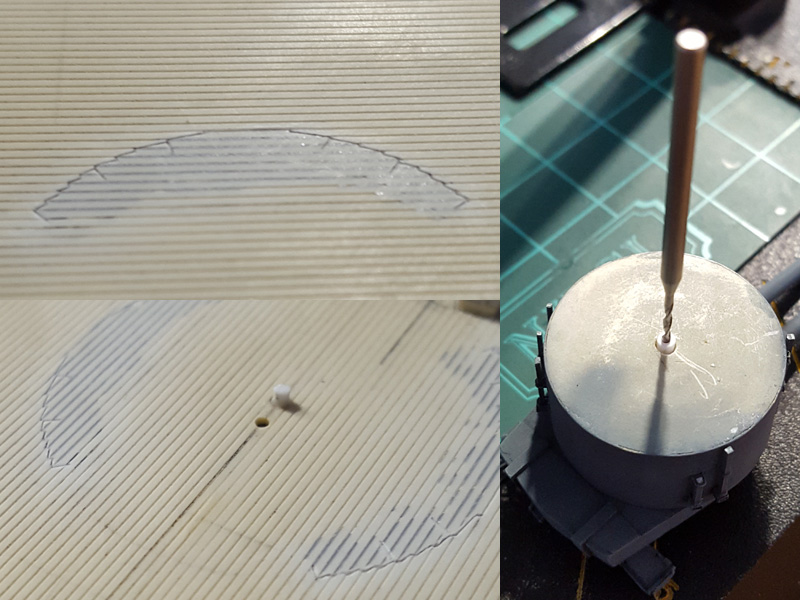
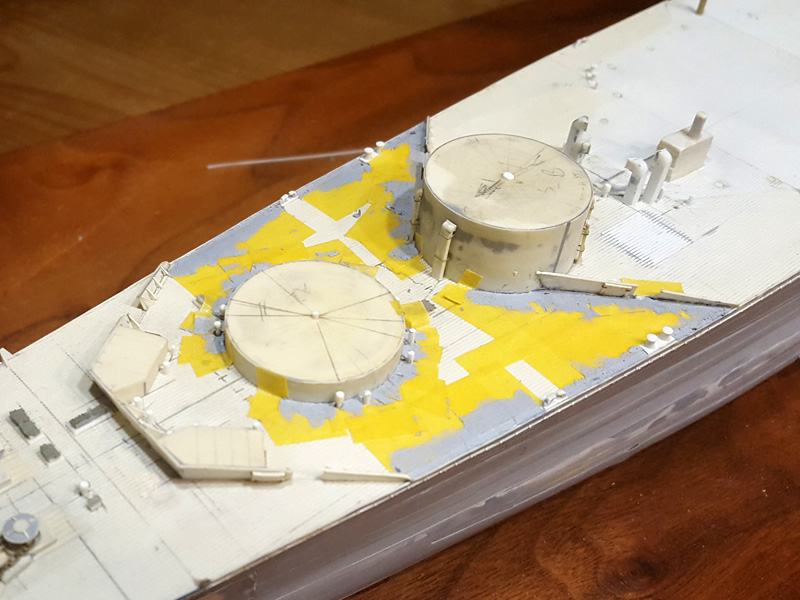
And once you have added the lines and cleaned up the parts I found out that one turret was poorly centred and needed so more work. The barbettes already glued to the deck were properly centred and this problem was found for one turret only. However for the barbettes glued to the deck it was really difficult to add in the lines with a lot less room to work with. This result is actually quite acceptable.
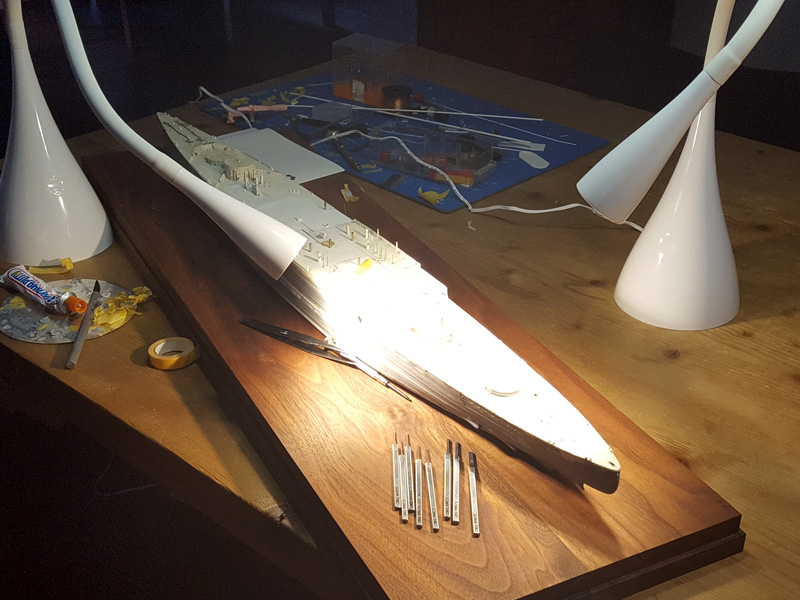
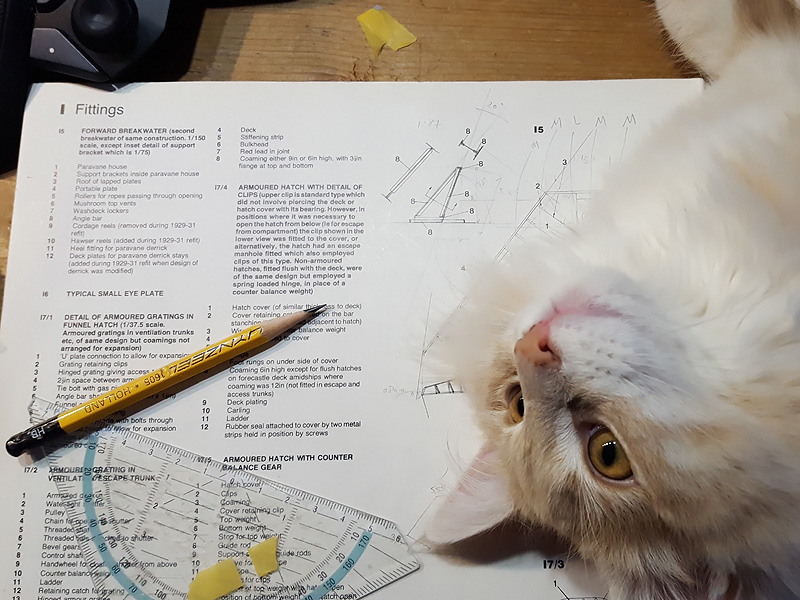
Now that the days were getting shorter and the weather turning for the worse, I could not really continue without good visibility, even with my 10x Optivisor. I got two semi-cheap LED lamps from the hardware store that give a lot of light for nearly no heat (!), plus, they are very slender and are really easy to place on the modelling table. Excellent additions long overdue.
Now it’s simply a matter of puttying the margin plank areas and adding the scribing detail. The breakwaters proved to be difficult to work around, so they were eventually.. destroyed…
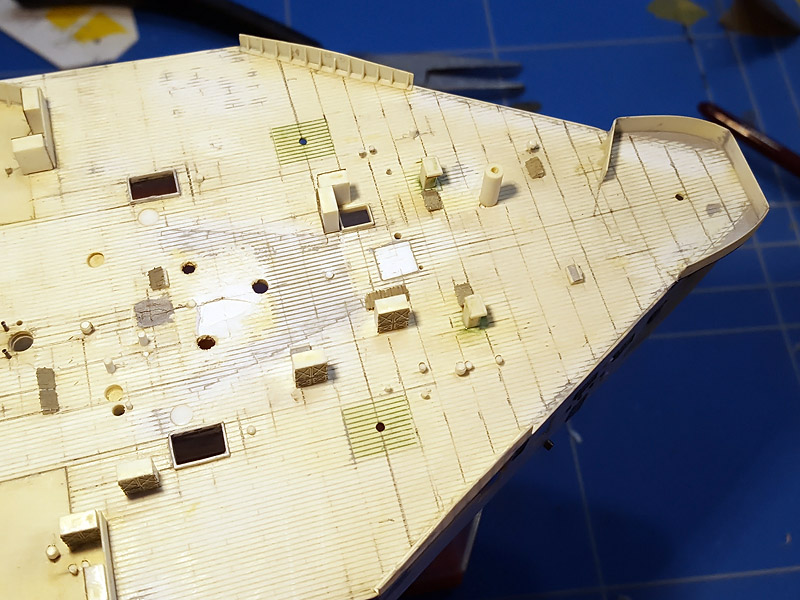
After the nibbing was added I took the 0.7mm chisel and added the plank ends. These typically aren’t too well visible on the real ship, but I thought they would be very useful to add when I need to paint the individual planks. Here the trick was not so much the chiselling but marking the lines by pencil with all the parts already glued to the deck. This would have been much easier if I had done this at an earlier stage of the build. There is nothing below most of the 0.5mm styrene plate of the boat deck, so I had to be careful not to puncture through the deck. The work crawled on hour by hour and the deck of Hood seemed to stretch on forever… each modelling session progressing a few inches.
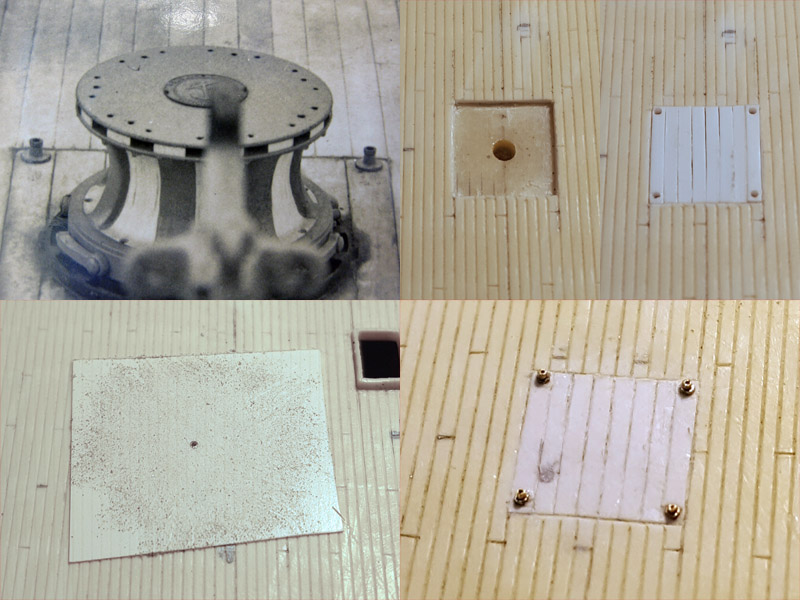
A nice image I received from the Hood association showed that the planking near the aft capstan was a bit different with a wider plank length. I cut out part of the deck and added new planks. I added some tubing by Albion Alloys to simulate the deck details. Note that with the use of a plastic strip you can very easily sand down the tubes to a consistent height.
The breakwater need to be re-added under very difficult circumstances.
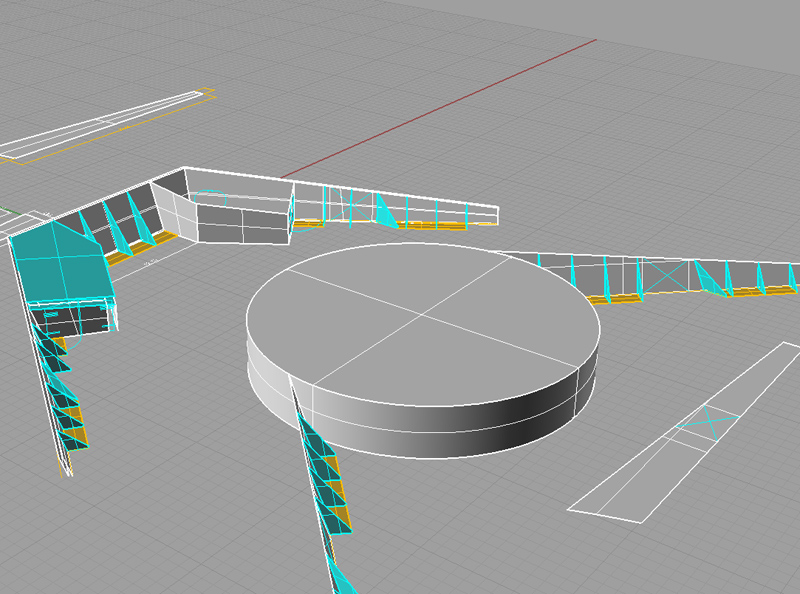
I decided to draw the breakwater in 3D in Rhino first; really useful to get all the parts to size and having a reference for future use.
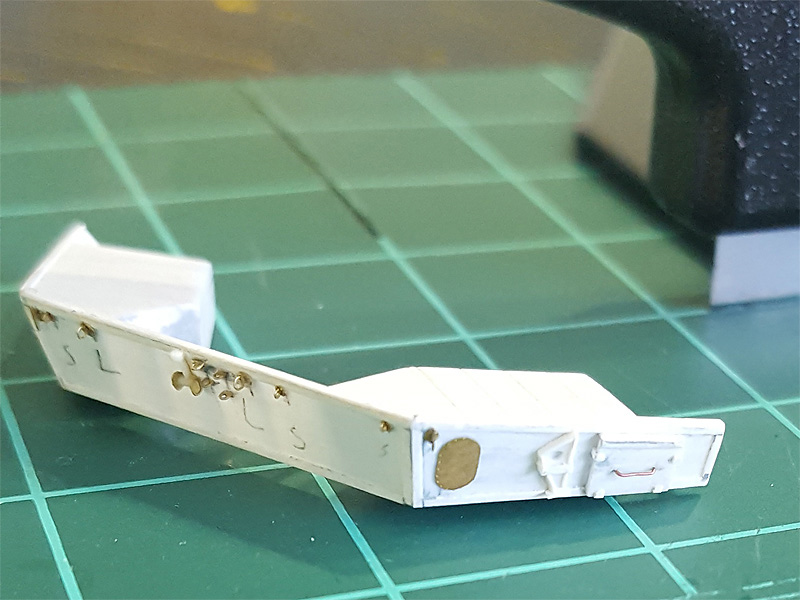
Adding all these deck details and replacing the breakwaters proved to be a huge delay for finishing the model… but the new parts look a lot better!
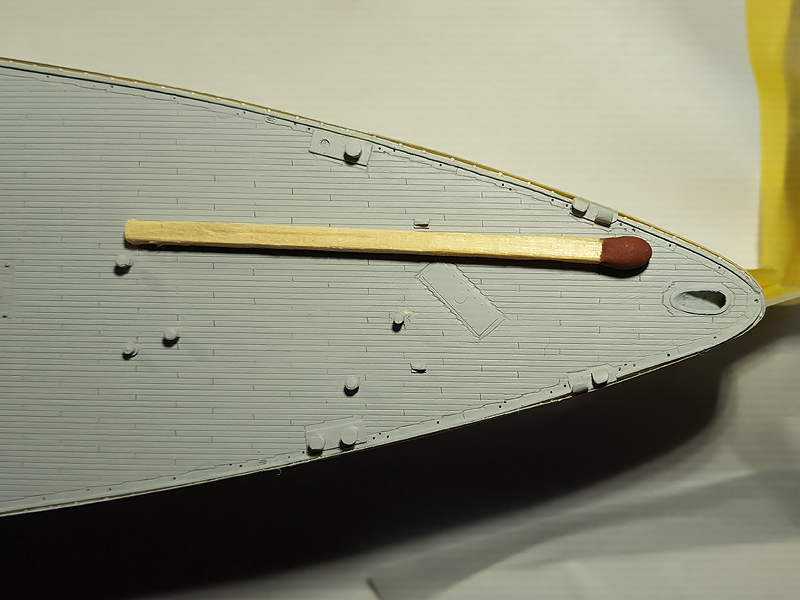
The centre and quarterdeck received a layer of Tamiya primer, nicely showing the result. The margin planks at the deck edge aren’t perfect but I’m satisfied. Note the scuppers and the many 0,25mm holes in the waterway where I intend to add individual stanchions and awning parts. I still need to add the second breakwater and add all the edge details to the forward and boat deck, but the vacation is nearly done. The next item will be painting in the individual planks of the deck just painted this morning…
It’s interesting to see the level of effort required between adding a glue-on lasercut decks by Pontos of Artwox (unfortunately rumoured to close its doors) and doing it yourself; these aftermarket sets add an enormous amount of detail to a model beyond anything I’ve seen until a few years ago. Adding this detail yourself is (nearly) prohibitively time-consuming and certainly not suited for leisurely paced modelbuilding. I guess it’s my way to relax, slowly going nowhere…