
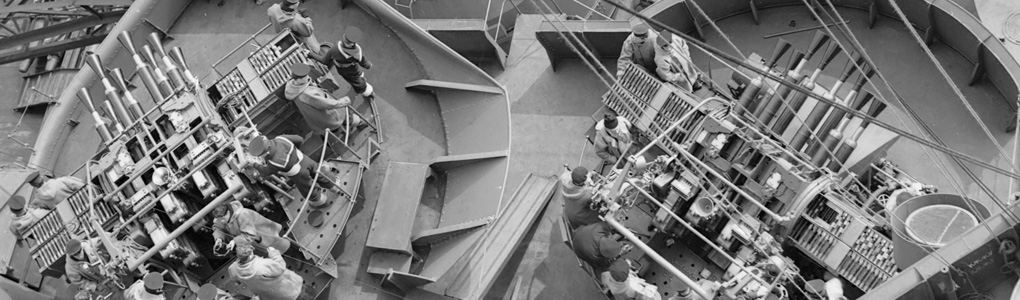
HMS Hood carried 7 Mk XVII High Angle/Low Angle Twin 4″Guns. The first four were added in 1937 and three more in 1940. These guns are open mounts with a gun shield. So, all the detail on the interior remains fully visible. I started working on new shields soon after I received the kit by White Ensign Models. Their shields were not etched but cast and are somewhat on the clunky side.
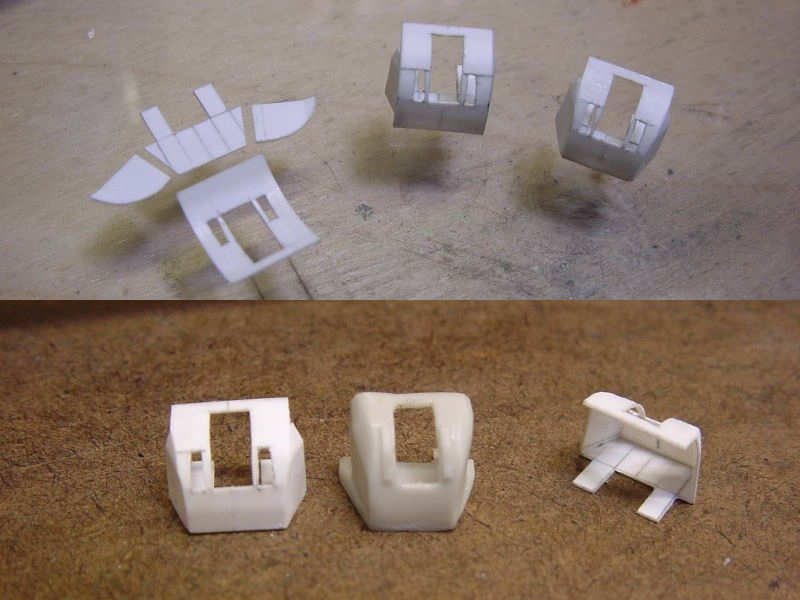
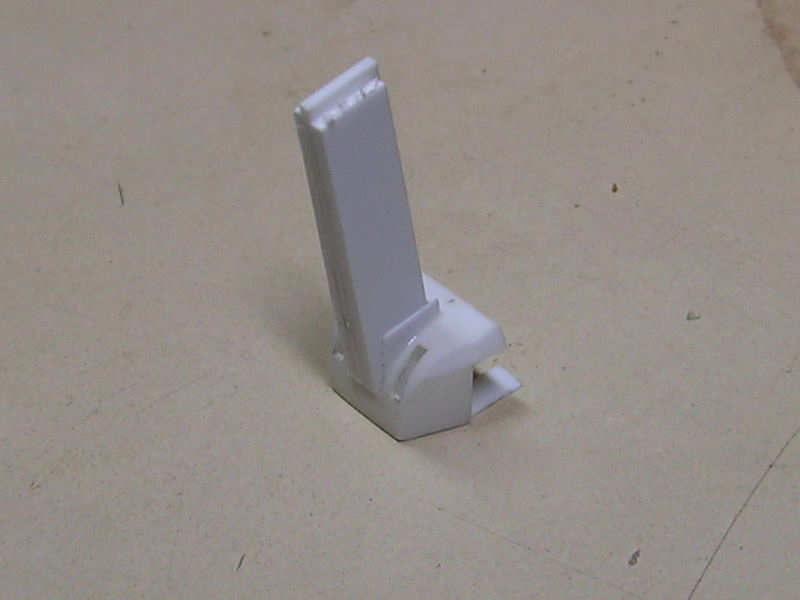
Ah, a very early attempt at building the shields (Actually, this is a result of the second set of seven shields). These parts are made up from individual sheets. It takes some cutting and slicing and a good deal of pencil work to prepare the parts which is quite difficult to do several times in a row. The problem with these parts is that both the tumble-home of the side panels and the curvature of the front panel exerted a little bit of stress on the parts. It’s not as if you could see the cracks developing before your eyes, but the height of the shields varied too much from gun to gun. Also, the parts aren’t very strong and I spent too much time puttying and repairing them. Still, they look much finer than the part by WEM.
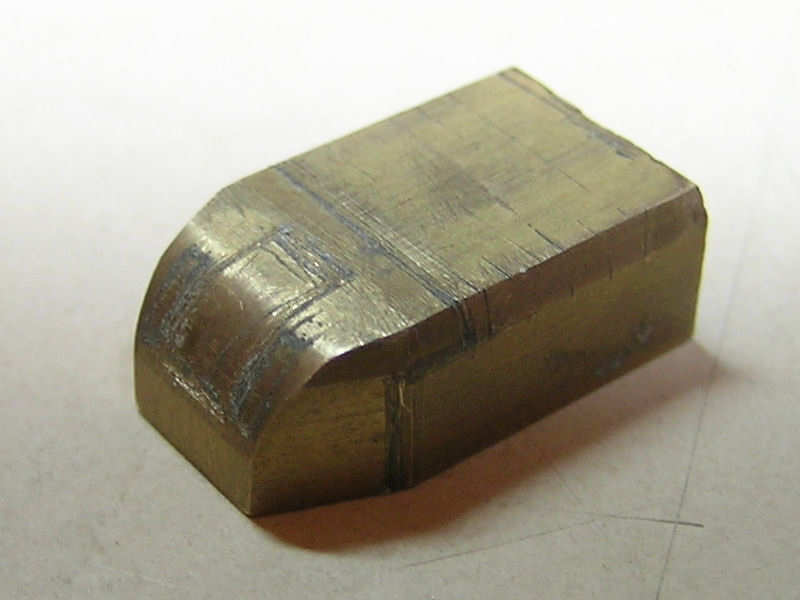
So, I decided to vacuum form the parts. This required a nice template I made from brass. Fortunately I had access to a small milling machine. This is the template after I already finished all the parts, so it shows some wear from cutting.
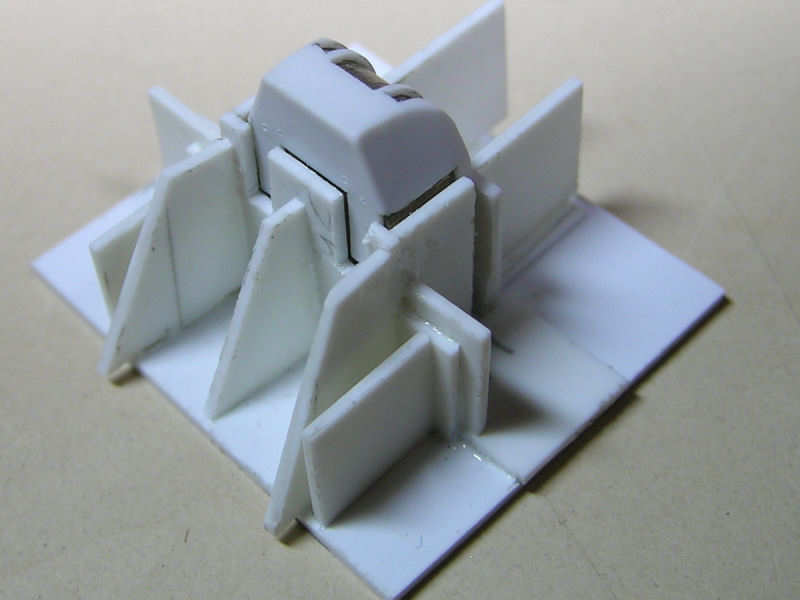
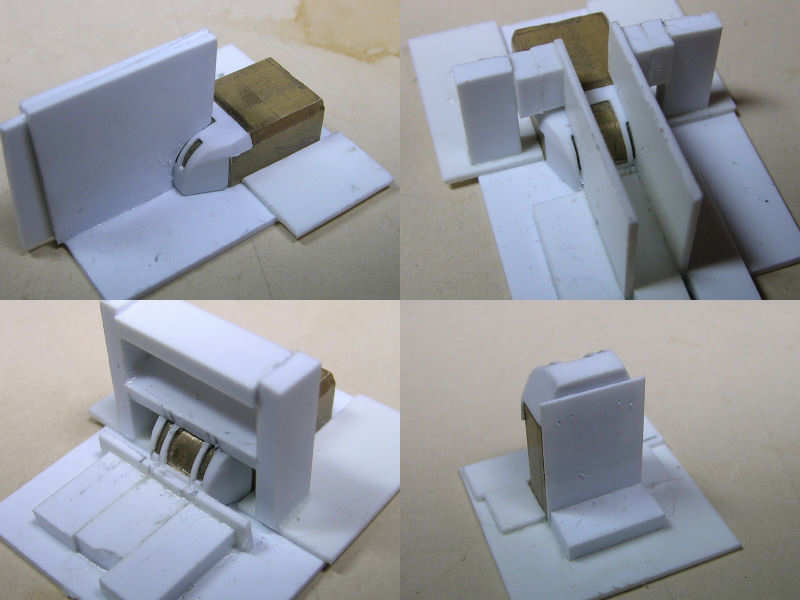
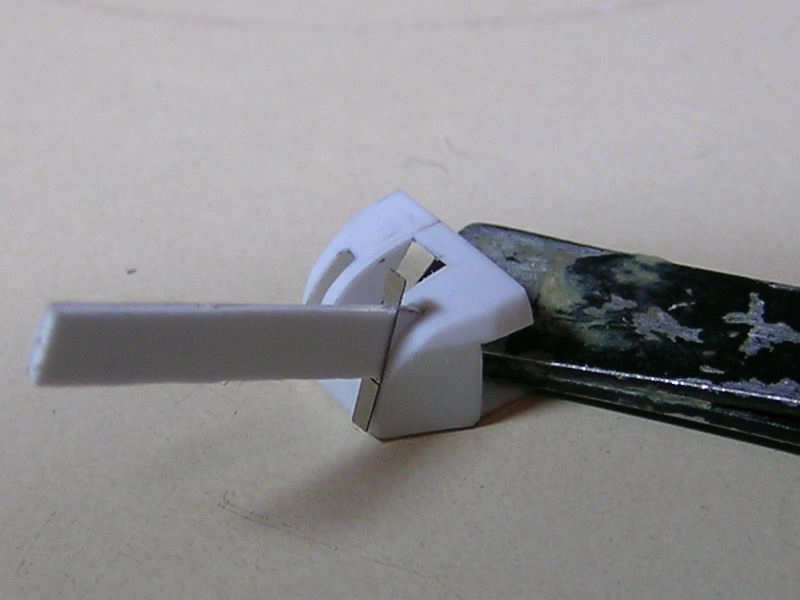
After the vacuum forming, resulting in several failed attempts, I made a series of parts to act as cutting templates. With these templates I was able to trim the parts to size with some consistency. I took my time building these cutting templates, as you can see from the above picture. I used a very fine tip X-acto knife to first scribe-in the first cut. Then I removed the part from the template and carved away.
A top view of the same sequence.
The slots in the front of the shield required a series of cutting templates; two cutting templates for the opening for the guns and the view ports, one for the horizontal lines (note that there are subtle height differences) and one for the position of the chairs. These templates were a bit tricky to align nicely as you want to keep the thickness spacing between the view ports even and small deviations show. Getting them right cost me a few more shields. Ah well.

Another cutting template, this time to trim the two internal bulkheads to size. Building all these templates takes time, but you don’t have to spend hours cutting the parts to size, deciding which ones to keep and ditching the remainder. The right side has a small indentation and the left side is angled inward 4 degrees. When dealing with two of these operations on either side with some chance of failure, templates to the rescue!
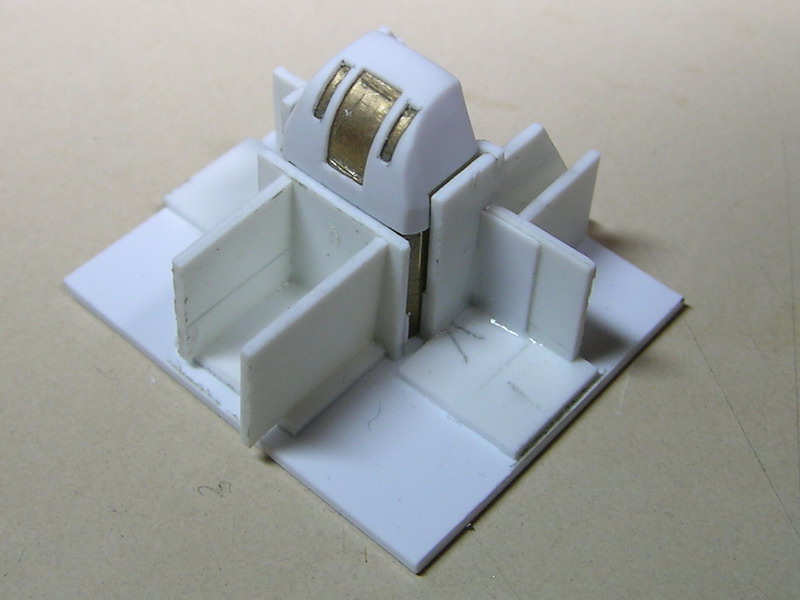
Here you can see the center bulkheads being fitted. I used a small spacer to keep the parts in the right position and angle during gluing. The bulkheads were cut to size and sanded flush with the shield.
Fitting the custom-etched hatches for the view port. Again, using a small spacer helps a lot in aligning the part correctly. Note how well the inner bulkhead tapers exactly toward the top of the gun shield

Most of the detail on the inside of the gun mount is made from custom-etched parts, including a lot of seats. Here the use to steel for the etched parts appeared to be a bad choice. After folding, the material had a tendency to break, unlike the more malleable brass (note to self).
This is just a small test to see if it were possible at all to place the seats in the shield with some accuracy. Apparently, it is, even though the seats are at odd angles. Can you see that the chairs are slightly misaligned? Neither can I, but the inner bulkheads were in the way for the #3 seat (from left to right). I suppose this is a small error in the cutting templates.
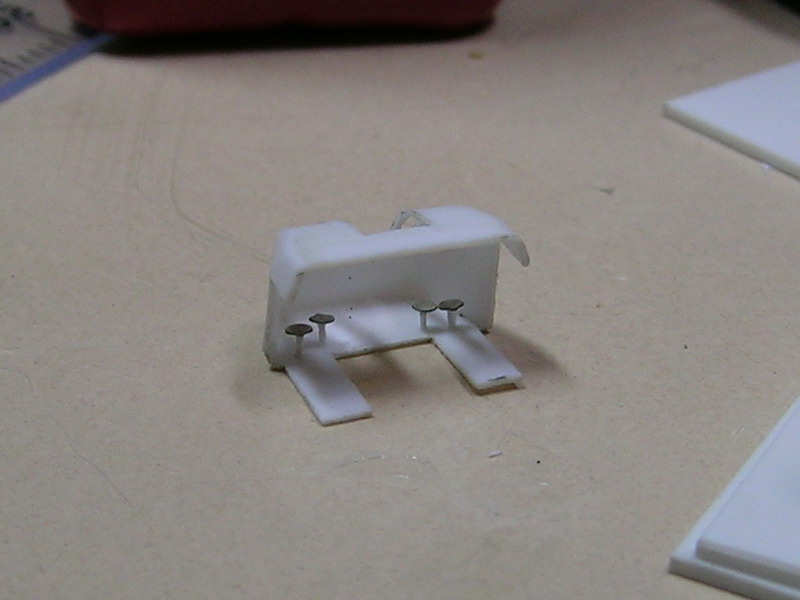
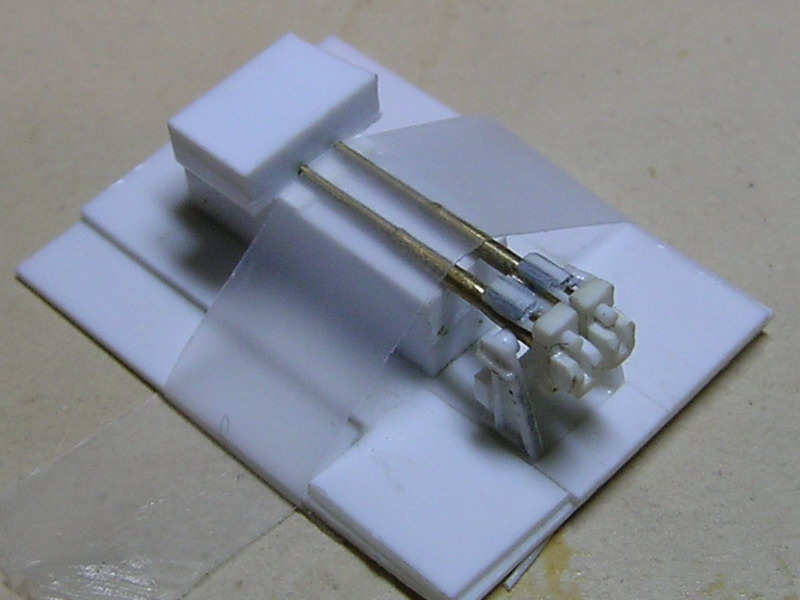
Here are the guns themselves are being glued together in yet another template. The guns were custom-order work by Steve Nuttall.
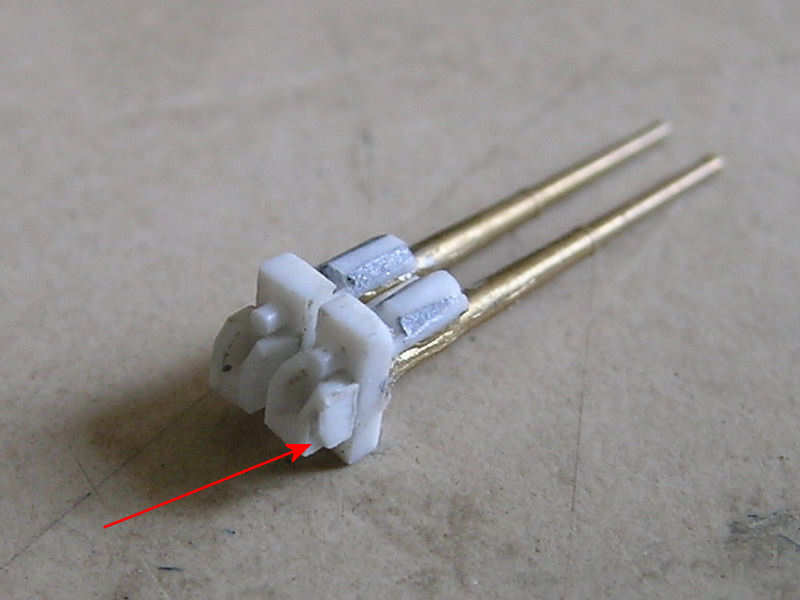
There’s a bit of detail on the breeches as well. Note the cute detail at the end of the red pointy thing.
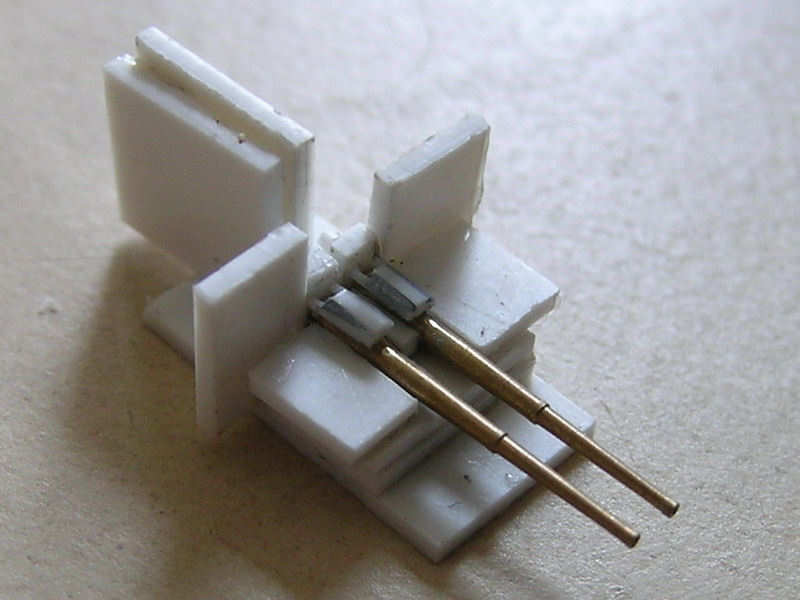
All guns and their trunnions, in a dry-fit. I got a bit carried away with the etching, so the elevation gear is visible. I doubt it is visible on the final model, but just having it on this very photograph was worth the effort. Well, not really, but I was experimenting with the etching, finding out what is possible and what isn’t. The part worked out really well.
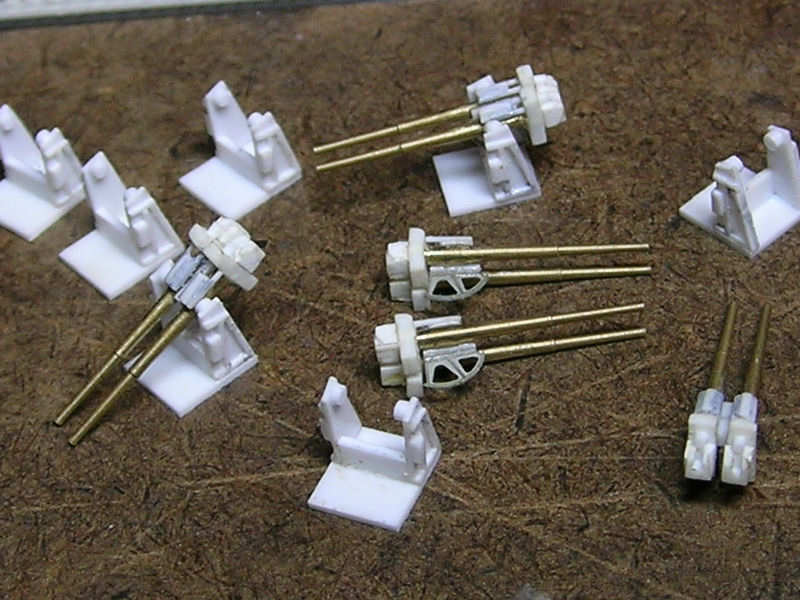
Here the guns are bring glued to the trunnion with a template.