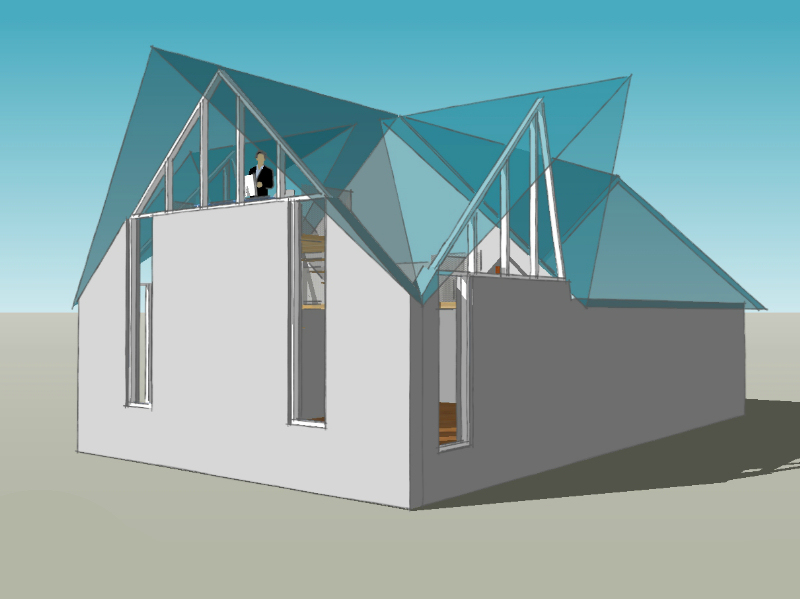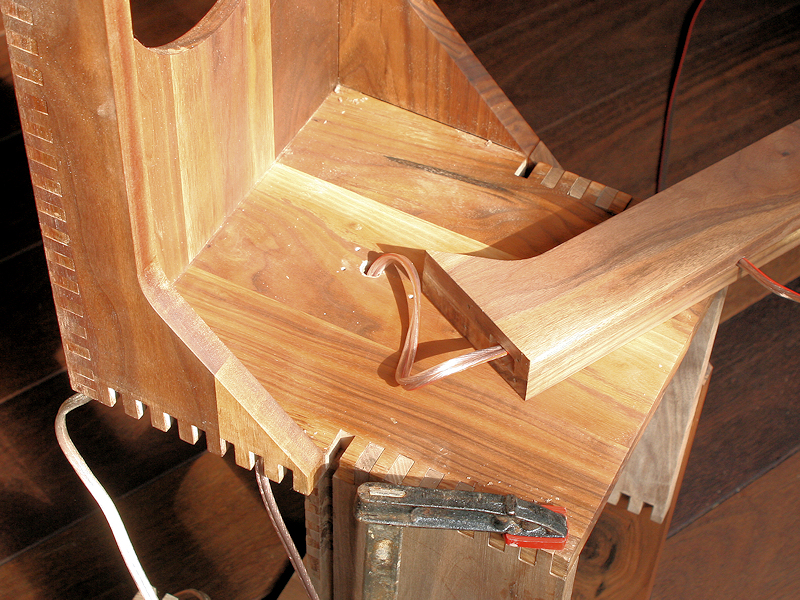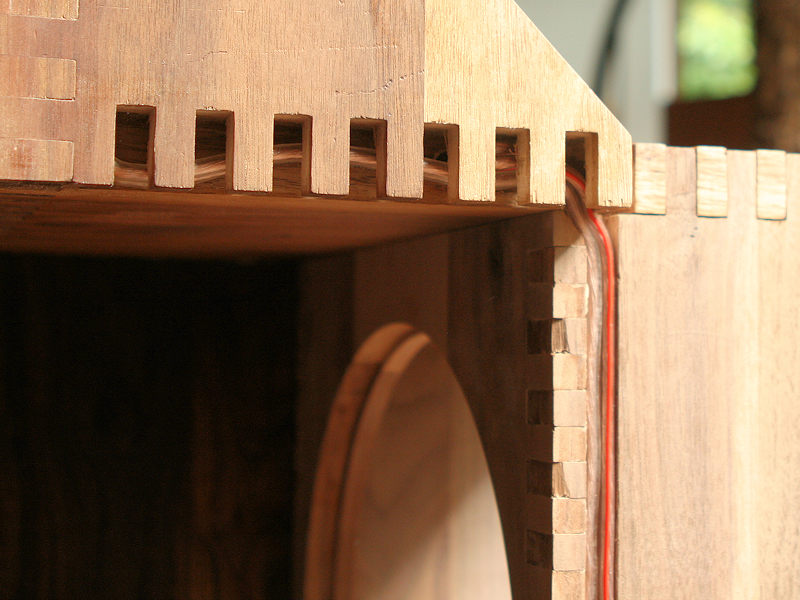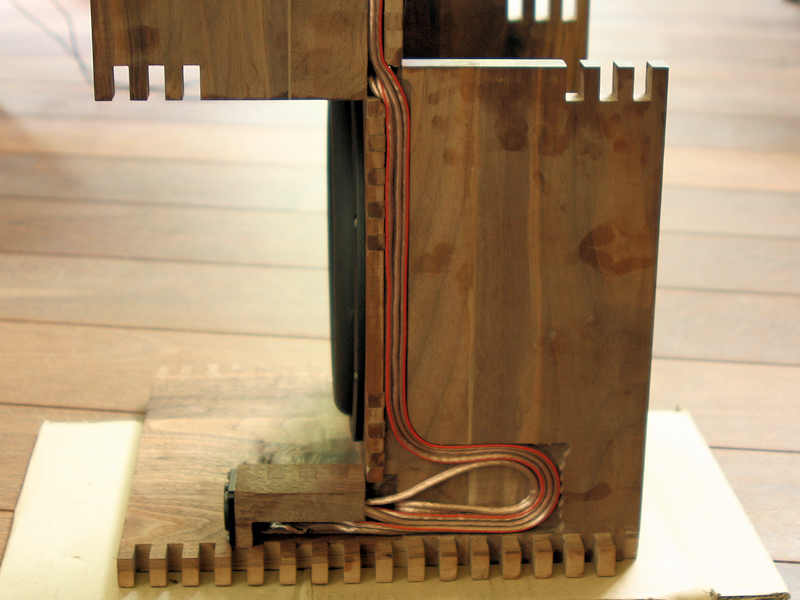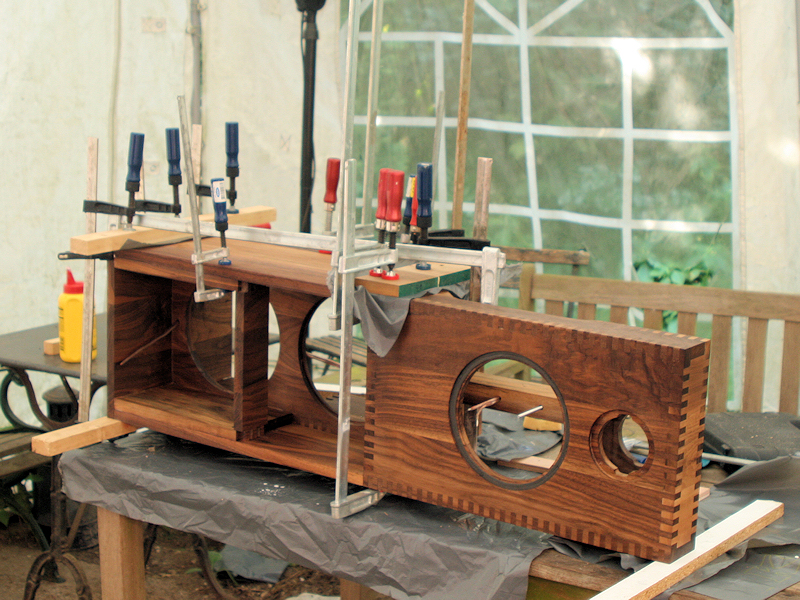
The cabinet of the Orion is not so complicated and actually is less demanding than a boxed loudspeaker; the general shape just needs to be correct. I needed to deviate (slightly) from the plans to change the appearance to straight lines as my wife really doesn’t like curves on her speakers (no KEF or B&W for me). I decided to build all the individual panels with interlocking box joints as I like the appearance of these joints showing the structure of the wood and variation in colour. However, the box joints do introduce risks; the work to make each panel increases dramatically and inaccurate work may result in panels that no longer interlock nicely. This is exactly what happened, but the result isn’t too bad for a first attempt.
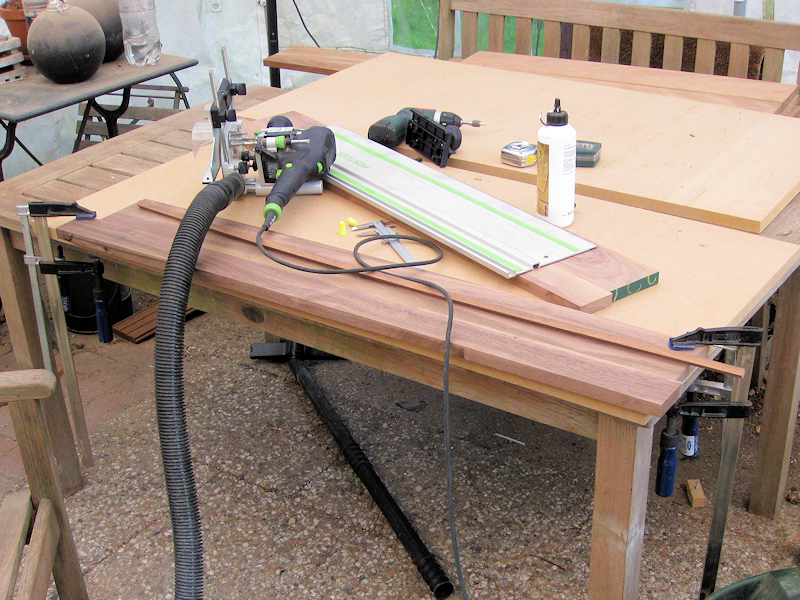
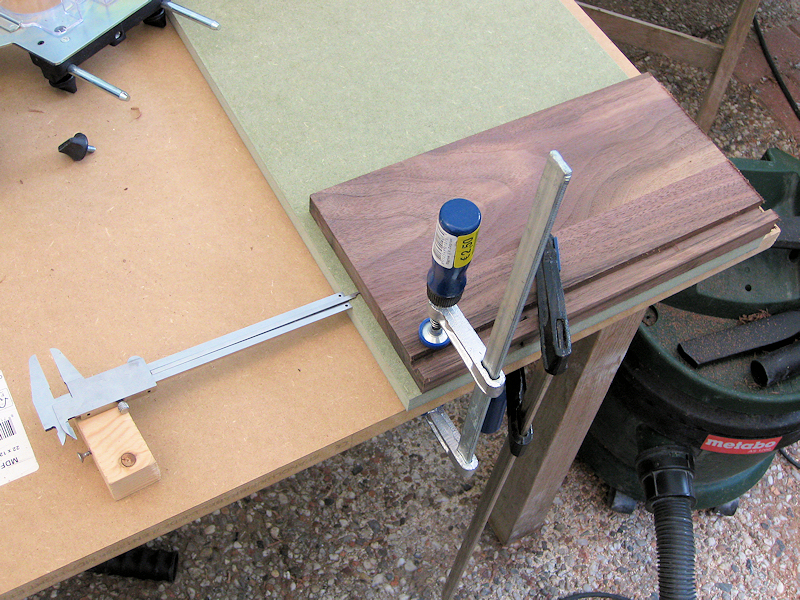
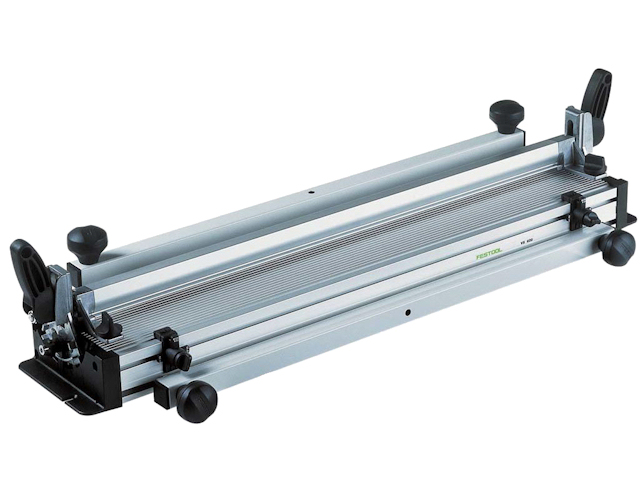
Making the box joints would be most difficult if it weren’t for a Festool jointing system: box joints made easy. You clamp the panels in the jointing system, place a guiding template and just let the router follow the guide. Naturally, I should say box joints made comparatively easy as I really had a lot of trouble making proper joints at first even after thoroughly reading several how-to’s available on the Festool site. Using the router properly is a challenge by itself. You really have to mill in the right direction or the bit will act as a wheel and propel the router forward. If the lateral movement isn’t restricted by using guides or router slides, the router ends up where it’s not supposed to go. Before you know it, you ruin a work piece. I spent many hours practising and making router shapes trying to master the router. This mastering process is far from over though I’m getting less scared of using it. The number one rule when using the jointing system is: no not lift the router while routing. I did this once damaging a template, the work piece and my self-confidence. The normal procedure for making the box joint is clamping both ends of the two to-be-joined workpieces in the jointing system so that they will fit nicely. I milled all the parts separately so that it became important to start a joint at the correct position. I didn’t think of it until later, but I should really have made some guide blocks to have accurate and repeatable positions to work with.
The panels were always clamped strongly between two strips of MDF to avoid splintering when the routing bit enters or exits the panel; this reduced the splintering drastically, although damage remains visible on the cabinets when the natural structure of the wood couldn’t take the stress from the routing.
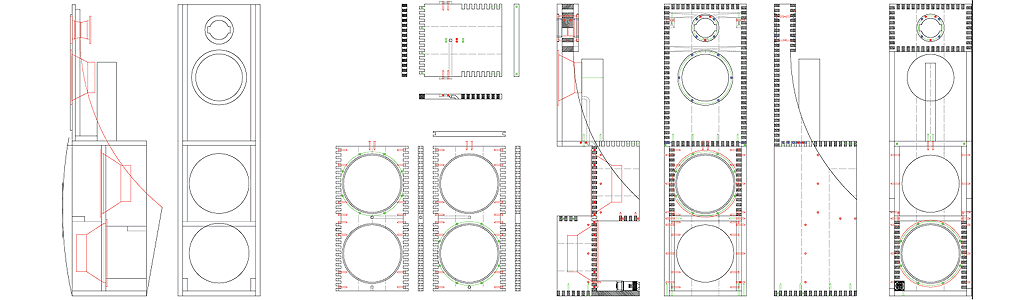
As I used the Festool jointing system the dimensions of the Orion Cabinet had to be changed to whole centimeters; the router bit is 10.0mm and the box joint step size is 20.0mm. The panel thickness was reduced to 20 mm. The goals for the redesign of the cabinet were simple:
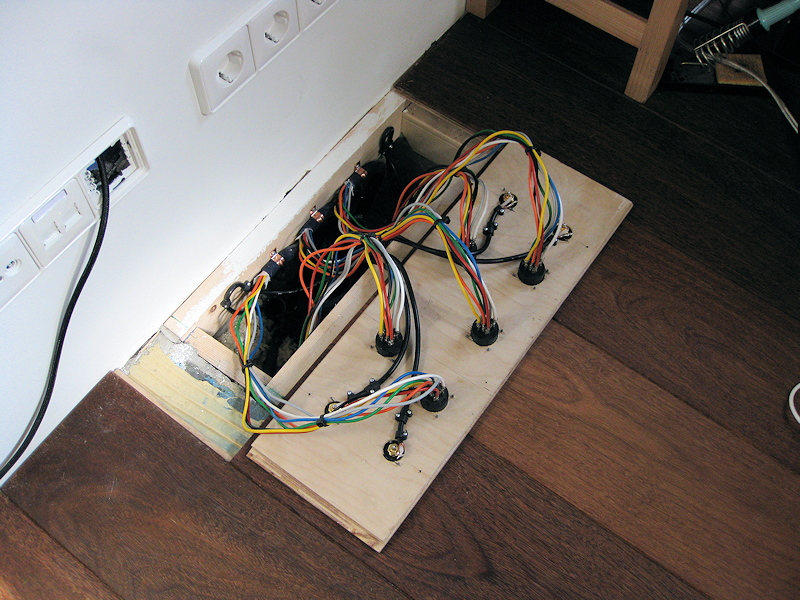
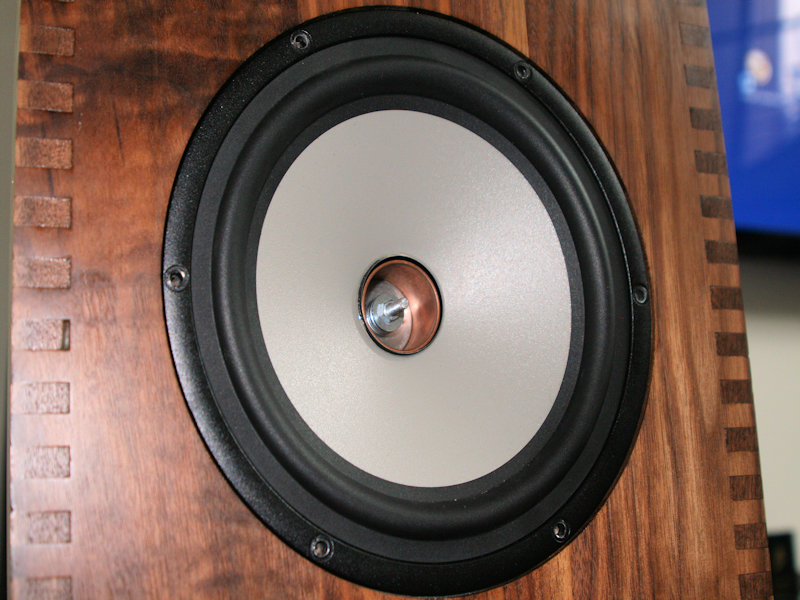
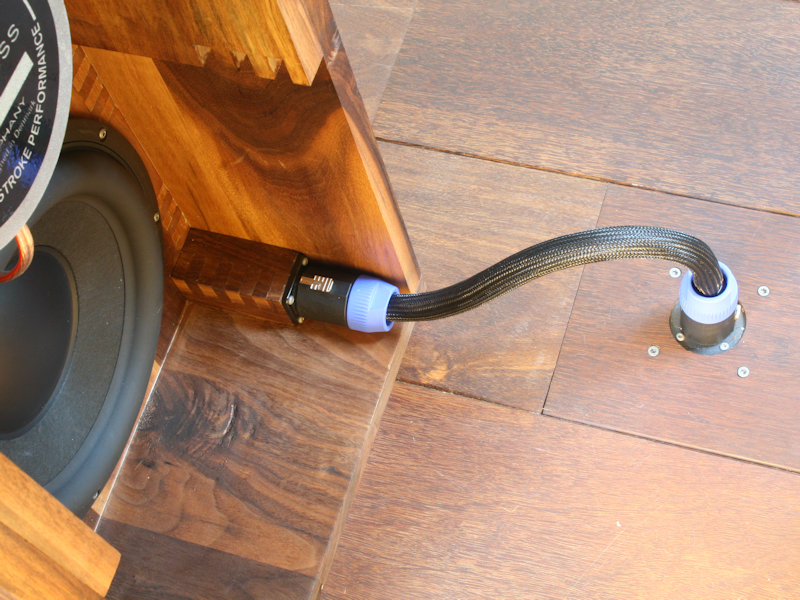
1) No external wiring visible except from the cabinet directly to the drivers. One of the disadvantages of an open baffle loudspeaker like Orion is that you can see the wiring all too clearly which I do not like. When a slot is routed in both box joints of two panels, a small channel is created that can house the wire. Of course, a total four wire pairs need to be hidden.
2) Reduce the chances of failure of a part during manufacturing. This sounds straightforward enough but I started this project without any experience in wood working. I knew from my other hobbies that trial and error is required before you obtain an acceptable result. By practising with the router, I reduced the changes for failure slightly, but not enough. I also knew that I needed to be very careful when cutting the longer panels to length and that I do not have the tools at home to do this. The side panel of the Orion had to be split; the jointing system simply isn’t long enough.
3) No or as little visible screws as possible. The early designs leaned heavily on screws and these were all placed in inconspicuous places or covered by other panels. As the box joints themselves proved nearly strong enough to keep the entire speaker together I used glue almost exclusively so the screw headache was no longer present.
4) Ease of assembly. I spent a lot of time figuring out the correct build order and how to connect what to what. In the end the screwless design resulted in a very simple assembly order and this became less important.
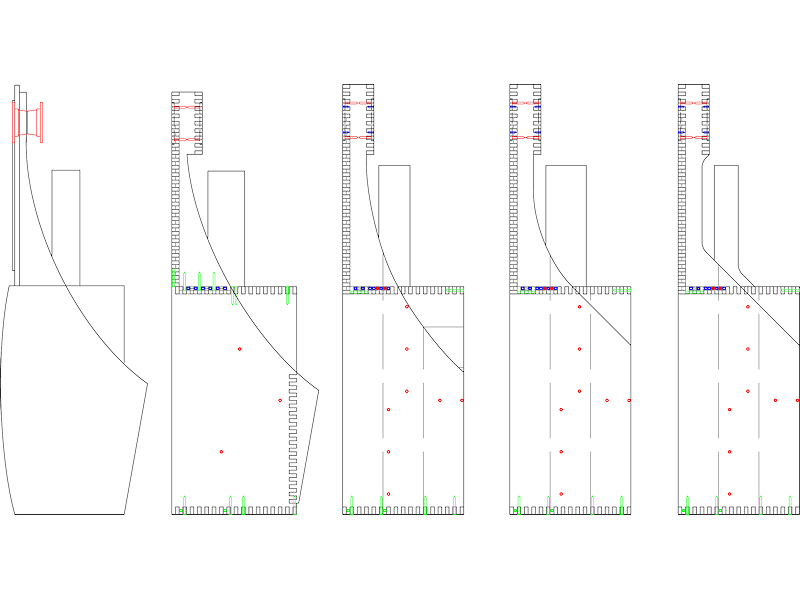
I went to work with these items in mind. Move a panel a bit left or right, reposition a screw, change the joints from odd-even to even-odd between panels, etcetera. Perhaps I overdid the planning phase but I find the result simple and elegant, not showing traces of all the worrying that went before it. The above shows the original Orion profile at left and some of the slight changes evolving into the final variant. The baffle for the midrange was positioned a bit forward to be flush with the woofer cabinet, changed into the dimensions recommended in the plan set when you do not use the curved outline.
Introduction
The plan
Design changes
Signal processing
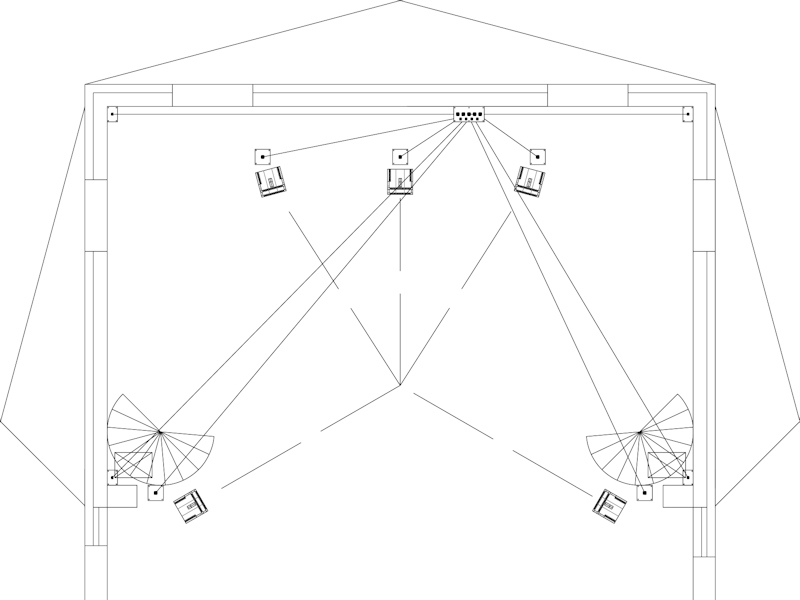
The listening room
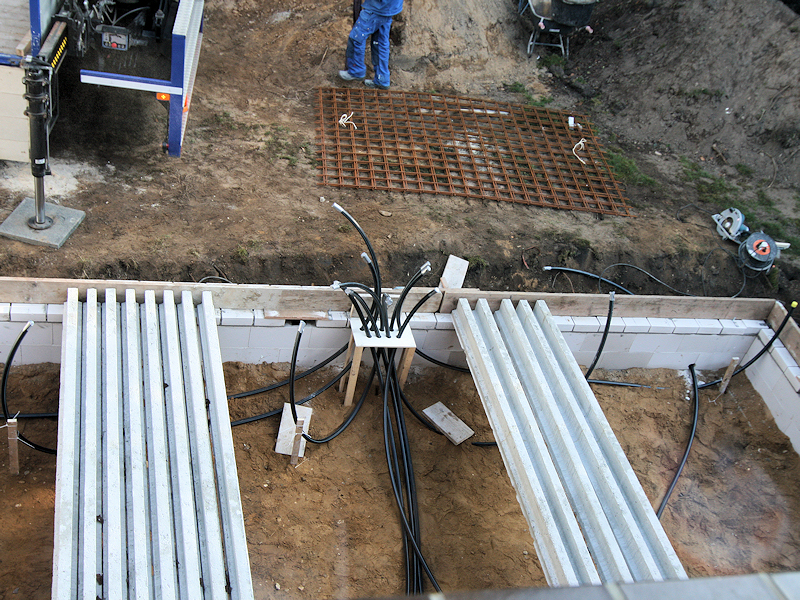
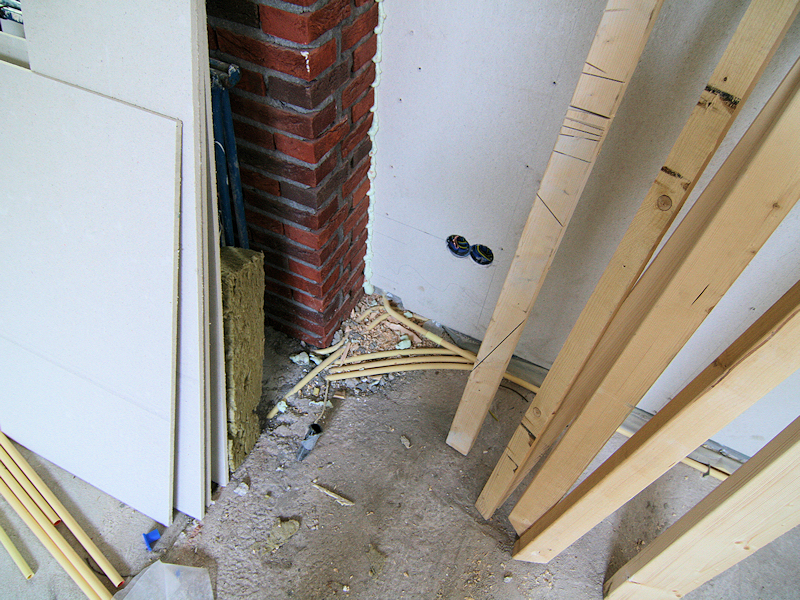
Production
Listening