
(This post was updated to remove some erroneous conclusions on the decks, to be discussed in the next decksercising post)
My model was built using Evergreen V-grooved styrene. At the time I didn’t know there was a finer material called Car Siding which I prefer to having used. Too late now. Also, many preprinted and lasercut decks than can be bought and added to most models. Some of these look really great but even with the finest wood grain they still look a bit odd to me, but they add a lot of detail I might have added to my model. What do the decks of HMS Hood look like in terms of structure?
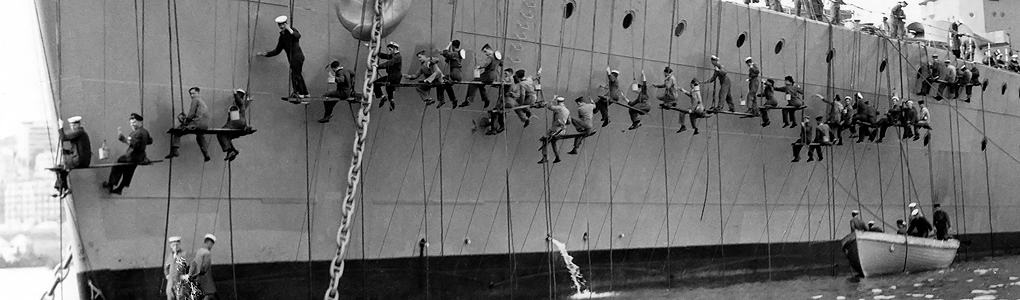
Here you can see the deck in progress of HMS Hood taken from Ian Jonhston’s Clydebank Cruisers (I cannot recommend this book enough). This and other images show how they started with a line of two planks from start to end and the rest are added later. At the far left of the image you see the planks are simply cut off at an angle.
Note how the planks end; the one at the far left corner has the same length as every fifth one to the right of it.
Now, on many of the premade decks have a lot of detail in the deck around all the pieces of equipment, but here there is no structure whatsoever in the deck other than the planks. So no planks / frames around skylights, hatch comings, vents and so forth.
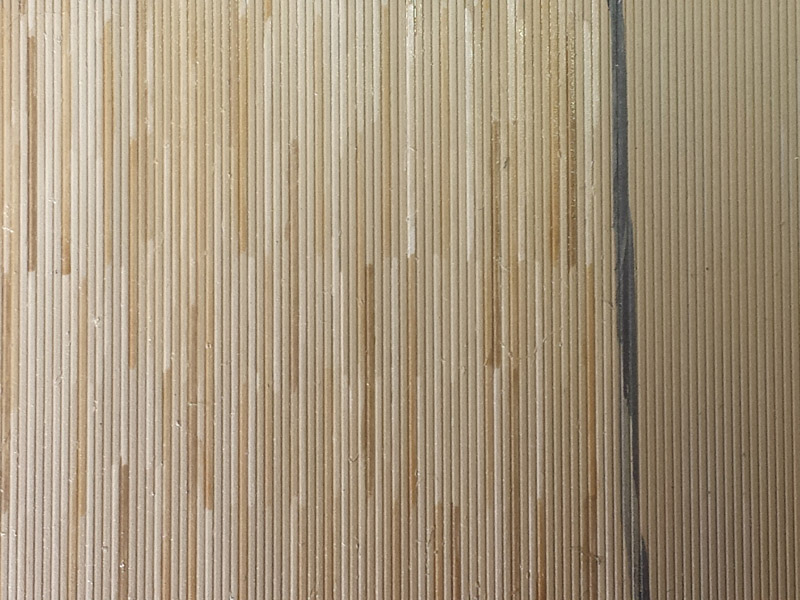
On t0 the painting . I start by airbrushing the deck in Humbrol 72 (Khaki drill mat) and letting it dry for 24 hours. I then first add a new layer of H72 by brush and paint in a very large scale accents adding white and a tiny bit of van Dyk brown. Then it’s time for my smallest brush, painting in the planks semi regularly with a larger brush standing by for corrections. The deck is painted with H72 and H110 (natural wood) with white and van Dyk brown mixed in. Although the real deck is irregular, I wanted to have at least some structure visible and painted an odd/even spacing, but not so much you would notice. This is before adding the wash that pulls all colors closer together, so one goal of the exercise was to learn how far the colors need to be apart, before washing, to look good after washing. I made several test pieces, also throwing in some H83 (too yellow) and H84 (H72 relabeled; at least, they are so close in tone I wonder why they bothered to issue it), but I like this one best.
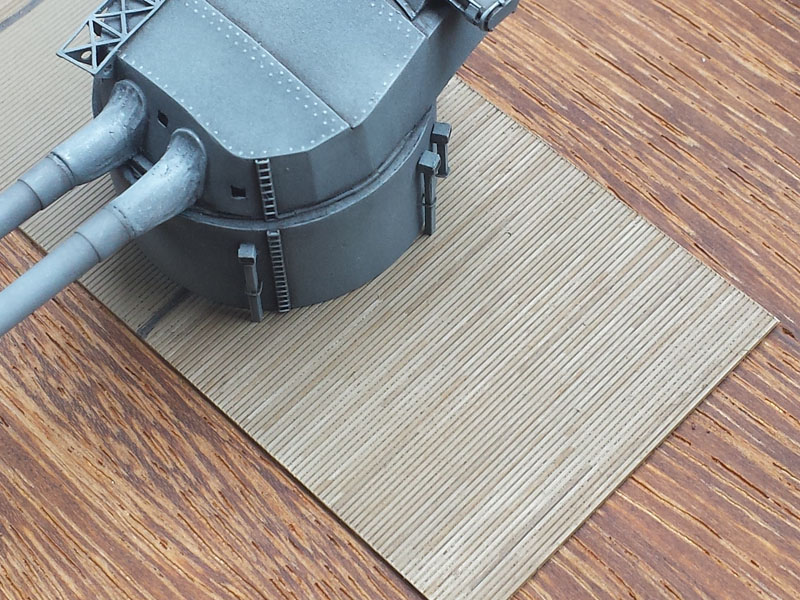
After the paint as dried (again 24 hours) I added a few van Dyk washes; I wanted some brown to interact with the planking detail and not black. I also wanted to avoid an overly hard effect of black caulking lines. I think I need to add a coating first as the paint was damaged in one location (beneath the turret). I really like the effect I have now but I’m a bit conflicted as I do not want to see individual planks but I also want color variation! And I want to see individual planks too and for them to be all the same color!
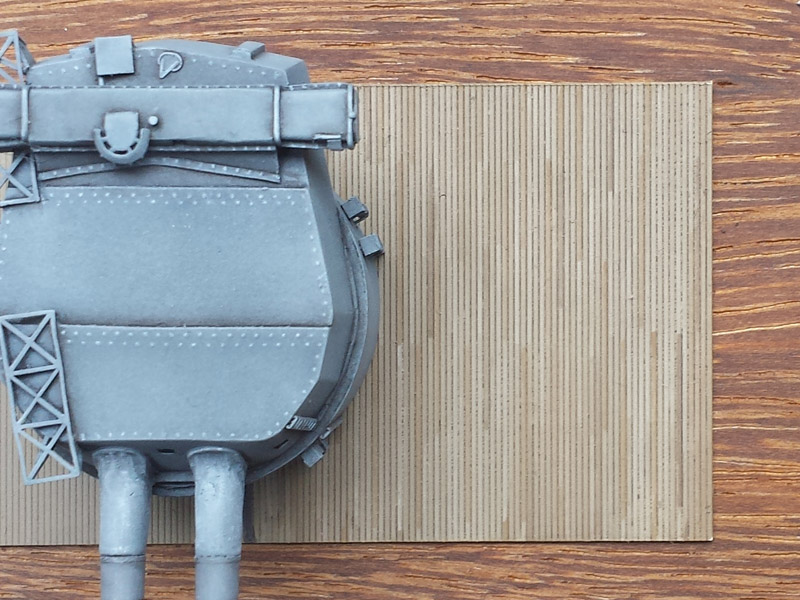
I have to be a bit more careful with the H110 but otherwise I think the effect is starting to look really good. I also have to be careful with all the small hairs and dust collecting in the paint; some of it probably accumulate during drying (add cap when drying) and lot of dust flows with wash…
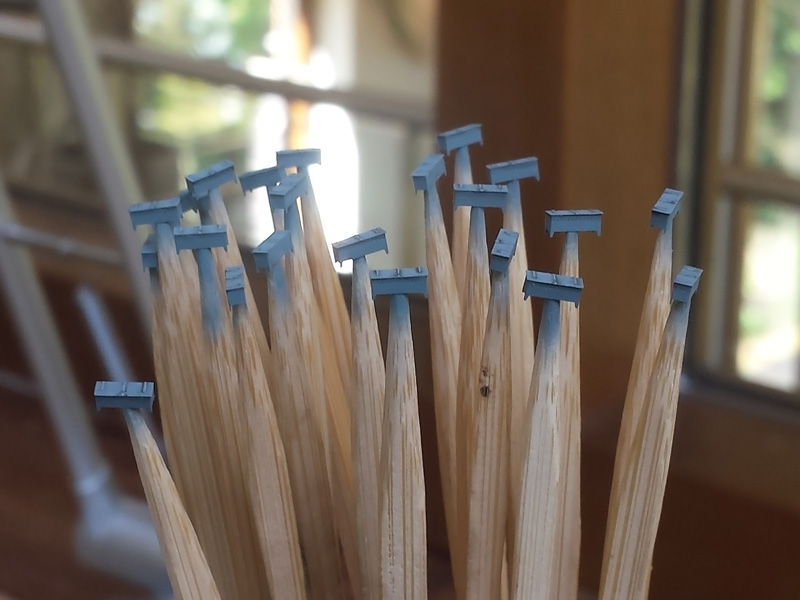
Meanwhile, all photo-etched deck lockers have been soldered and painted as a small how-to-highlight-tiny-details painting exercise. A few minor corrections are required in a few shadow lines. I really like how well my solution for the design of these lockers worked out with the small legs running to the far edge of the locker extending below the fold line of the part done like so
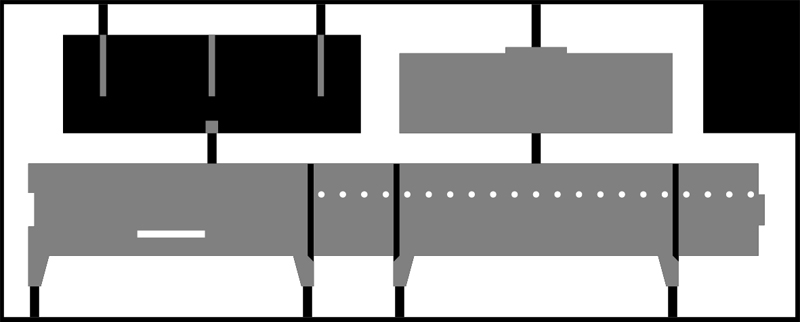
The part right was supposed to act as a backbone but was not required; it was much easier to solder the part without it. The lid was held in place with tape before soldering which was a nice new challenge in terms of positioning.
Leave a Reply
You must be logged in to post a comment.