Page 11 of 28

More Deckersizing

(This post was updated to remove some erroneous conclusions on the decks, to be discussed in the next decksercising post)

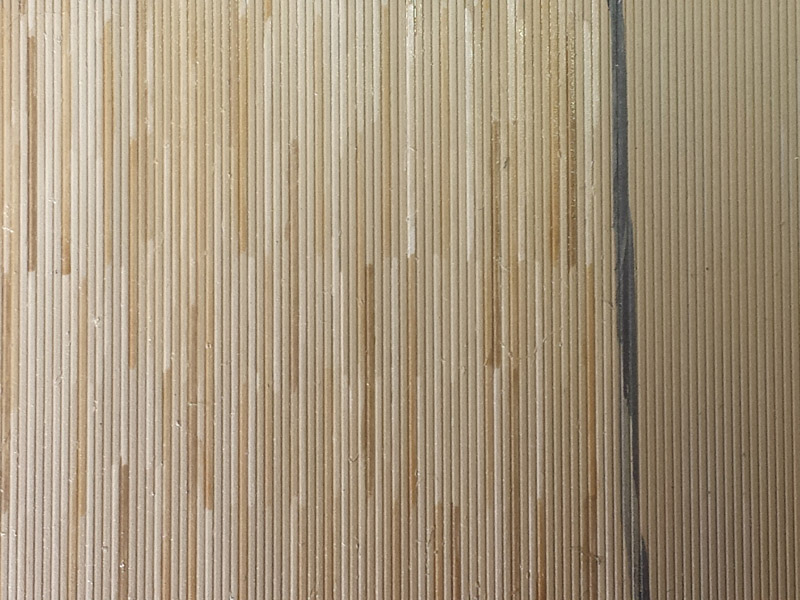
My model was built using Evergreen V-grooved styrene. At the time I didn’t know there was a finer material called Car Siding which I prefer to having used. Too late now. Also, many preprinted and lasercut decks than can be bought and added to most models. Some of these look really great but even with the finest wood grain they still look a bit odd to me, but they add a lot of detail I might have added to my model. What do the decks of HMS Hood look like in terms of structure?
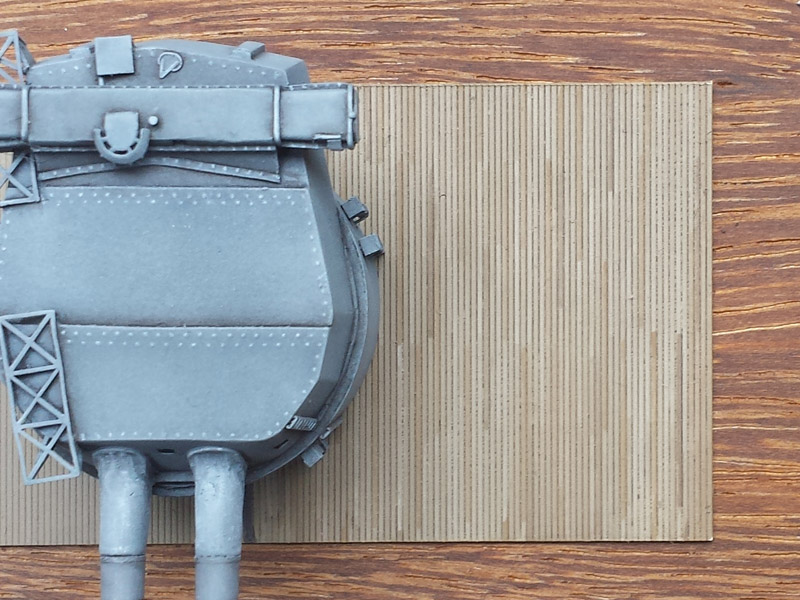
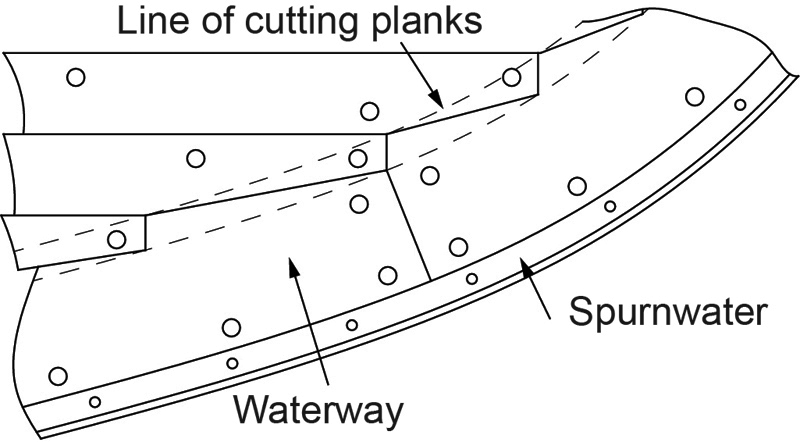
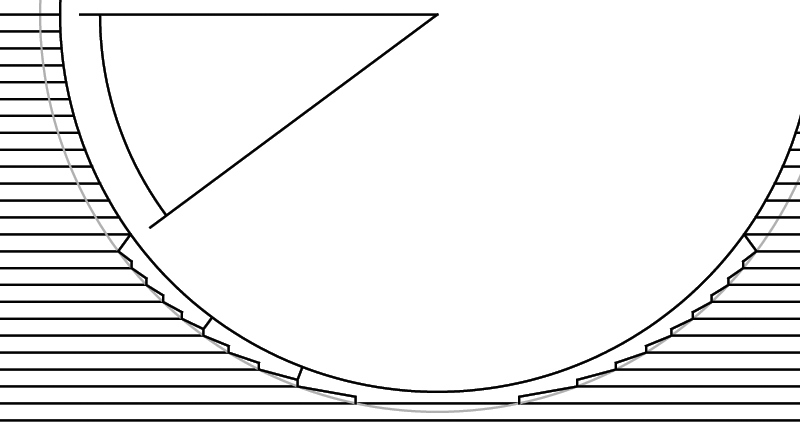
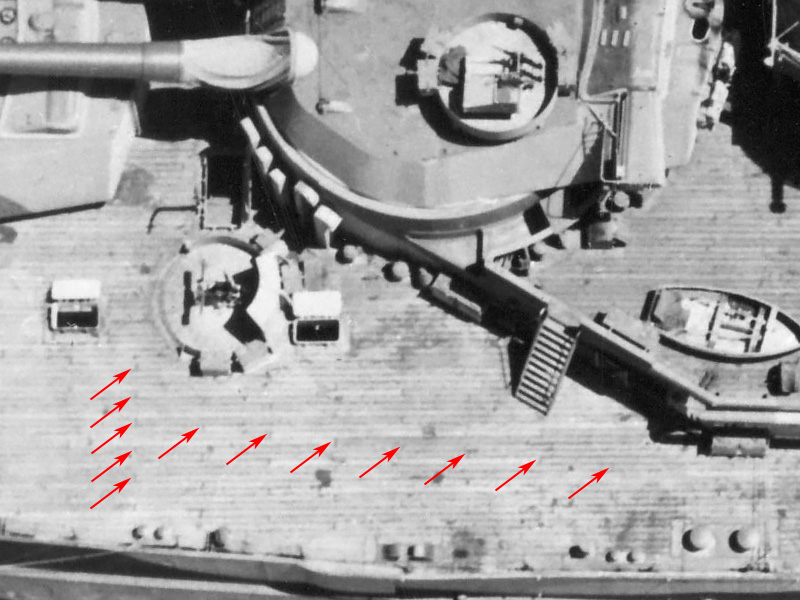
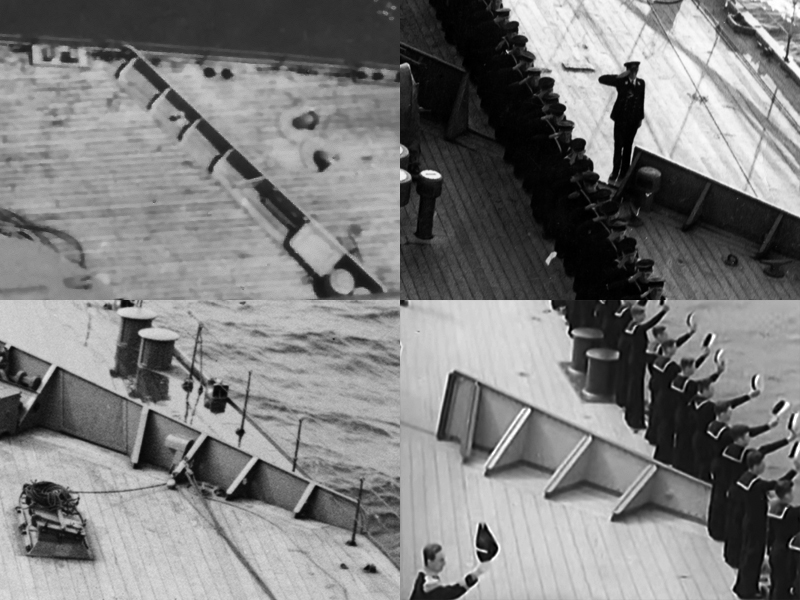
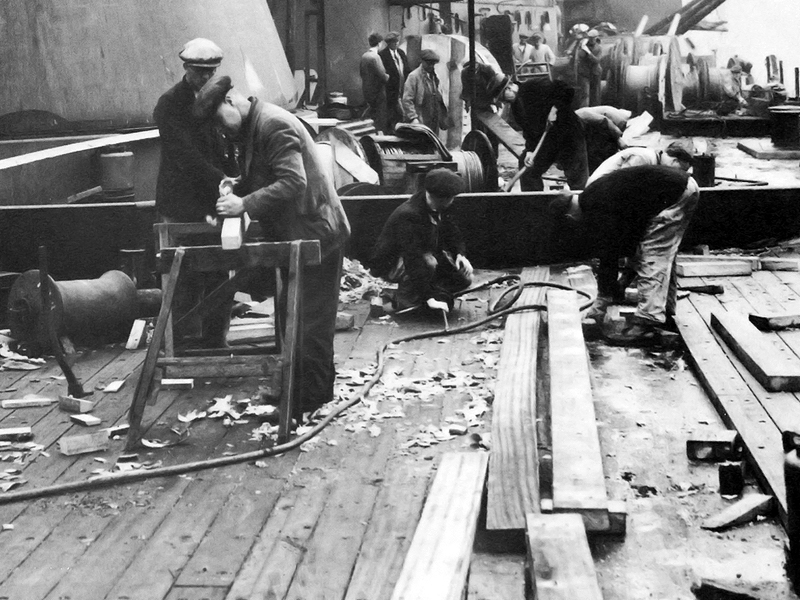
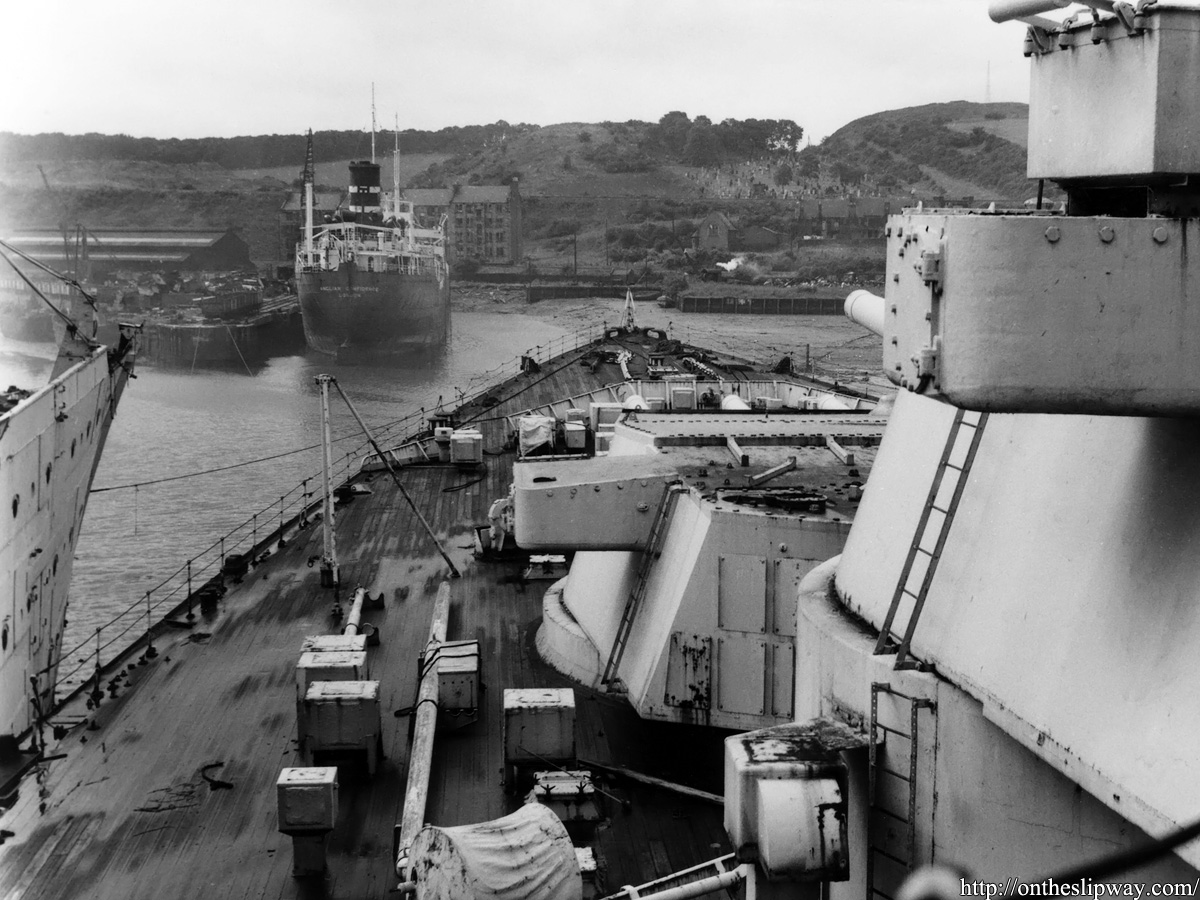
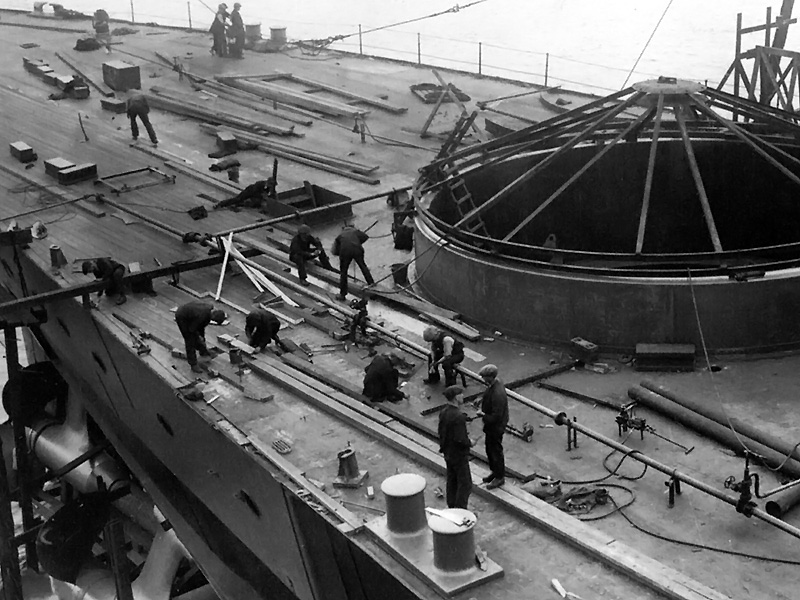
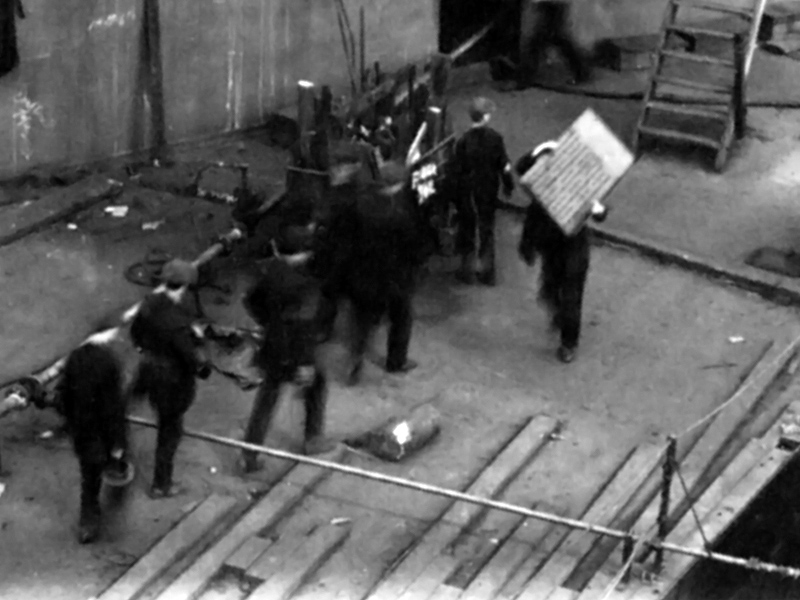
Here you can see the deck in progress of HMS Hood taken from Ian Jonhston’s Clydebank Cruisers (I cannot recommend this book enough). This and other images show how they started with a line of two planks from start to end and the rest are added later. At the far left of the image you see the planks are simply cut off at an angle.

Note how the planks end; the one at the far left corner has the same length as every fifth one to the right of it.

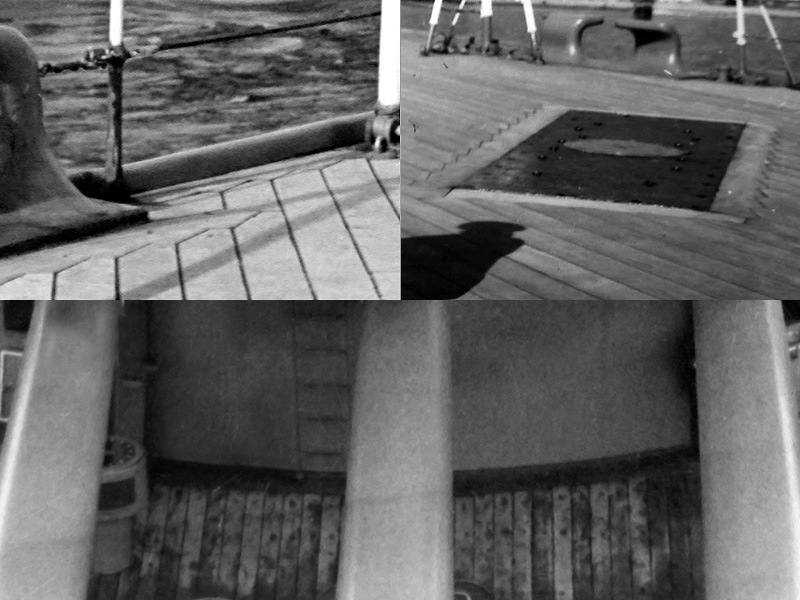
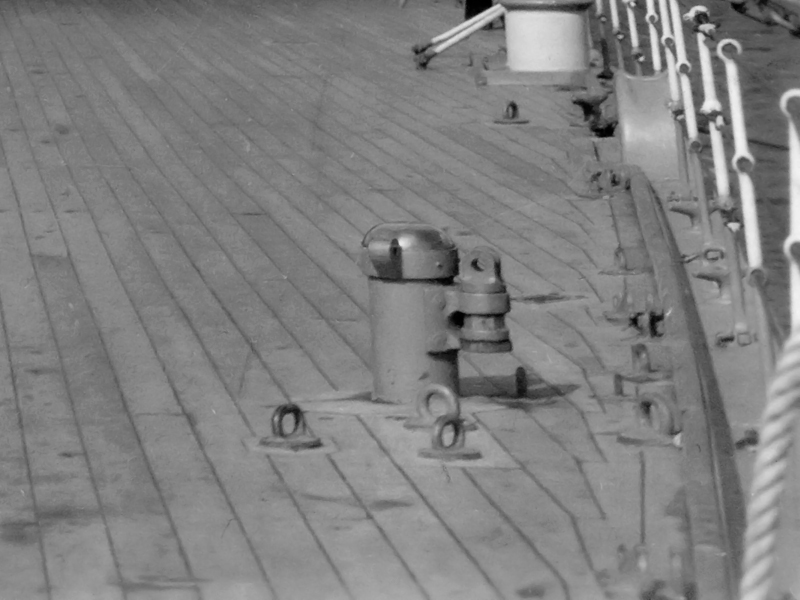
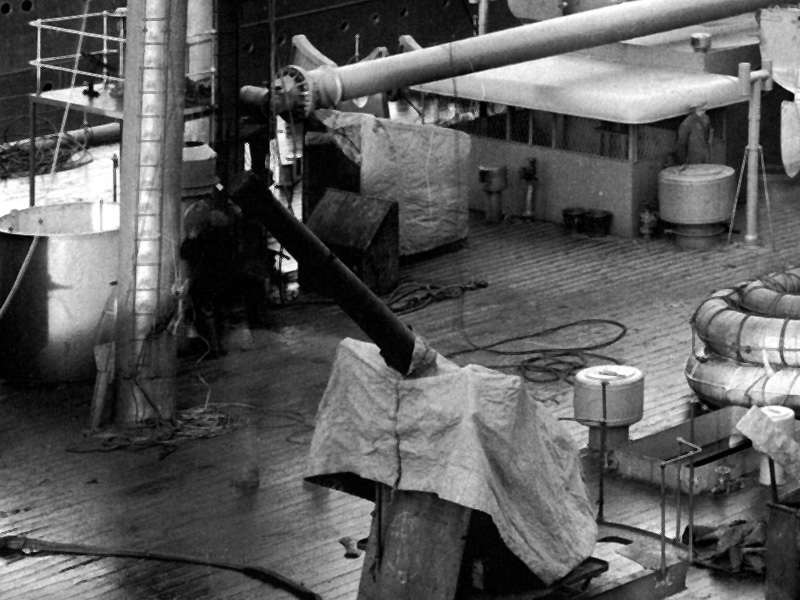
Now, on many of the premade decks have a lot of detail in the deck around all the pieces of equipment, but here there is no structure whatsoever in the deck other than the planks. So no planks / frames around skylights, hatch comings, vents and so forth.

On t0 the painting . I start by airbrushing the deck in Humbrol 72 (Khaki drill mat) and letting it dry for 24 hours. I then first add a new layer of H72 by brush and paint in a very large scale accents adding white and a tiny bit of van Dyk brown. Then it’s time for my smallest brush, painting in the planks semi regularly with a larger brush standing by for corrections. The deck is painted with H72 and H110 (natural wood) with white and van Dyk brown mixed in. Although the real deck is irregular, I wanted to have at least some structure visible and painted an odd/even spacing, but not so much you would notice. This is before adding the wash that pulls all colors closer together, so one goal of the exercise was to learn how far the colors need to be apart, before washing, to look good after washing. I made several test pieces, also throwing in some H83 (too yellow) and H84 (H72 relabeled; at least, they are so close in tone I wonder why they bothered to issue it), but I like this one best.

After the paint as dried (again 24 hours) I added a few van Dyk washes; I wanted some brown to interact with the planking detail and not black. I also wanted to avoid an overly hard effect of  black caulking lines. I think I need to add a coating first as the paint was damaged in one location (beneath the turret). I really like the effect I have now but I’m a bit conflicted as I do not want to see individual planks but I also want color variation! And I want to see individual planks too and for them to be all the same color!

I have to be a bit more careful with the H110 but otherwise I think the effect is starting to look really good. I also have to be careful with all the small hairs and dust collecting in the paint; some of it probably accumulate during drying (add cap when drying) and lot of dust flows with wash…

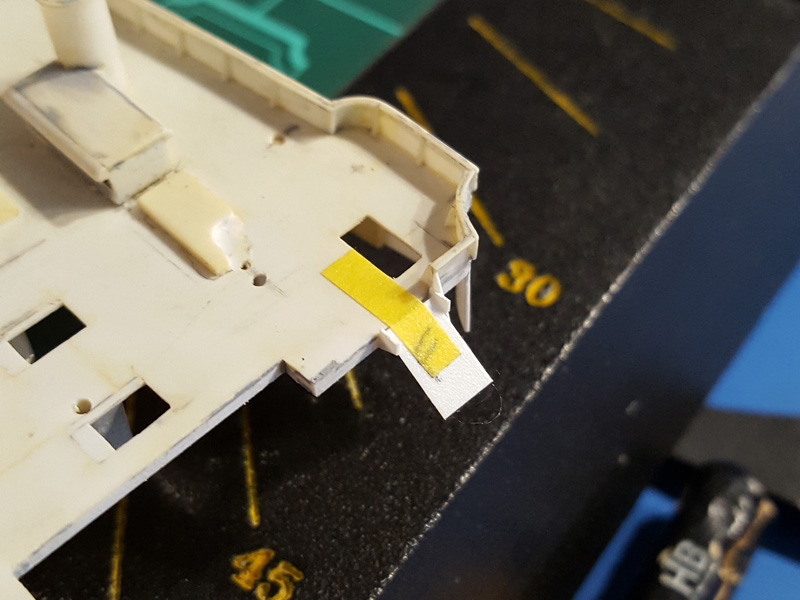
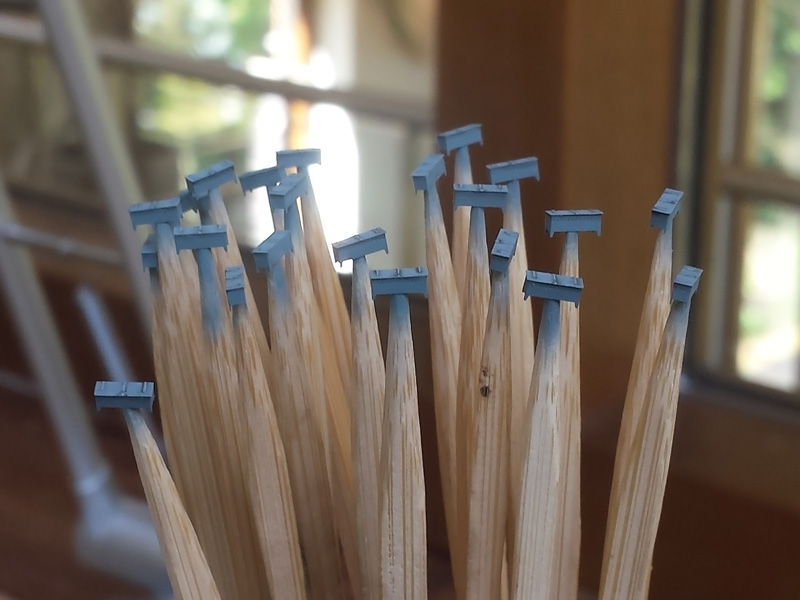
Meanwhile, all photo-etched deck lockers have been soldered and painted as a small how-to-highlight-tiny-details painting exercise. A few minor corrections are required in a few shadow lines. I really like how well my solution for the design of these lockers worked out with the small legs running to the far edge of the locker extending below the fold line of the part done like so

The part right was supposed to act as a backbone but was not required; it was much easier to solder the part without it. The lid was held in place with tape before soldering which was a nice new challenge in terms of positioning.

Decksercising

I’ve been exercising my painting skills and trying to find a good way to get the best coat of paint on my model. The decks are still a difficult subject for me. I really do not like real wooden decks and most techniques whereby batches of individual planks are airbrushed in seem a bit harsh in contrast and I want to be able to paint in detail and repair work in later. Let’s have a look at decks first.

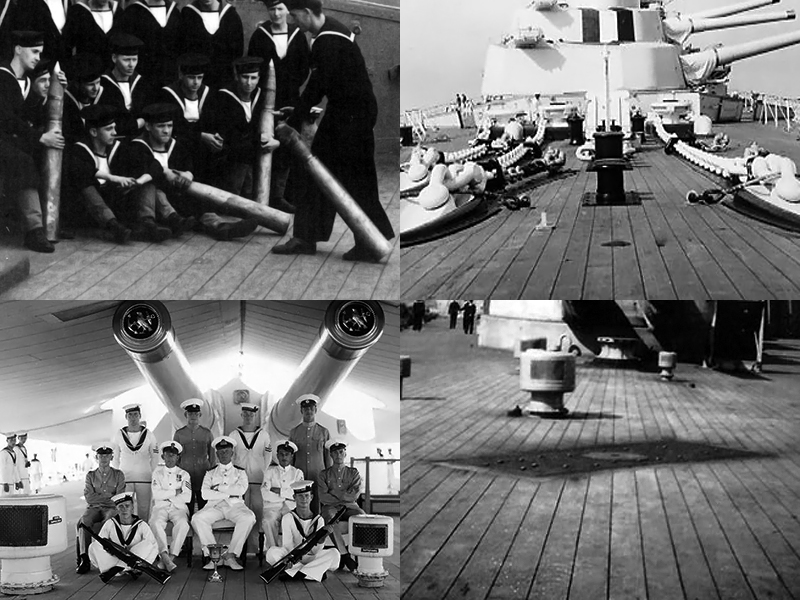
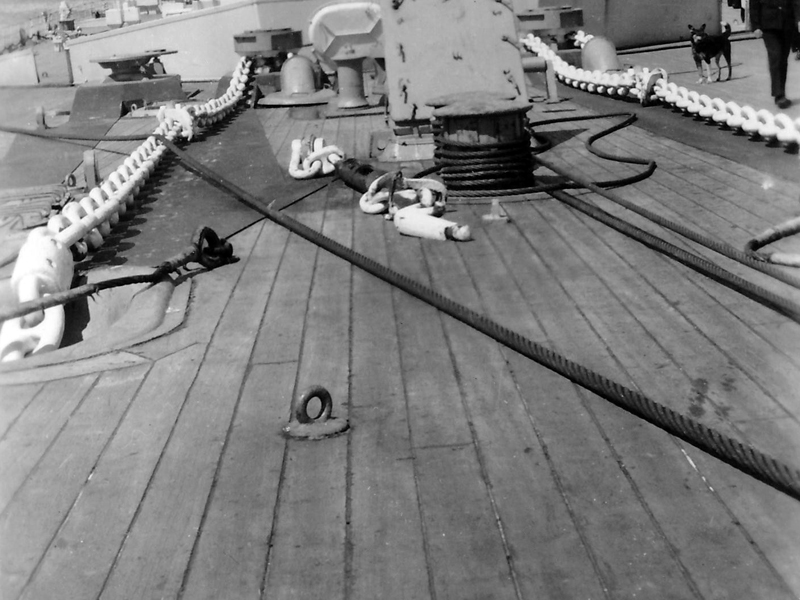
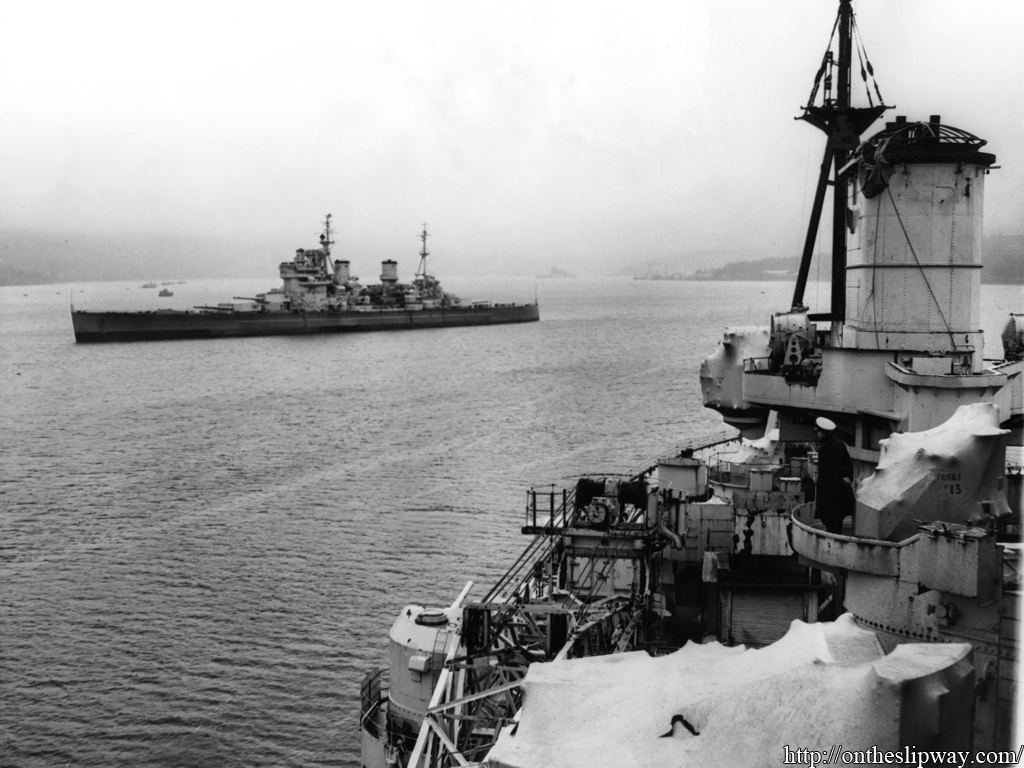
This image of HMS King George V shows the deck from a good distance and a lot of contrast is visible. This deck certainly isn’t a single monotonous area. Note that this deck is only a few years old but already looks quite ‘rough’.

The decks of MS Queen Elizabeth are a few decades older. Individual planks are visible by the contrast lines between them but the color differences between planks are slight. Note the wear and tear and dirt the deck collected. Again, far from a monotonous area and a lot is happening, color wise.

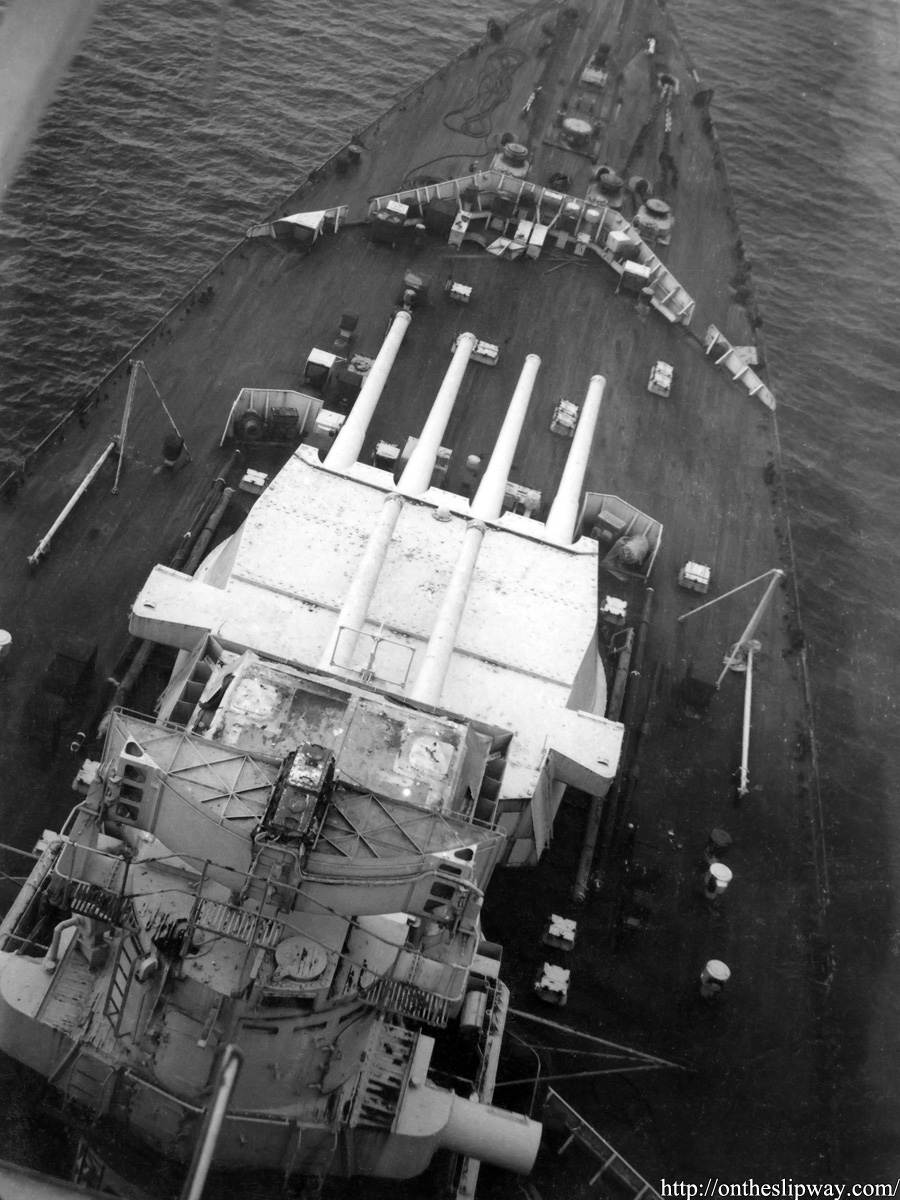
This close-up of HMS Rodney shows the deck up much closer than you would inspecting a model. It’s not really as if each plank has its own color but contrast shifts along the plank.

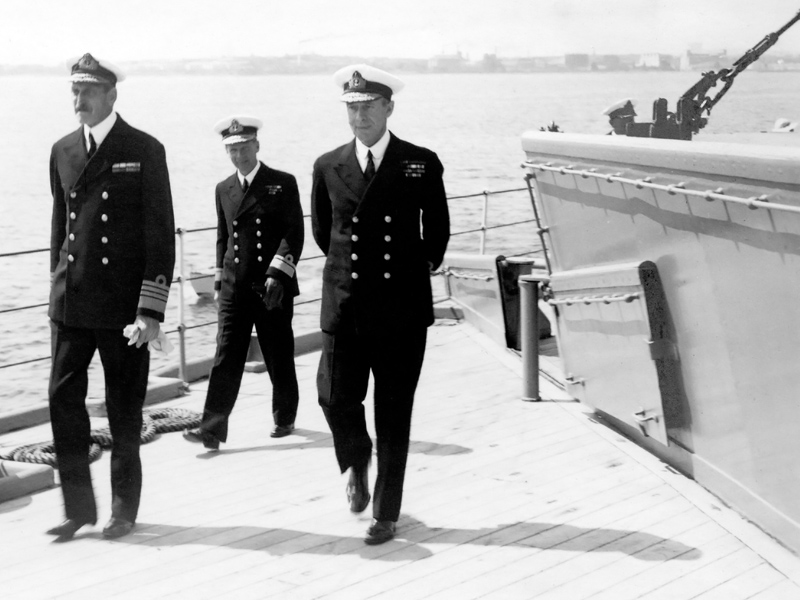
This nice photograph of the quarterdeck of HMS Rodney again shows there is quite some variation between the individual planks and that the color changes at the butt-ends of the planks that is sometimes very well visible.

When the ship is at sea and the decks are wetted, the contrast difference is more or less gone and the decks become nearly a single area.


Some color footage of HMS Hood exists and Thomas Schmidt of 3Dhistory was kind enough to put in on youtube. I pulled a few frames from the clip. Now, the resolution isn’t as good as for the B&W photographs and interpreting color from old footage is risky, but you can still get some idea. The blue hue of the ship matches well with what I think AP507B should look like (I really don’t know!). Some variation between planks is visible but it is a sandy light brown overall.

The view of the aft deck shows the deck to be a grayish sandy brown tint without much variation.

Again, during heavy seas the entire deck becomes more muddled.

At the edges differences in reflection due to the green water and possible wear tear are present.

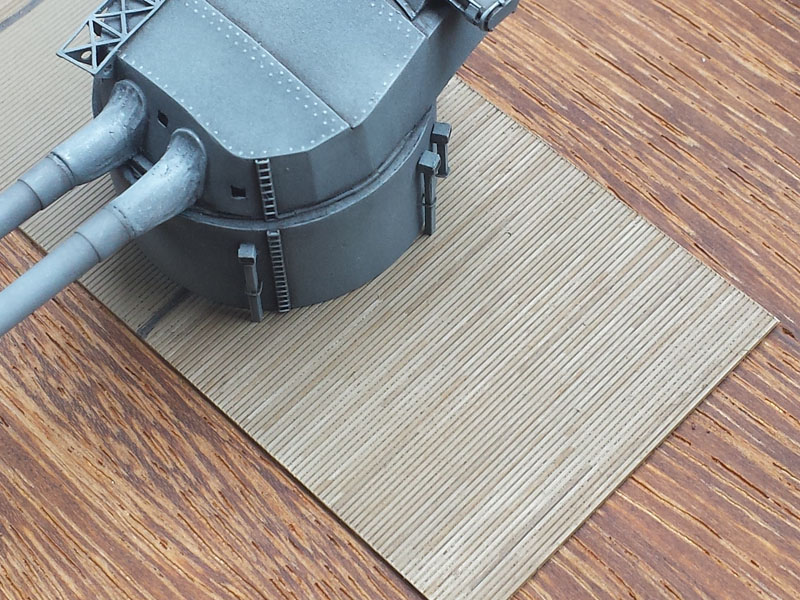
So for attempt N I started by spraying some Humbrol 72 on Evergreen grooved styrene and added color and accents at different locations. Painting in individual planks using white oils looks awful. I applied thinned-down Humbrol 72 in pure, whitened and darkened (Van Dyk brown) variations and blended everything together. Applying and blending in spots works nice and I think I have a decent attempt to have some large-scale color structure but nothing on the planks yet. A few washes of Van Dyk brown to add details to the groves was added afterwards.

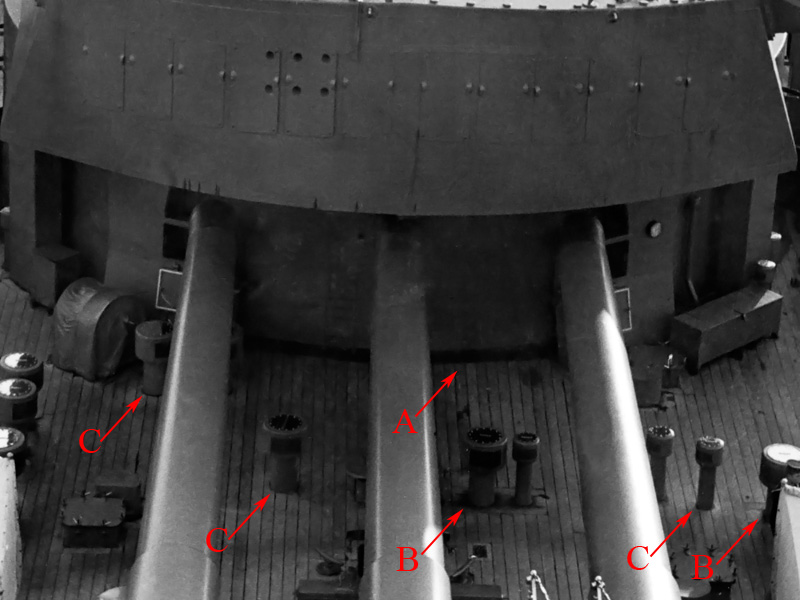
For some reason there was a lot of dust on the styrene test plate working itself in the paint; need to avoid that. The contrast with the turret is nice but the color variations do not really work from this angle. Need to practice more. However, I am really satisfied how well the turrets have worked out and feel pretty comfortable painting the entire superstructure; how this was painted will be treated in more detail separately (a part of the turret is still unpainted).

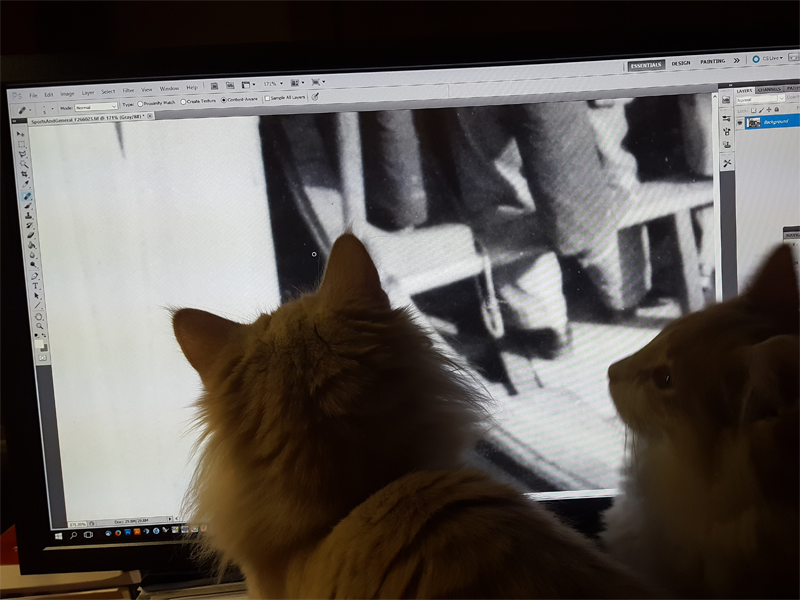
Cat attack! This not-quite-so-rare-moment was caught on film! Disaster is narrowly avoided.

Perhaps add spots of white and brown and blend them into the decks? It results in some variation but looks a bit… rough… and silly. More practicing is required, I’m not happy with the results so far… overall color is fine though.

Bridge Superstructure, part IV

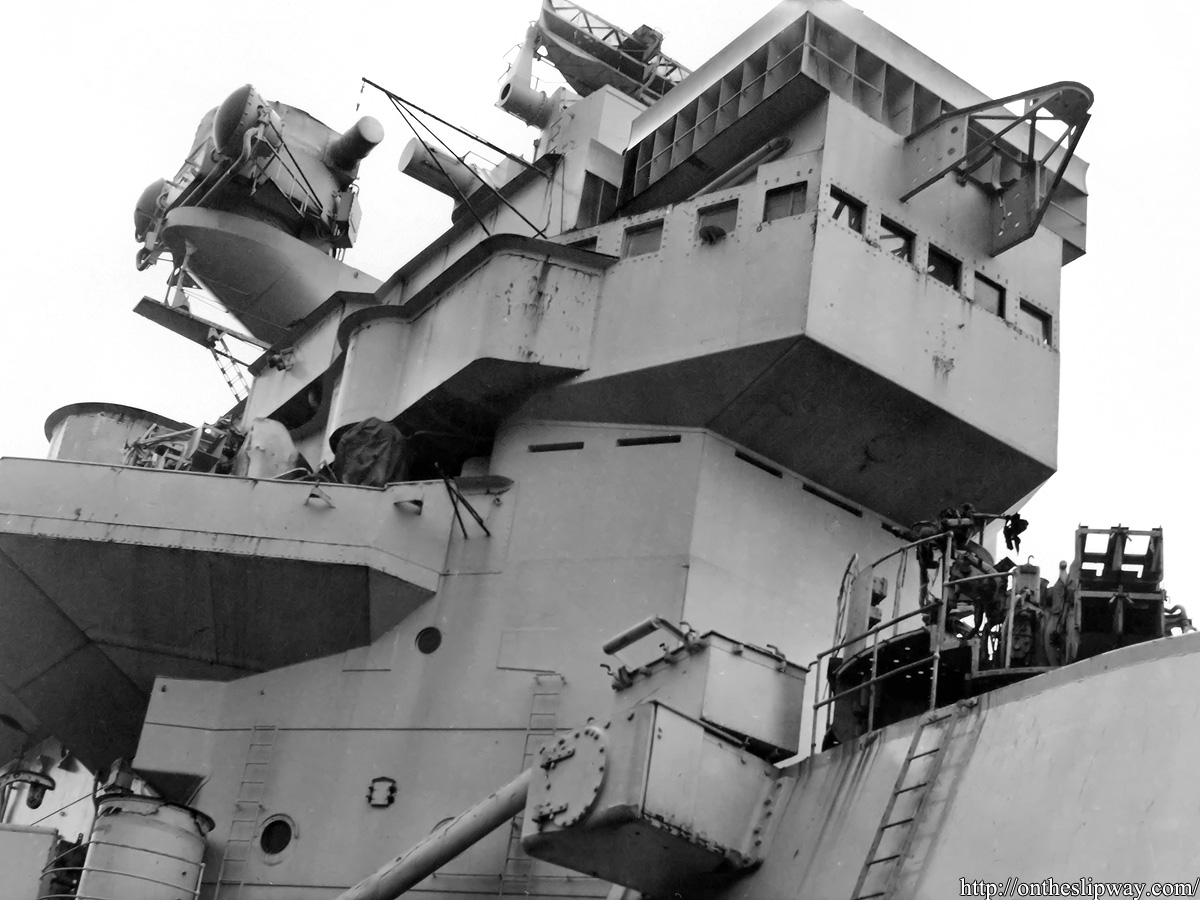
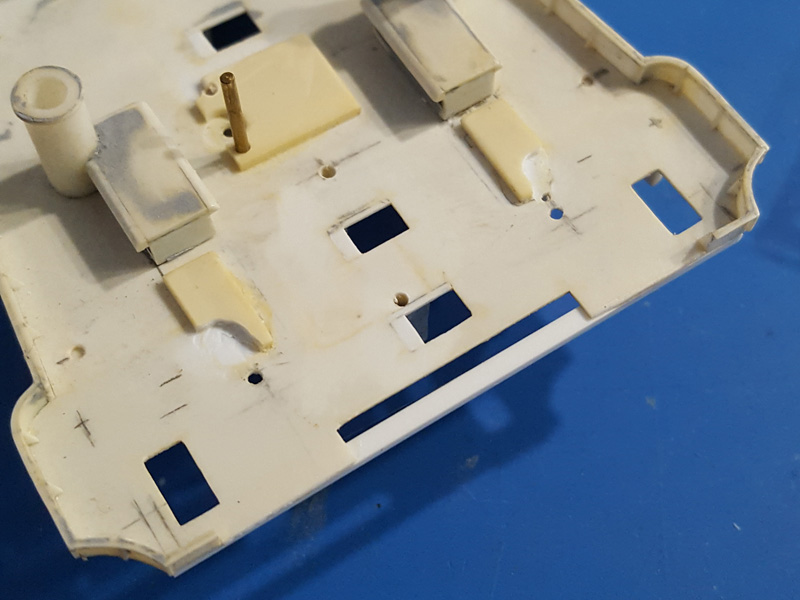
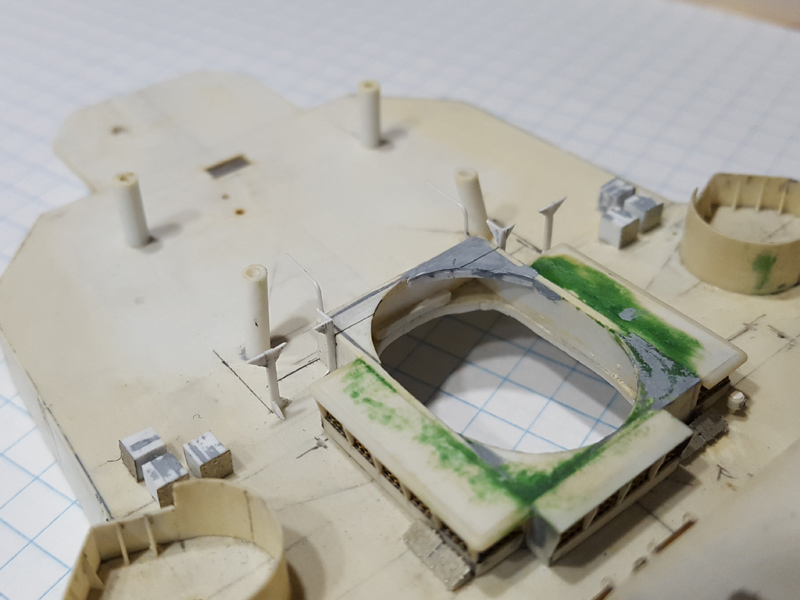
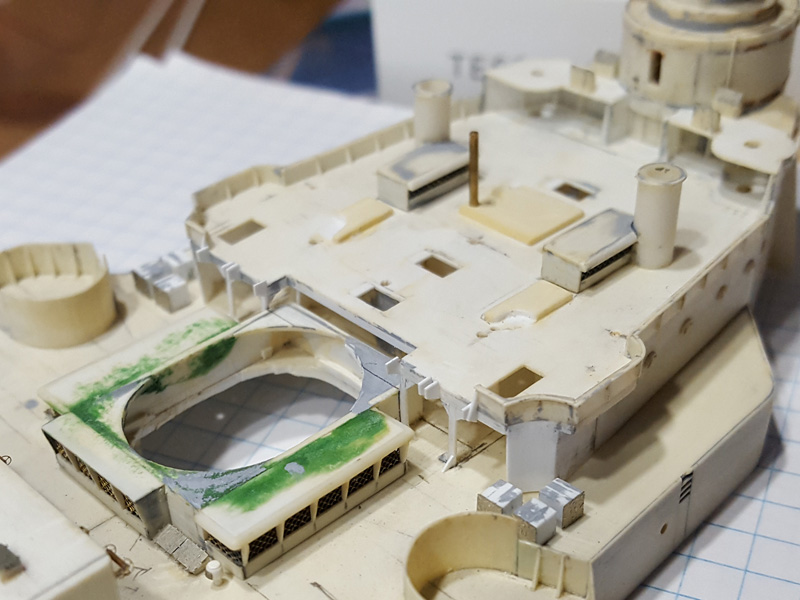
According to the original plans of HMS Hood, a set of signalmen shelters were built between the fwd Hacs pedestals and the superstructure.

There isn’t much to go on what isn’t already on the official HMS Hood site, but I suppose they reused the beam that was already present (top left). A number of voice pipes can be seen crawling around the bridge.

I added some semirandom detail with the voice pipes ending near the signaling area.

Adding railings was a skill I once had but now it seems to go fine. Too bad that stupid ladder hits the railing; this escaped my attention during the design, unfortunately. Perhaps I’ll replace the ladder or make the hatchway smaller…

Pompoms, part IV

UPDATE 27/12/14

Right, my previous pompoms were just perfect if it weren’t for the corrosion of the solder (flux, probably). The parts were re-etched and the 100-part pompom is on its way. This weekend I finalized the guns themselves.

It’s very easy actually. Prefold the photoetch part with the small photoetch tool and find out it is far too crude for fine work. Find a part of brass strip to finalize the fold. Add evergreen strips that should be the right size. Be dissappointed that they are not and file all parts to the correct height using a filing jig. Replace jig from time to time. Place the part in a small jig and use the drill press to drill in the placeholder for the barrel. Be disappointed that the Proxxon drill press is unable to drill consistently, but be happy you added a photoetch part that acts as a drilling jig. Hold the part with tweezers during drilling so that the drill will not exit the part sideways. Place the guns in another jig and add a small strip on the end. File a fillet to the end of that block. Thoroughly check the gun for CA spots and clean. Add some putty to the end and sand smoothly. Find out that Tamiya putty is no longer sold in Europe and order from Singapore. Wait for the shipment while Vallejo putty disappoints you.

Because the process seems fairly repeatable I made enough guns for HMS Hood and for my next project (oh yes). Repeat the above at least: 78 times.  Loose mind, despair, find will to live and continue. Fairly straightforward scratch building.

So here is half of them; these guns have a small lip to act as a spacer when added to the gun block that hasn’t been soldered yes. The barrels are on order. The mounts themselves are coming along nicely!

UPDATE 27/7/14

The main gun housings were soldered today with 5 etched parts for each housing: the housing itself, a center shelf that holds the upper guns, one top detail part and the two-part elevation gear parts. The housing part is sort-of self-interlocking, making it easy to hold without the risk of squeezing it with my tweezers. Soldering was quite interesting as applying heat means that some bond will release at another location (the part measures 3.3 x 2.6 x 1.9 mm only). The gun housings are supported in the center for which I made some etched part filled with styrene; the result was 0.1mm too wide and the housings ended up about 0.05mm too wide each, meaning that the sum of thee parts was 0.2mm wide and it didn’t fit. I wasted some time making the center parts fit anyway but I’ll have to add a new styrene part for that.

UPDATE 3/8/14

There’s a small coolant overflow cone at the end of the gun block (beautiful custom work by MASTER). I added some 0.2mm wire to either side and soldered it together so that is also works as a spacer for the two gun block halves. With some tape it’s easy to position the parts and add some solder. The first specimen was used for the general dimensions. The two wires were cut after soldering.

The gun blocks were glued to the center support after having spent 5 minutes in the ultrasonic cleaner. Fortunately, the part is now 4.5mm wide and fits the mounts. There are still a few more etched parts to keep the gun blocks together but I have to wait for the barrels to arrive. Now that some styrene is added to the model I can no longer solder and the part is delicate with superglue only until the mounts will keep the gun blocks in place.

UPDATE 10/8/14

While Tiberius the Famished kept the etch set warm, I started adding the custom barrels that meanwhile arrived. You could say that the image shows how small the etch set really is, but Tiberius is a particularly large Norwegian Forest cat.

The work by Master is as good as ever and fits the tiny pompom models well. I had to do some post-drilling by hand of the styrene guns to clear all the ‘chips’. Note that the conical flash suppressor that is ever present on all pompom models is absent; HMS Hood did not yet receive the upgrade to the pompoms and the barrels are thus plain and simple. The bottom row of pompom guns have a small lip below the barrel; this is a spacer for the correct offset of the outer barrels. One gun block was finished today but another one fell apart during handling; I hope to finish the rest soon. I learned the hard way that once parts start breaking up it is a good moment to stop.

UPDATE 17/8/14

All the gun blocks are all done; the guns were inserted and final detail was added. The cooling lines to the guns are partially added; the pipes running to the barrels themselves where eventually ‘canceled’ was it was too small to do repeatedly nice. I gave the models a coat of paint. I found out that out of the four premixed colors two batches again went bad and turned into sludge. The others, same ingredients but in a different ratio, are just fine. If anyone has tips how to improve the shelf life of premixed Humbrol to more than 2 months, let me know!

UPDATE 2/9/14

One down, two to go. Soldering the sights was tricky, holding the PE part with tweezers in one hand and the soldering iron in the other… still have to add that curved bar from the portside sight to the guns but I think I’ll glue that one having spent too much time trying to solder it.

UPDATE 20/10/14

I wouldn’t want to leave the impression no progress has been made, even though most weekends have been quite busy, including a visit to the Small Scale Convention at Heiden, Germany, where the unfinished Hood was on display. There were many stunning models by the IG waterline group and the ‘German gamblers’ to study. One visitor wondered if the Lion Roar pompom set tempted me into building the rest of the ship myself? Well, it’s a bit more weird than that!

The pompoms have received some attention; here you can see one of them in my “high tech” clamping mechanism ready for some soldering of the rear railing. I have to add a few more lines of the hydraulic system and the base of the guns and then I can move on to painting.

UPDATE 27/12/14

Done! One picture with flash so they look awful, but it is snowing and light conditions plus a bad camera make bad pictures.

Copyright © 2024 On The Slipway

Theme by Anders NorenUp ↑