
A small update of some work that was done earlier and then stalled a bit. The fore deck was next in line for painting. Unfortunately I had a minor disaster with a coat of Humbrol H72 giving rough spots. After brushing the model with alcohol I lightly sanded the deck and removed the grainy surface where I could using pieces of sanding paper glued to toothpicks; etched parts could be scraped clean. Many details are soldered or glued firmly, but the vents around the barbettes are most fragile and took a bit more time. It went well enough, but I was otherwise very much not pleased loosing a day or two that could have been spent painting. Not sure if it insufficient stirring or thinning but it was probably my fault somewhere along the line. Learn by failure I suppose. The result is still not too bad but macro shots will show the bad finish in some areas. Perhaps one of the reasons I dread painting; some errors are very difficult to correct.
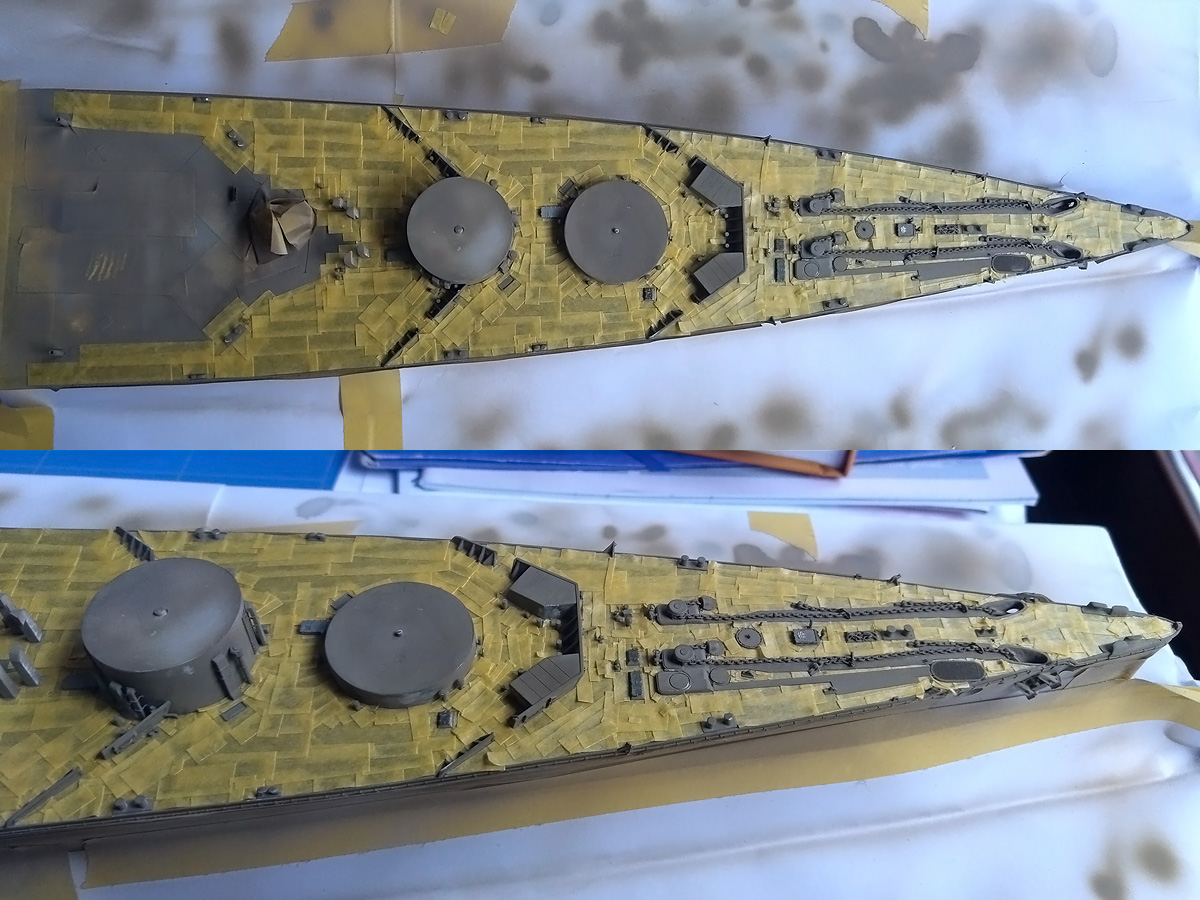
The entire deck was masked after a layer of primer, corrections, and a couple of coats of Humbrol H72, rough-spot corrections and a barrel of Whisky. There’s a lot of detail to work around, so this takes many wee bits of tape. As the deck will be painted by hand it doesn’t have to be too exact.
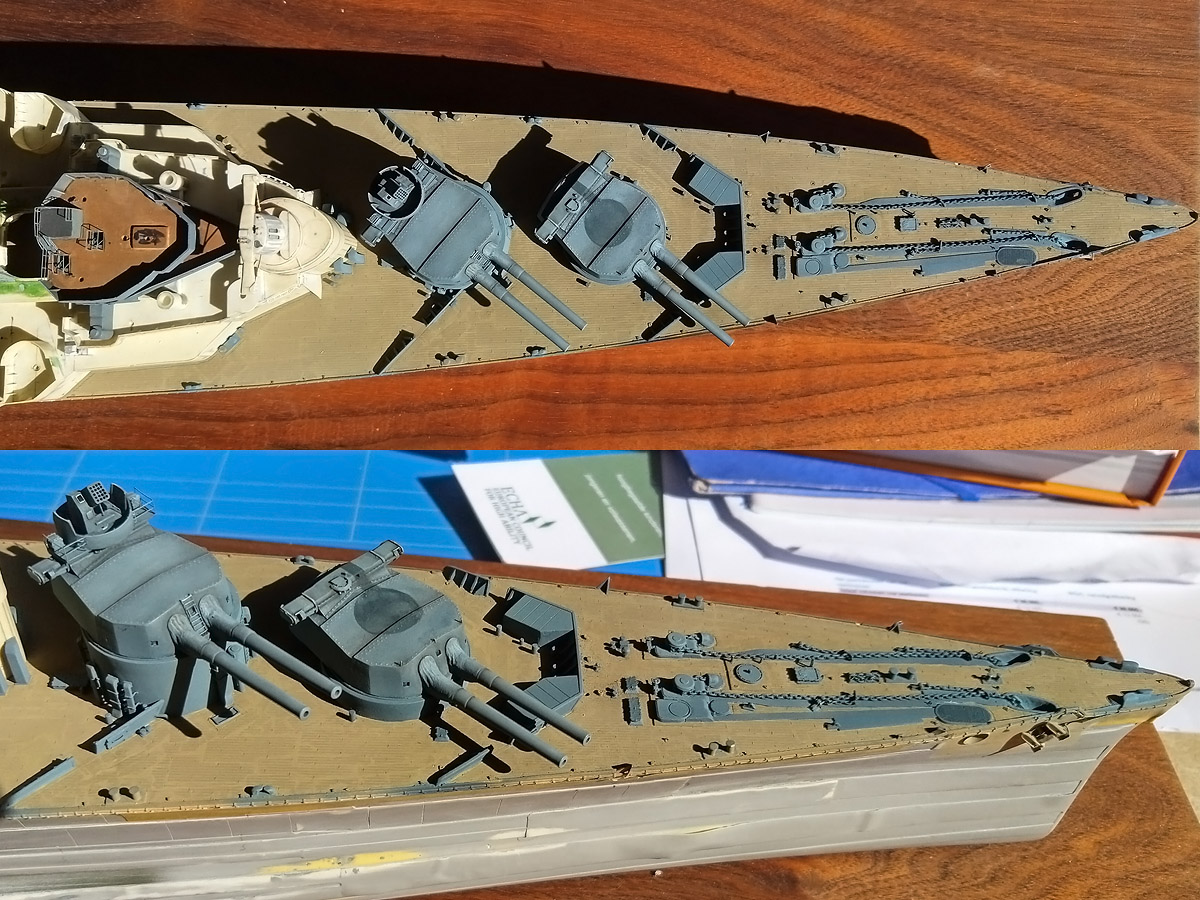
The rest was sprayed with two coats of my AP507A/B mixture (Humbrol 34 White, 77 Navy Blue and 140 Gull Grey). I initially stored some batches on paint in Badger jars and most of this dried in the jar; I bought a stash of empty tins at https://www.phoenix-paints.co.uk/, including some 125ml tins for storage. Meanwhile, the new Humbrol colours I ordered do not mix to the same colour I had; too blue. With some black and some drops of red the colour might be used as a base. Fortunately I have a a few tins of my old paint lying around, more that enough to finish the model but if they spoil too more Whisky is in order. Note that the sandy layer of H72 on the deck shows patterns of masking, as a final insult to my painting troubles, but that didn’t worry me at all.
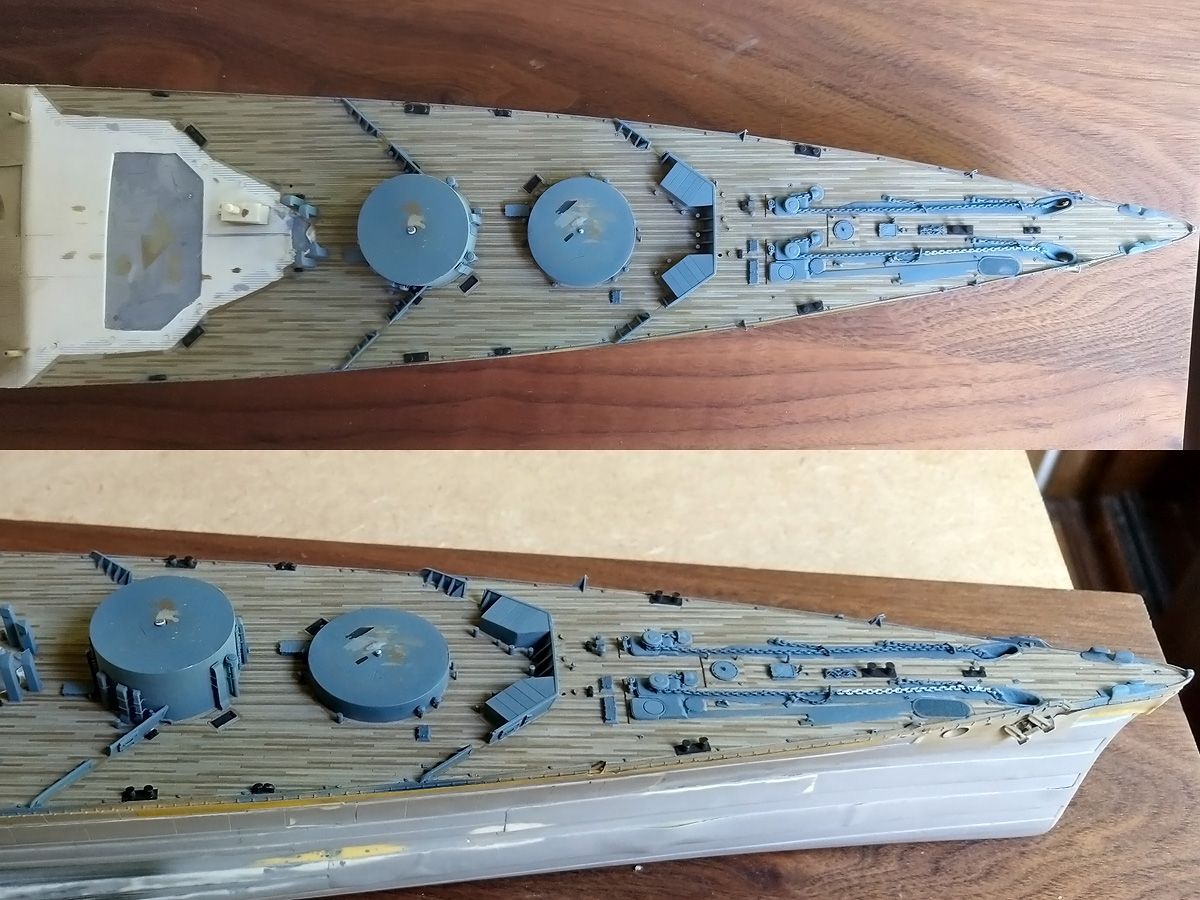
Then it was a matter of painting in all the plank work again, using the same recipe of Humbrol H72 Khaki Drill, H72+H110 Natural Wood, H72 + white and pure H187 Sand (a discontinued colour). The deck edge details were touched up in the base colour and bollards and steam winch positions in black. The colour of the chains is typically hull colour but one shot from 1940 shots the starboard chain to be a bit lighter, so I copied that to add some variation, in Sovereign Hobby’s AP507C.
Three washes of van Dyk brown followed. I used Winsor & Newton’s Sansodor as a solvent that dries very slowly, allowing for some touching up and clearing excess wash from the deck with a wet brush (when the wash is starting to set). The contrast between planks is perhaps too pronounced, but it’s tricky to strike a balance between having contrast differences while at the same time having the deck appear as one colour. The contrast is a bit more than on the quarterdeck with the darkest brown being more brown. Probably the universe telling me to paint as much as possible in a single pass.
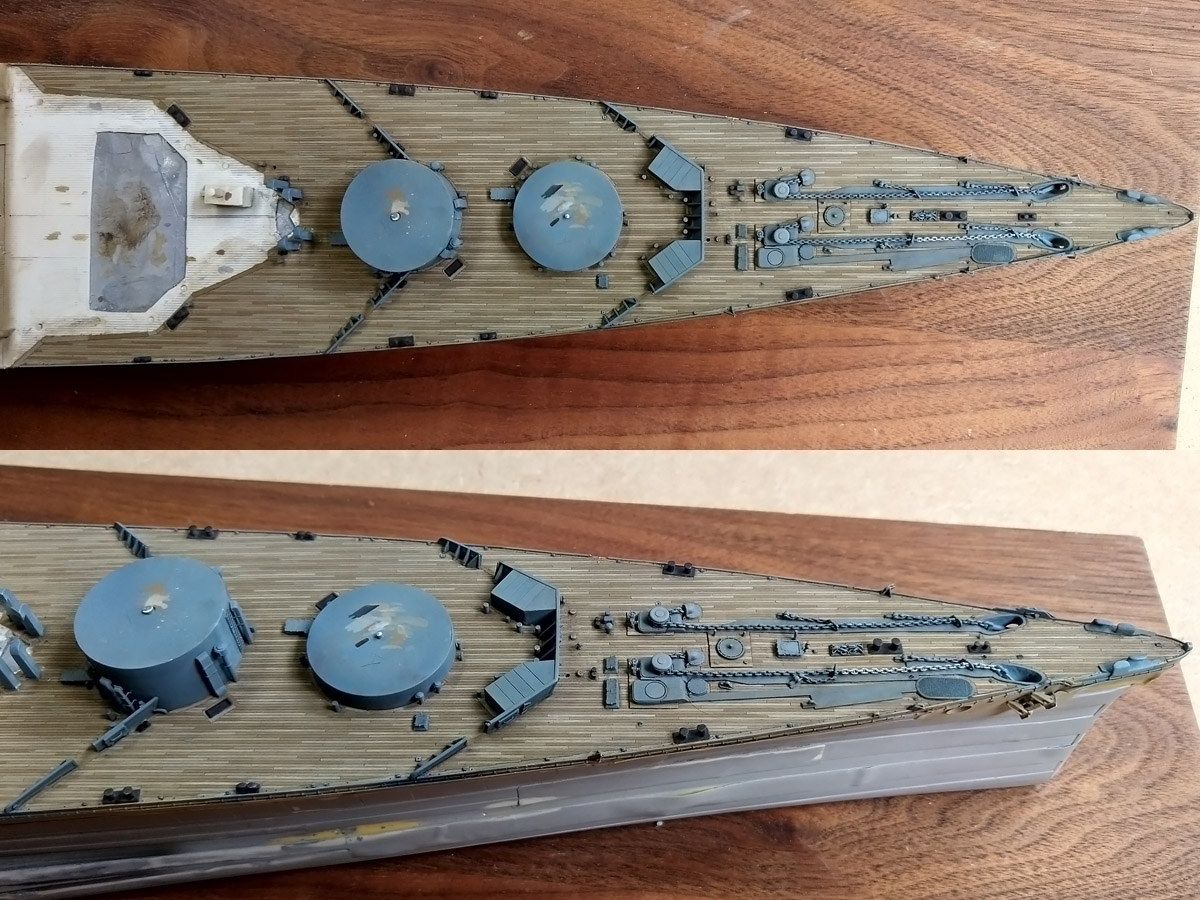
The background receives a dot filter first, that is random dots of colour (red, blue, brown, yellow) applied to the base surface spread out by a wet brush. The next stage followed the approach as described by Marijn van Gils in his stellar book “Lexington’s final battle”; the main idea for enhancing contrast not to add a (pin) wash plus a drybrush run, but adding shadows and highlights by a fine brush where needed without affecting the base layer (much). T
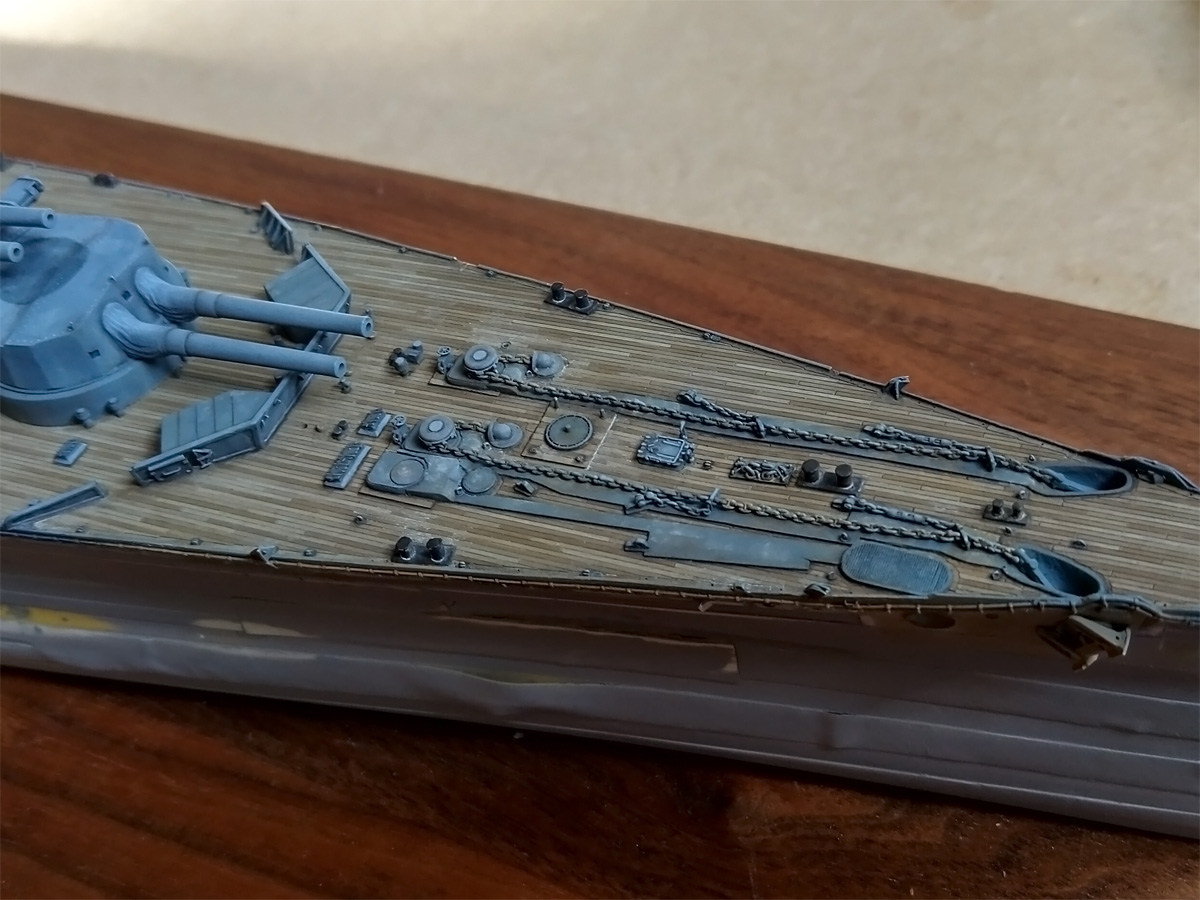
he first step in increasing contrast was adding shadow lines using a very fine #000 brush and a black/raw umber mixture plus a #1 brush standing by for corrections. This gives a bit more contrast than a pin wash but also requires more time and control. At first these lines appear to be too dark, but after drying the results become less pronounced, so you really need to try it a few times and overdo it just enough that the results in the end are fine. It’s particularly well visible at the edges of the deck or top to the capstans. The second step is adding highlights, starting from base colour for correction work where required)a nd adding more H140 Gull Grey the smaller the details get. This really makes all details pop up, especially for the etched details. This phase was followed by a layer of white spots and smears representing salt deposits of Humbrol Radome Tan; I tried it first on a separate part of the model to see how this would work out and the result is: actually quite good. The light part of the anchor chain was (reversed) drybrushed with the base colour to simulate wear of the light coating; the entire chain received a subtle wash with Humbrol Leather for a combination of rust and sediment. An additional layer with adding darker spots and deposits will follow later. The shadow & highlight stages takes time and some regions are difficult to reach, especially the breakwater where adding these long lines is tricky. Mushrooms and winches were painted separately; hose reels are still on the to-do list. Some minor work will follow to finish this bit but I got distracted be the boat deck…