Author: efoeth

LX521: results

So, we have the advantage of a living room that can place five of these speakers a meter from the wall. Of course, the house we bought was selected—among others—for a large living room or possibility for a renovation. Downside is my phone can’t get the entire setup in one frame, so this is a pic during the final stages of the project. The TV is placed a bit higher than usual so completely avoid the centre speaker issue and we’re quite accustomed to that now. We’ll probably upgrade the next year. Most people buy a new TV when the old one breaks down, but I find our reasons become increasing more trivial: 1) It’s not a flat screen 2) It’s not HD 3) It is only 55″ 4) Does not have eARC.

This is the audio stack with, from top to bottom, the universal disc spinner, the preamp, the filter and the amps itself.  The front LED’s were brought down to about 3V for an acceptable brightness. I’ll probably use leftover panels to make a better support block, but for now I’m going to enjoy the speakers and return to model building. The disc spinner is a bit of a worry as players that handle multichannel SACD are going extinct. Marantz has many overpriced SACD players but they are all stereo. I wish they released their “cheaper” CD player with an HDMI port and the ability to send the DSD stream; I really do not need anything else. Recently Raevon issued a two universal players, one digital only and one digital/analog out that is twice as expensive, but the digital-out version doesn’t do multi-channel DSD (edit: it does now with the updated UBR-X110) . Let’s hope this Marantz doesn’t break down any time soon.

Front left speaker and the Blu-Rays behind it. We do buy the occasional disc, but the quality of streaming services seems to be better than Blu-Ray (finally) so the collection is stagnant. For Spottify & Heos these speakers show that their streaming quality is not good.  What’s even worse with Heos is that it will always select the worst quality stream available, but even at a higher bitrate it does not sound as good as the ordinary radio. Spottify announced a better quality streaming service for 2021 that didn’t happen, but I’ll probably use that money to buy more SACDs.  So I use Spottify only for background noise and my TV to stream radio. I hope Marantz will release a preamp with DAB+.

The rear of the top baffle is quite clean, only a few cables are  visible and I like look of the black magnets. You can see the cable running the upper-mid/tweeter  in the bottom corner of the low-mid cutout.

Center speaker. Now, the LX521 (and Orions) are known for creating such an impressive & immersive sound field that the centre speaker is not really required. This is indeed the case provided you are sitting in the centre, but for video sitting off centre is really annoying. I really like the addition of the centre speaker for dialogue.

When you play a stereo recording and put the preamp on multichannel stereo then the sound collapses onto the centre and the sound stage becomes quite narrow (i.e. is destroyed). There is also an Auro2D setting that sends a bit  of signal to the centre, not so much, while keeping the rears engaged, and this mode sounds fine. Admittedly, “plain” stereo with the LX521 sounds marginally better.

People had been experimenting with centre speakers for dipole speakers concluding no added value. To me, the centre speaker is most valuable for video and of little use for stereo?

Front right. The speaker connection goes directly into a floor. Saves a bit of cabling here and there, mainly interesting for the rears.

Close-up of the rear-right (small red cable was later hidden from sight). All the repair of the wood work went well enough. Using LX521s as rears is probably the most lavish addition, but I decided to not be held back by rational arguments. Finishing them in the weekends did take a toll on my overall motivation but once they were fired up all reservations disappeared. For the multichannel SACDs the sound field is absolutely wonderful and for a video with a good sound track the experience is glorious.

Another shot of the rear-right bathing in sunlight, and highlighting all the imperfections in the woodwork. I may have to give them another sanding pass with a very fine grit.

Shot from the rear; this part is visibly quite inaccessible, so internal cabling would not be really worth it. At the top you can see the additional panel that supports the top baffle, plus two M4s keeping the baffle in place. The main cable enters the top of the speaker at the for top right. If I had to build another set, then I’d probably move that entry point a bit more to the centre, so that the cable can be added after the entire cabinet was assembled. Now the cable has to make a sharp bend and is glued between two panels, also meaning that the cable is dangling in the way while constructing the speaker.

LX521: introduction
LX521: deriving the digital filter
LX521: building the analog filter
LX521: building the power amp
LX521: building the speaker
LX521: results

LX521: building the speaker

I wanted to make the LX521 in the same style as the Orions, that is, made from American Walnut panels with box joints. I made several small modifications to the original design, not really minding if this would affect the audio negatively. The original design uncouples the subwoofer cabinet and the top baffle by placing the latter on a bridge that rests on the floor. I removed that bridge from the design as a) it reduces the overall height of the speaker b) saves a significant amount of wood and c) I find the bridge visibly very unappealing. That latter statement may seem a bit odd as the LX521 isn’t really… easy on the eye. Now the top baffle is placed on four small motion dampers fixed to the top of the subwoofer cabinet to decoupling both components. I added an additional panel to the ceiling of the subwoofer cabinet, moved the subs around a bit, making sure that the top sub driver could still be placed and that the subs would not hit each other at maximum excursion.

For the Orions I made my own panels from raw timber, but I decided to use premachined CNC panels from a larger Walnut panel. The cost of a panel was much larger than the cost of CNC-milling and would have saved me a lot of time in the work shop; for the Orions processing the timber to a panels took me about a week alone. One speaker would take exactly half a ready-to-use panel (4200 x 800 mm) leaving one set of spare parts when three panels were processed. I started with one panel, just in case there were major design errors. The panel was specified at being 19.0mm thick, as close as you’d get metrically to the 0.75 inch of the original design. The box joints have a thickness of 10mm, so to hide that difference in the corners small ‘cheater blocks’ are places on all corners of the subwoofer cabinet.

I had a small setback when the company that I selected to buy the panels and CNC work from moved between giving a quote and doing the design work; they forgot to take the milling machine with them. I called the importer of said panels that was right across the street of one of our facilities in Ede, Netherlands, and they recommended using AdZaagt.nl, who did a great job.

This is a picture I took during the milling process at their workshop (I took time off to watch…). There’s not a lot of artful woodwork with a CNC-machine involved, but your project appearing before your eyes was most inspiring. Fortunately there were no serious design errors.

Box joints were added in the outdoor workshop using a Festool router and their VS600 joining template. This went quite well but I ran into a problem. The Walnut plate was not 19mm but closer to 20mm and some of the parts wouldn’t fit. I drove to a local tool shop, bought a new surface planer and spent several days planing and sanding the plates back to 19mm. This set me back a few days and several moods.

After some effort the first speaker passed its dry-fit test

The cable towards the top baffle runs through the subwoofer cabinet.

I do not think it is possible to own enough woodworking clamps; I always seem to be short!

The joints were filled with this product, requiring a bit of sanding dust. The colour is never exactly the same and the filling shows, but it gives a smoother finish overall.

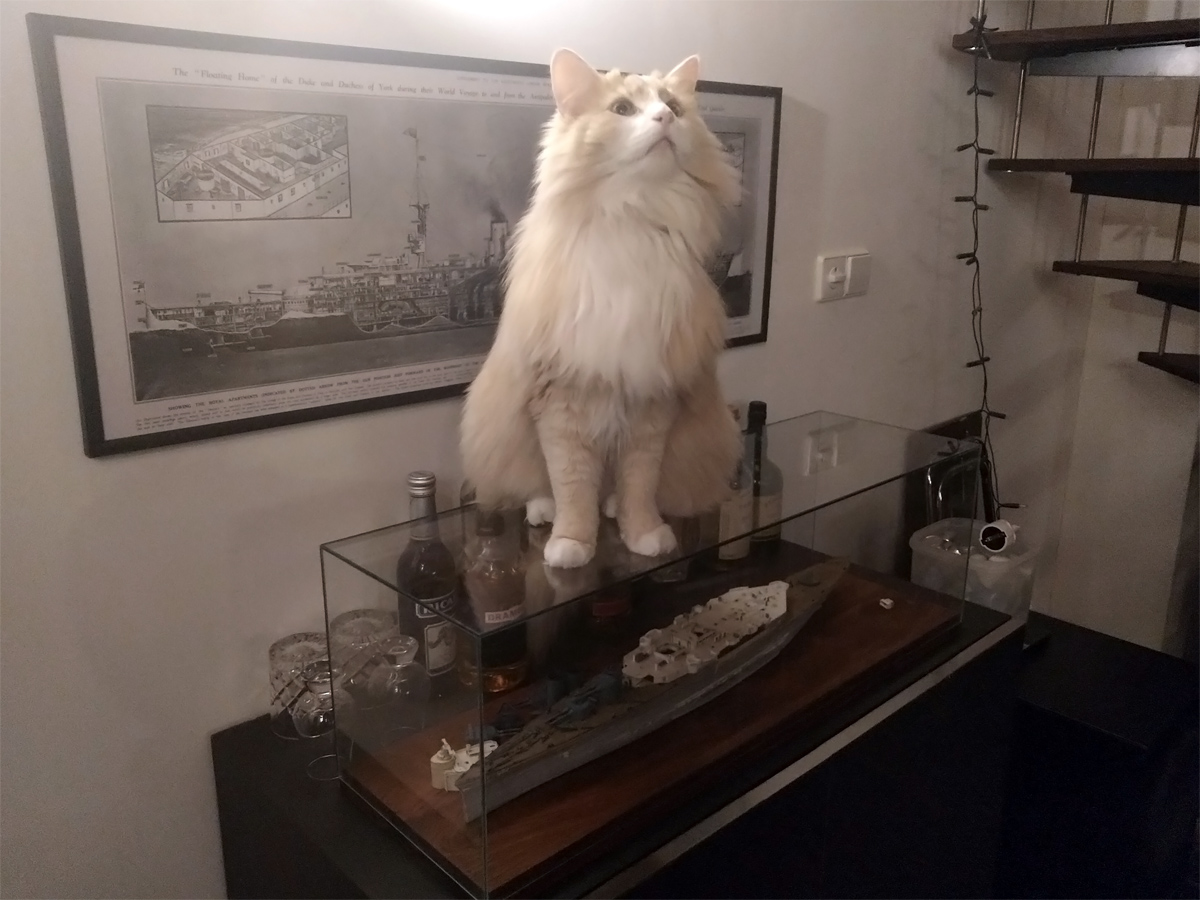
As the project moved into Winter some speakers had to be built inside with constant feline interference. The box joints appear flush, but I really should have added 1-2mm to the ends of the joints and sand afterwards.

A proud progress shot. I took off three weeks during the summer to finish all speakers, but that was overly ambitious; the rest were built in weekends and during  the Christmas vacation. I think I spent well over 240 hours finishing the cabinets.

I used Rampa inserts so that all drivers could be mounted with M4 or M5 screws without running the risk of stripping the screw hole. I ordered a few but they shipped me a thousand each. These Rampa inserts are of type C that are narrowed for the same (internal) metric thread; even the upper midrange driver could be fixed using these Rampa inserts with the holes (5.5mm) so very close to the edge. For the baffle all inserts were M4s with M5s for the subwoofers; in hindsight that was a mistake, as you leave no room for misalignment; not all subwoofers could be fixed using all eight screw positions so this is definitely something to avoid for a next project. Hope that doesn’t result in problems with the wood reacting to humidity changes, but we’ll see. The Orions were built along the same principles with no problems over ten years.

The speaker cabling does run internally for the top baffle, but there is a difference between adding a few holes in CAD and actually adding the holes in wood. I had to order a drill of half a meter for this one operation, eyeballing the alignment hoping not to ruin a precious panel.

A colleague borrowed me his Ulmia miter saw; this is not only an absolutely delight to work with but also doubles as a great clamping assist. The cable trenches were added using a small Proxxon router to the inside edges of the driver cut-outs. This brand-new tool burned out after 20 minutes; I didn’t notice it getting hot holding the tool at the router base and it did not have any thermal protection. At the shop this lousy “robust machine” suddenly changed into a “very sensitive tool you should not use for more than 10 minutes” but fortunately the damage fell under warranty.

Meanwhile the driver magnets were all sprayed black.

The tweeters are slightly thicker than the top baffle and require a bit more room. The tweeters were simply glued into place and as I had the luxury of CNC machining I had two small inserts made to house them. Perhaps you can sand off the thread at the rear of the tweeter to reduce their overall height a bit?

This shot shows how the cable from the subwoofer cabinet connects to the top baffle using another Neutrik connection. Most of that connector was sawed off to make everything fit. Four small motion dampers are positioned on each corner of the top baffle ground plate. These were the smallest I could find and I was worried the top baffle might move too much, so I added provisions for eight dampers. The movement of the top baffle proved to be negligible. I didn’t do any transfer function measurements or such and you can feel there’s a difference in motion between the cabinet and baffle when the speaker is playing.

There’s a small plastic spacer ring between the damper and the ground plate to align the top baffle; in the back there’s two 2.5mm spacers and in front two 3.0mm spacers. The thread of the top baffle runs through the top plate of the woofer cabinet and they can (just) be fastened by four small nuts (the entire top battle is very stable, but I wanted to reduce the risk of toppling the top baffle from the woofer cabinet). A torn damper can be easily replaced.

There’s a 3mm gap between the moving and stationary parts. After some (lateral) adjustments the top baffle fits just great!

Of course there were many mistakes and CNC does not mean you do not have to spend any time make all parts fit.

  1. Top left shows the connector block that I forgot to add to the cable and had to be sawed open (I added two strips of wood to compensate for the loss)
  2. Top right shows box joint repair. Even with the panels clamped between MDF, the router would sometimes enthusiastically tear away large pieces of wood requiring dental work.
  3. And sometimes an entire panel just snaps in half. Note that this panel also lost most of its front teeth.
  4. The most-often used repair technique was the sliver transplant. Part of a tooth would be chiselled down and replaced by a slice of wood matching the pattern of the original panel.

After routing the box joint gaps, the panels would rarely fit immediately; there’s always some residual stress requiring a lot of correction work to make everything fit. But the front panel with the box joints applied along two grain directions was particularly troublesome and was worse during the winter construction. At left a major repair job is underway where all teeth were removed. The ‘cheater blocks’ are well visible on the corners, prior to sawing and sanding all parts to size. And at right a well-controlled nervous breakdown is observed where basically the entire upper jaw was replaced.

LX521: introduction
LX521: deriving the digital filter
LX521: building the analog filter
LX521: building the power amp
LX521: building the speaker
LX521: results

LX521: building the power amp

I designed the amp using the Modushop H210 Dissipante, a large enclosure with large heat sinks on the side; the Hypex UCD180HG modules are small but you still require a bit of room when you plan to add twenty; initially the enclosure should have contained the miniDSP cross-overs, power supplies & amplifiers, plus a host of connectors. The Hypex amps and power supplies need to be fixed by m3 screws from the rear so I added a small aluminium plate inspired by an amp build I saw here.

I could spend a few hours at the machine shop at work to drill in all the holes and add the threading. Here is a work-in-progress pic showing the aluminium plates and all the modules for the first two channels installed running a test using the miniDSP 2×4. Here the internal cabling is not shielded, so some noise may be self-inflicted at this stage (noise tests were performed with the miniDSP for the old Orion setup too where it was also noisy while the ASP was not).

I wanted to use the 12V trigger from the preamp to turn on the Hypex SMPS1200 power supply. Counter-intuitively, the Hypex PSU needs an active signal to be put in sleep mode rather than turn on, so the trigger needs to be inverted. I initially used a separate Meanwell 12V power supply to power the miniDSPs and a voltage divider to reduce the voltage to the trigger of the Hypex power supply that should not exceed 5.5V. Just for the fun of it I added two quiet ventilators normally used for PCs and a small red LED light in the front. I bought the quietest fans I could find, 60mm Noiseblocker BlackSilent PRO PR-1s (a lot of name for €11 product). At a reported 10.7 dB the noise level is really low, and yet, not silent at all. As the LED was also a bit bright too I eventually used a Meanwell  5V supply for the triggering, LED and fans that are now not blinding and truly silent, respectively.

The continuous loss of components could not be explained.

A close-up of all amps and wiring in place; I replaced the wiring and this time it’s all shielded & twisted microphone cable. The amps are grouped in sections of 8 or 4 (centre) units per PSU.

As a final act of unnoticeable beautification, the amp, ASP, pre-amp and bluray player were given the same feet; that required parts to be milled off to fit, of course.

LX521: introduction
LX521: deriving the digital filter
LX521: building the analog filter
LX521: building the power amp
LX521: building the speaker
LX521: results

LX521: building the analog filter

The various components were not built in a linear fashion and the amp with two channels was completed before I started the Analog Signal Processing unit. About two years passed between the original amp with two channels plus the miniDSP2x4s for the Orions and the final version for the LX521.  My previous version of my DIY Orion PCBs (ASP board) worked really well, but the LX521 user group produced a PCB, a shopping list, a manual, and troubleshooting guide. I was apprehensive about the DIY route versus a ready-to-use design that had been rigorously tested and choose the latter; this is a decision I came to appreciate later when trouble shooting.

These ASPSs certainly do not fit in the amp enclosure where there is a noise risk, so I bought a small, separate enclosure. While my Siamese Catherine ate the manual of the new enclosure my new cats were given amplifier therapy, teaching them that amplifiers are friends and part of their natural environment. Meanwhile I suffered more self-induced problems by straying slightly from the path by wanting to have five channels.

So, the preamp can be either balanced or unbalanced and the ASP can take either signal. However, its output is an unbalanced connection. This is a small drawing of the ASP and the connections to the power amps following Hypex’ recommendations for an unbalanced output: a balanced cable has both its pin 1 and pin 3 to the signal ground and than happily continues as a balanced cable inside the amp enclosure. Internal and external shields go to the chassis grounds but at separate locations.

Now, I added five ASPs in a semi-spacious enclosure with additional internal cabling. The amp itself was already built and had five connectors for the pre-amp signal to run to the DSPs I wanted to have in the amp enclosure (the balanced miniDSP was shielded, so why not?). With the ASP I had only one connector so I used one XLR-6  connector per speaker and a five-core shielded cable. For some reason I started with an unbalanced cable to the XLR-6 OUT connector and ALSO tied pin 1 and pin 3 on the inside of the amp AND connected internal and external shields to each other at all locations where I could. I cannot really recall exactly why I thought it was a good idea and in hindsight this was also really unwise; I made an all-noise surround system and had to re-cable everything.

So the internal cables were replaced and I also made sure that the shield of an external cable was not directly connected to the shield of an internal cable. All four channels do share the same signal ground in the interlink, but soit, they do so on the ASP-side as well.

I later considered using a network cable; these have four individually shielded twisted pairs and form a much neater and smaller connection (despite the graphs showing “more cable”). I was worried about connecting the flimsy shield on a network cable to the connectors on the Hypex side and already built the XLR-6 cables. Cabling and connectors are a significant money sink that added many hundreds of Euro’s to the entire system already, so didn’t pursue this option.

So one signal cable/channel is a bit of a monstrosity with four signals, four signal grounds twisted into a single point, and the shields (pin 1) connected to lugs. The individual cables have lavish colour coding per channel and per speaker. This saved me on more than one occasion and heat-shrink tubing is cheap. I removed a bit of the anodized layer where connecting the shields to chassis.

A close-up of the cable (actually, this is in the amp, not the ASP) shows the universe has a sense of humour and tried connecting the sub signal to ground; this happened at the same moment when one signal connector got loose at an amp module for the other speaker, resulting in no sound in both forward speakers at the same time for the subs only resulting in a minor panic attack.

Top view of the final setup. The power connecting enters the chassis top left and runs to a Audiophonics mains trigger below the bottom-left power board; two power boards are stacked bottom-right, with the top board feeding the lower board.  At the bottom two Meanwell power-supply units are wedged in. The ASPs have their chassis grounds connected to the bottom plate (connected to safety earth at the mains in).

I was worried about running 230V and PSUs in the ASP enclosure but I could not find any audible effect of running the mains near the ASPs. Admittedly, there is a minute bit of hum coming from the speakers if you are very close to the mid drivers, but that is acceptable to me. The stacking system was made from polystyrene sheet and tubes from my modelling supply with the boards connecting to the chassis ground via some mounting pins (M3 thread).

LX521: introduction
LX521: deriving the digital filter
LX521: building the analog filter
LX521: building the power amp
LX521: building the speaker
LX521: results

Copyright © 2024 On The Slipway

Theme by Anders NorenUp ↑