The site is back up and I’ve enabled comments with the usual comment filters. I have a few side projects going on and some are nearly finished but I decided to post more unrelated images instead of ripening the posts on oak for a year…
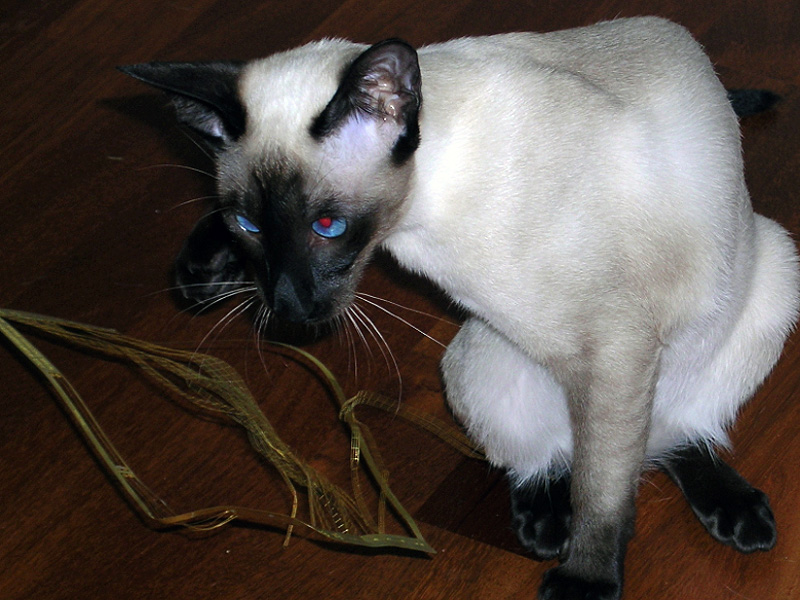
Actually, I updated my blog to take my mind off my cat Mouse, Slayer of Photoetch, who was put to sleep today. She was only 10 year old and suffered from a tumor in her nose that suddenly grew very large starting to push out her right eye; for three months we thought she was fighting an infection as the X-rays were clean and she was finally getting better, but apparently not. We buried her in the garden close to one of her favorite spots. Good bye my friend.
I bought a new airbrush over a year ago, a Harder & Steenbeck Infinity (perhaps I’ll make a post later why this airbrush is really fantastic) and experimented with various paints, thinners, airbrush settings, oil washes and filters. The goal was to mimic the blue-grayish AP507B that Hood was painted with. I tried water-based paints but I think they hate me. I just cannot apply these paints to the smallest parts without suffering from tip-dry, overspray or grainy surfaces. Enamels are so much easier to use and cleaning the airbrush afterwards takes only minutes. The White Ensign Model colourcoats offer a premixed AP507B and spray beautifully although they are slightly less resistant than Humbrol when sprayed on PE and resin (might just be me). However, WEM suffered a few problems with restocking and as I (think to) know that several of their colors (based on the Snyder and Short color charts ) are wrong, so I decided to experiment with mixing. My local hobby shop had an old binder by Humbrol called the Colour System that had a few recipes and using Humbrol 34 (white), 77 (navy blue) and 140 (gull grey) in a 1:1:1 ratio is an excellent match for AP507B. (This doesn’t mean those color charts shouldn’t be in your collection).
Perhaps the result is a bit too dark, but the overall effect is nice, especially compared to the single coat in the previous image. The sides are sprayed with AP507B, and the top and bottom surfaces with a coat with more white and blue respectively. I added some filters and drybrushed in pure white (artist oils) and added some additional (artist oil) highlights in black, umber, and probably a few colors more. I want to emphasize all details without giving the idea of a severely weathered ship; HMS Hood was painted about a week before she sank. I have to experiment with the deck colors a bit more (wood) but I’m about ready to start painting the hull.
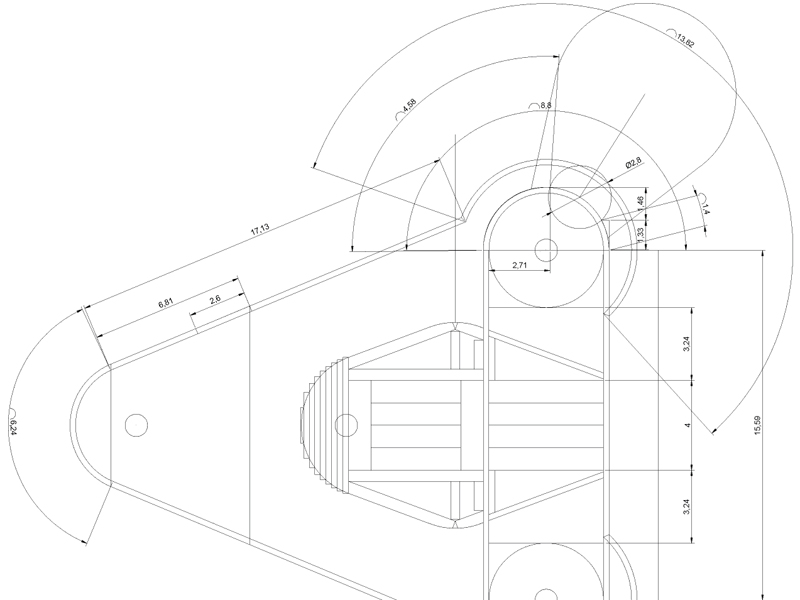
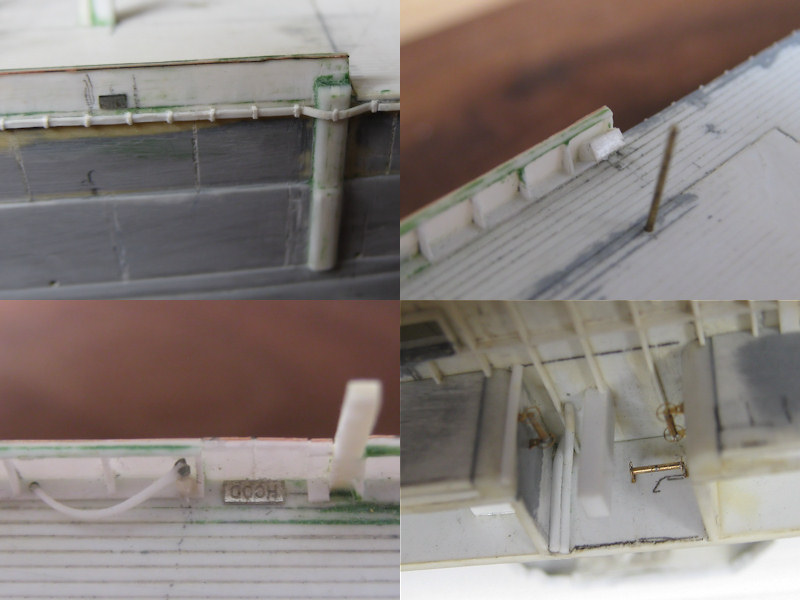
The old aft searchlight platform (ASP) was damaged during cleaning up for painting and needed to be replaced. I drew the part in CAD first. It’s both a building manual and a note combined. The old AOTS shows this platform in several views but the measurements do not agree with each other. So, the CAD file is my ‘new’ reference’ and I think I’m going to do this more often. I even drew in what styrene strips go where and assembly is then very fast. ish.
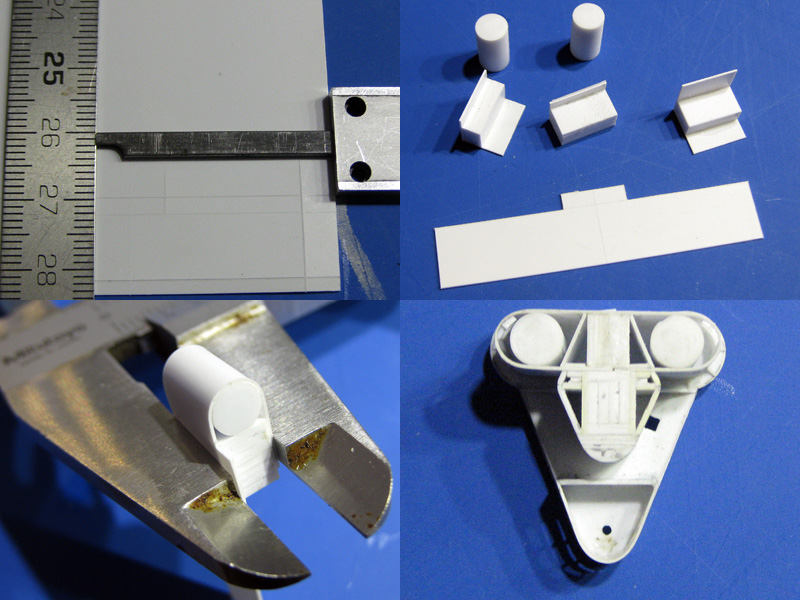
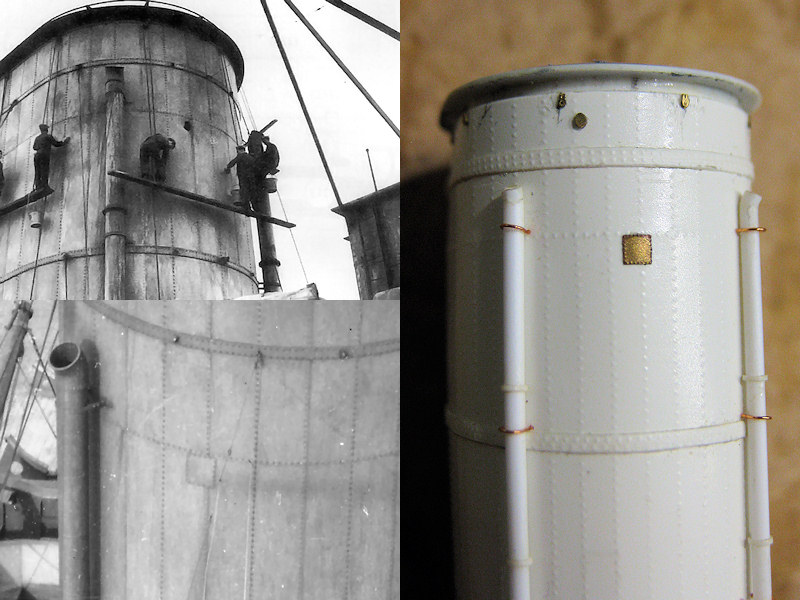
The lines were scribed in styrene using a steel ruler and the depth probe of the calipers. Very easy and very accurate. The two cylindrical parts of the top floor of the ASP do not have doors and as all pictures seem to indicate this area was open I decided to leave it open on the sides as well as on the aft bulkhead. However, cutting out doors and then folding the plastic won’t work, so I first folded the part around (lathed-to-size) rod, boiled the part for a while, and then cut out the door and added the slanted interior. Tricky but it worked.
The front bulkhead fits the top floor excellently. Caliper and CAD work give good results. The previous variant of the ASP had the bulkhead glue onto the deck, now it is glued against the deck. Can’t remember why I made this bad decision for the previous version, but it resulted in the part being tossed.

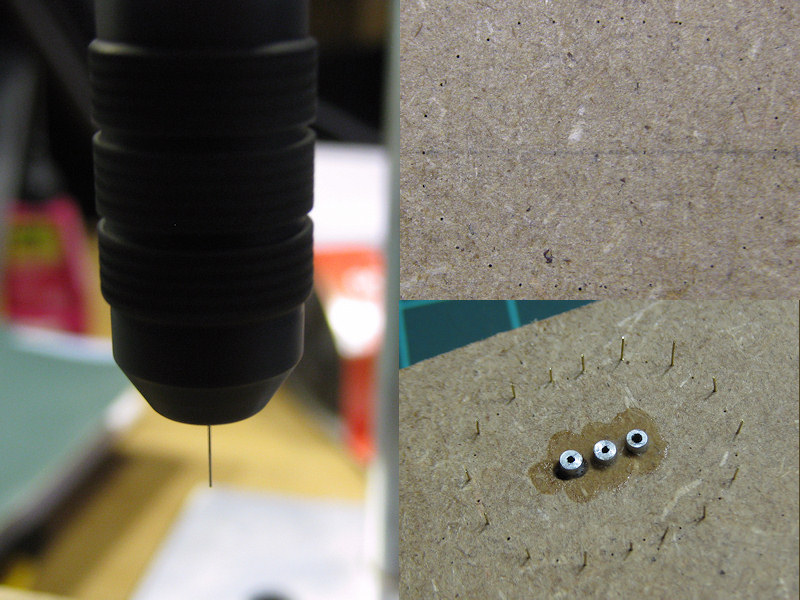
The old ASP had to be removed with subtle force from the deck part. A few positioning pins were added for easy fixing later.
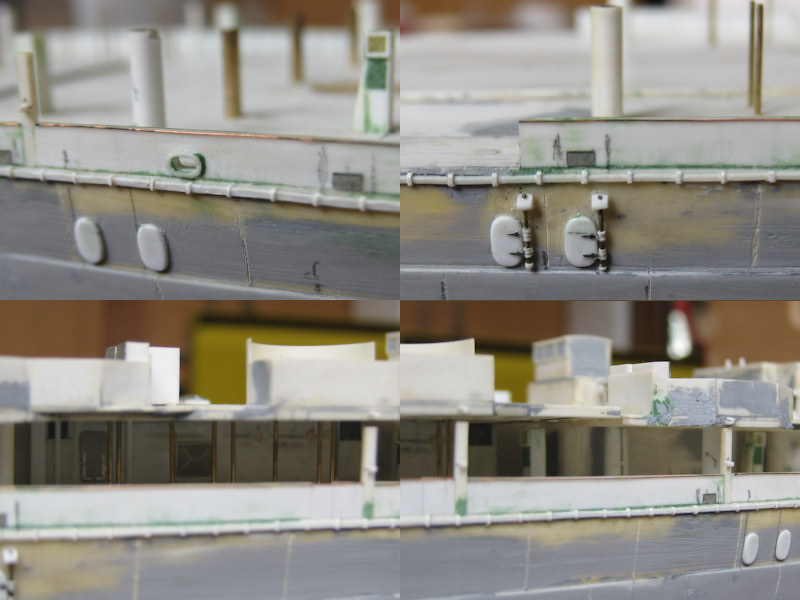
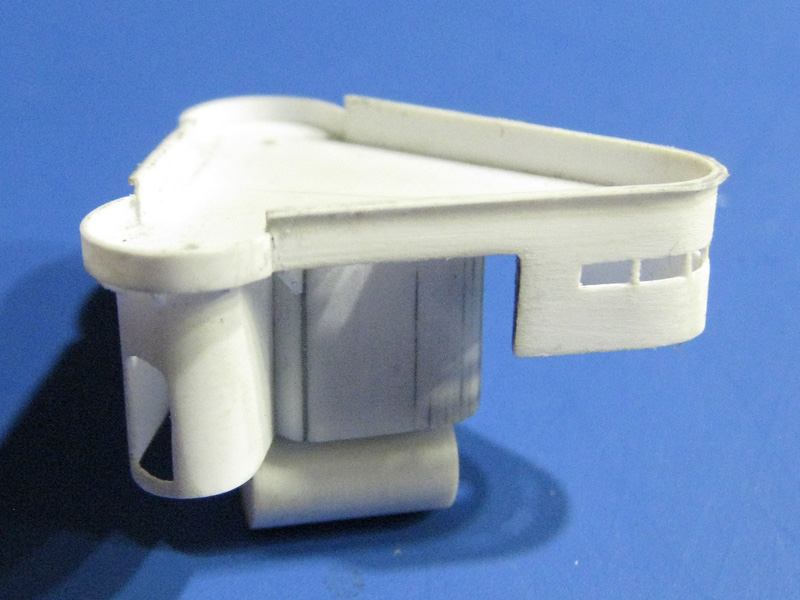
The rest of the part is now simple a matter of stacking. I started with a core of several layers, added the sides, and puttied everything smooth. At least the forward corners (well aft actually) of the ASP are now round as they should be.
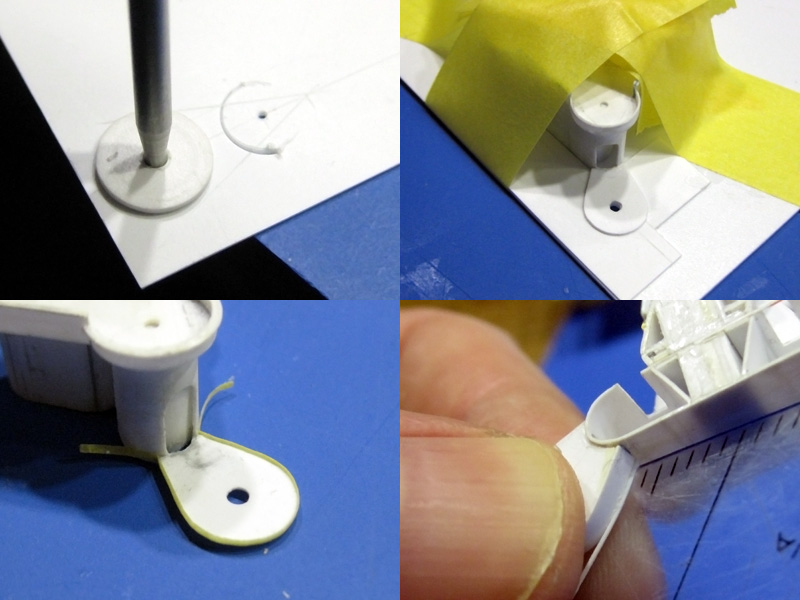
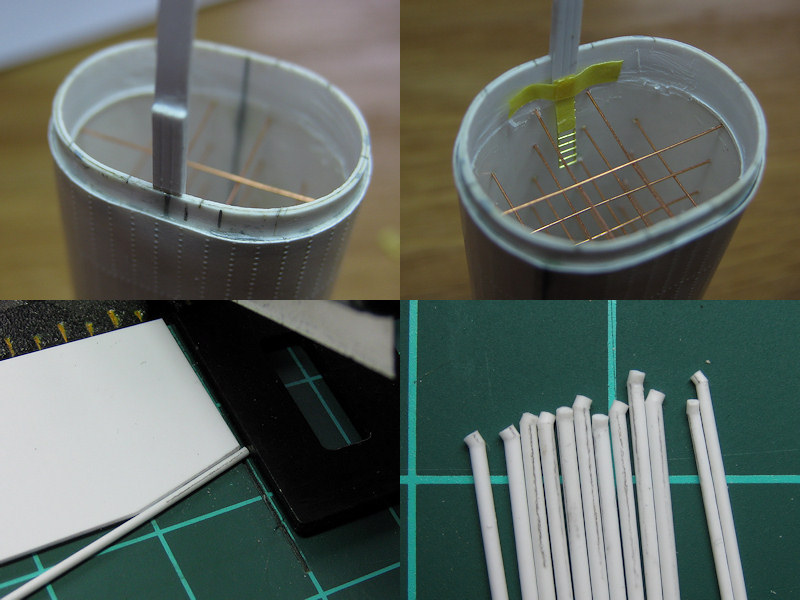
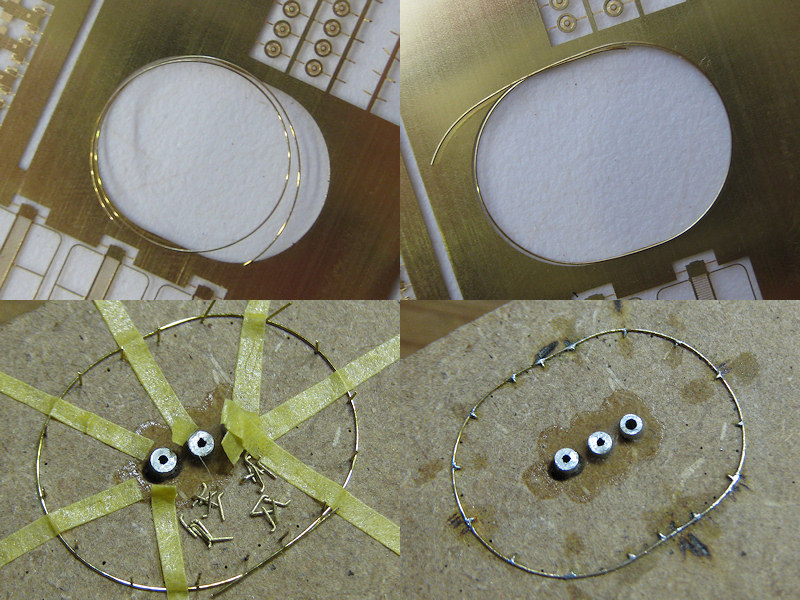
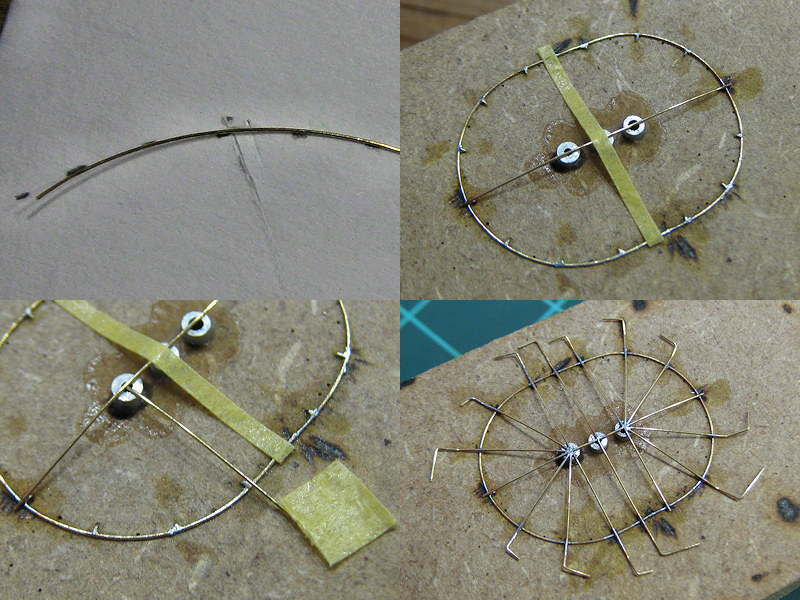
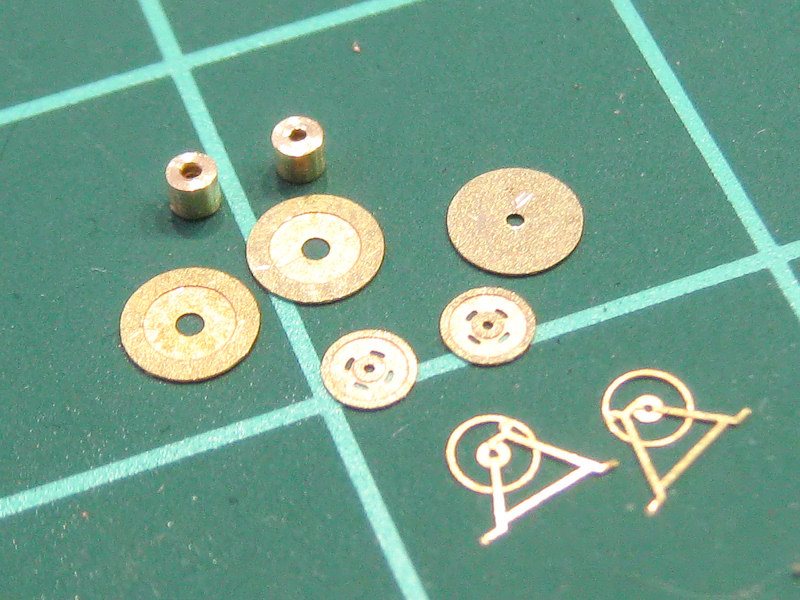
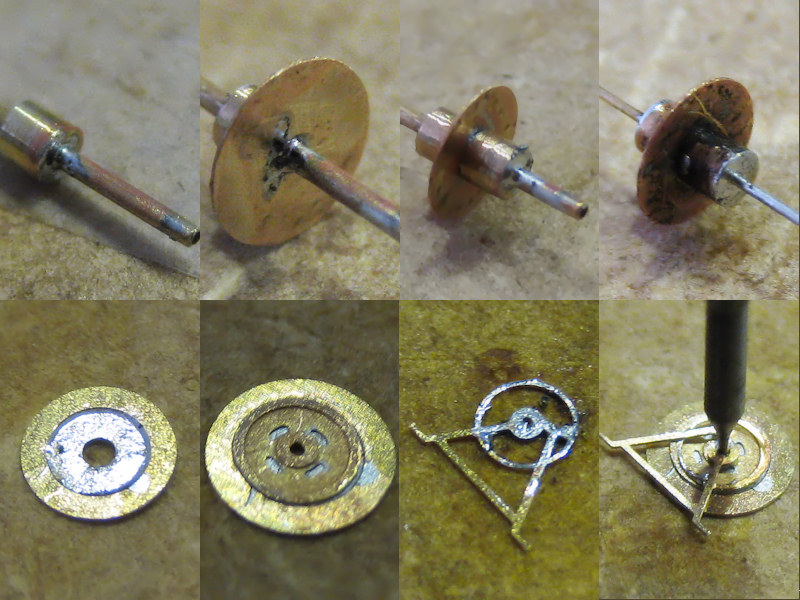
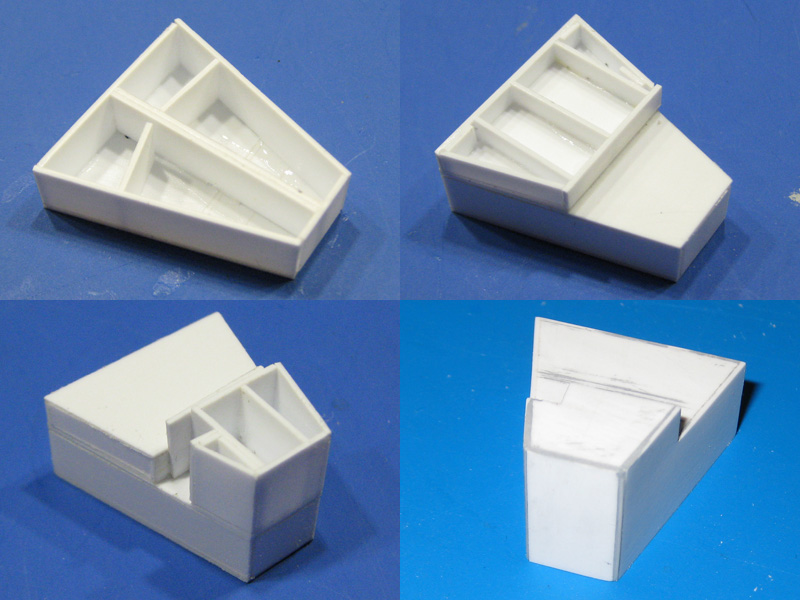
The wings for the two lower searchlights are very delicate. I never met a circle cutter I liked so when I need to carve a circle (or in this an arc) I make a disc on the lathe to be used as a template. The wings were added using a small template for both the right height and angle. I used some tape to get an ‘exact’ measurement and added the bulkhead cut to size and small strip later. Note that I add that strip on a flat surface; otherwise it will never look right.
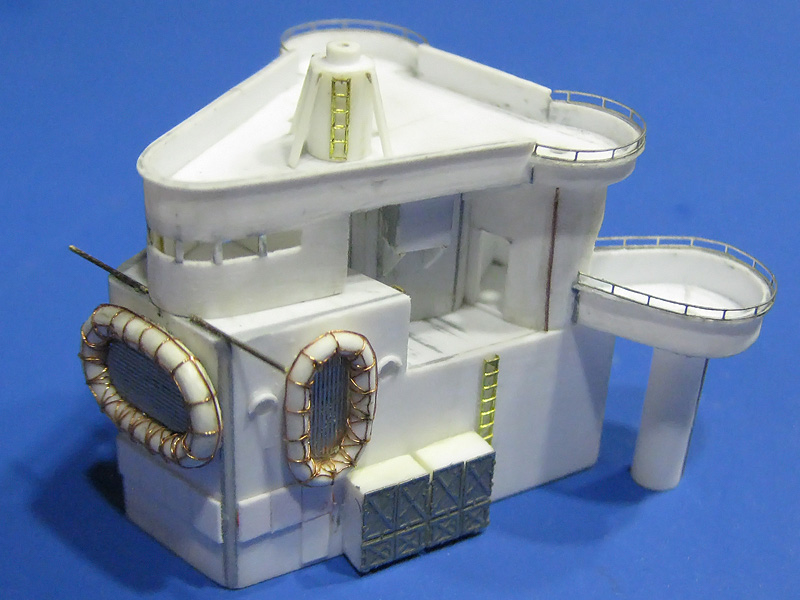
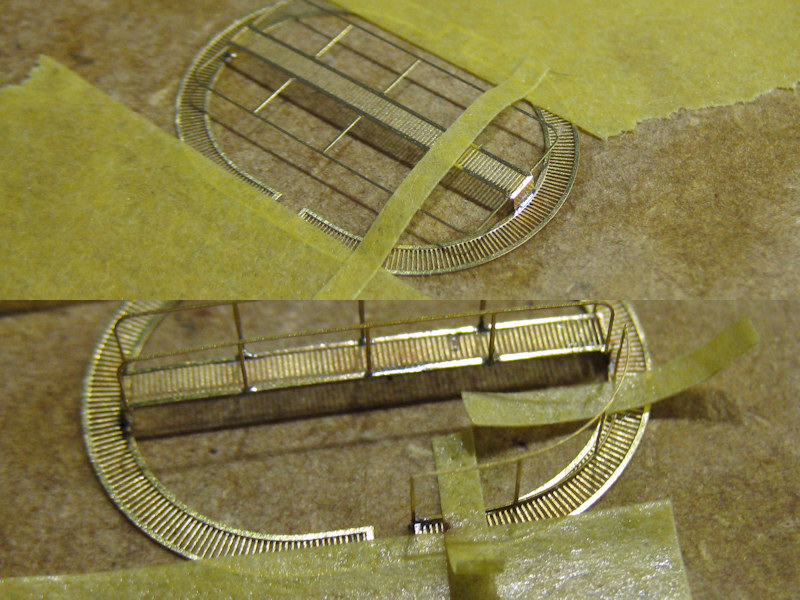
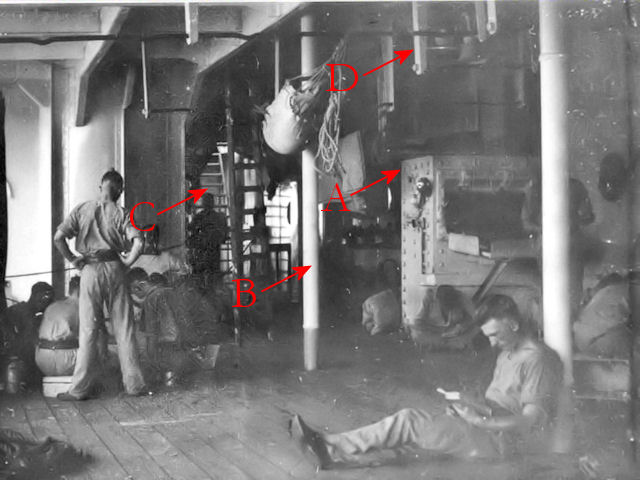
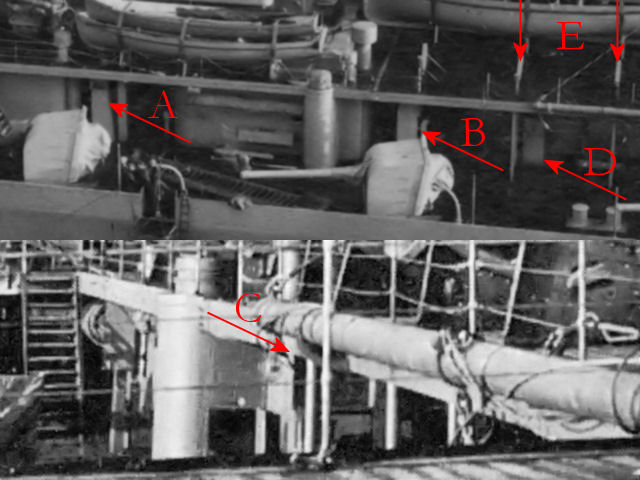
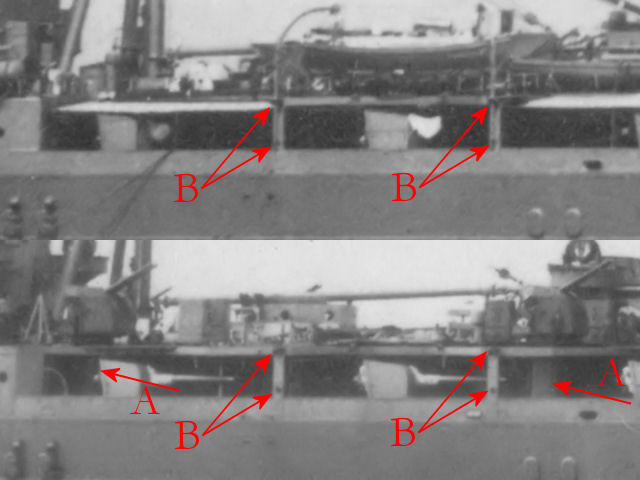
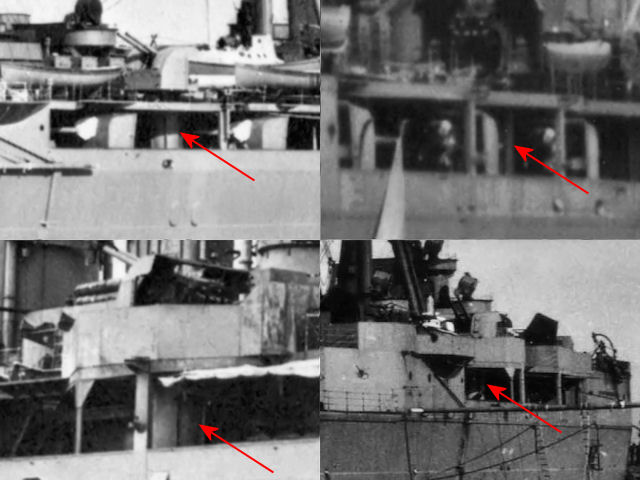
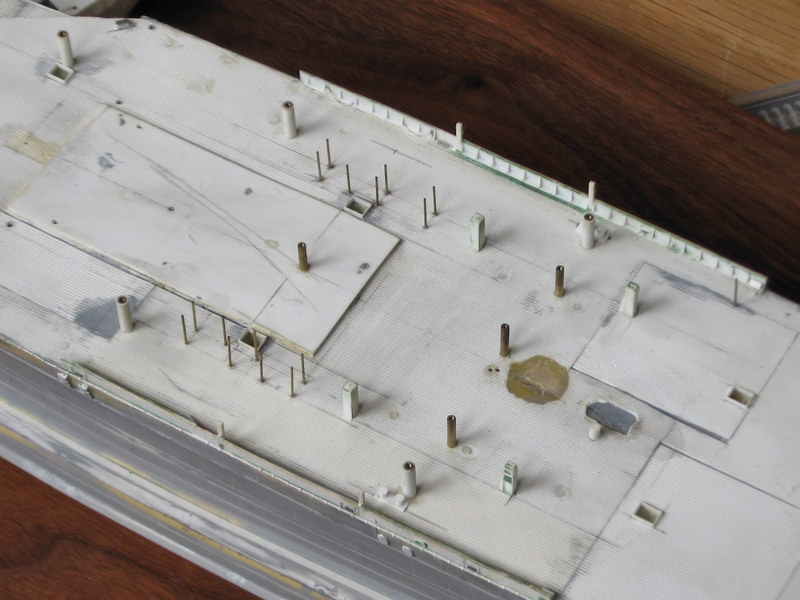
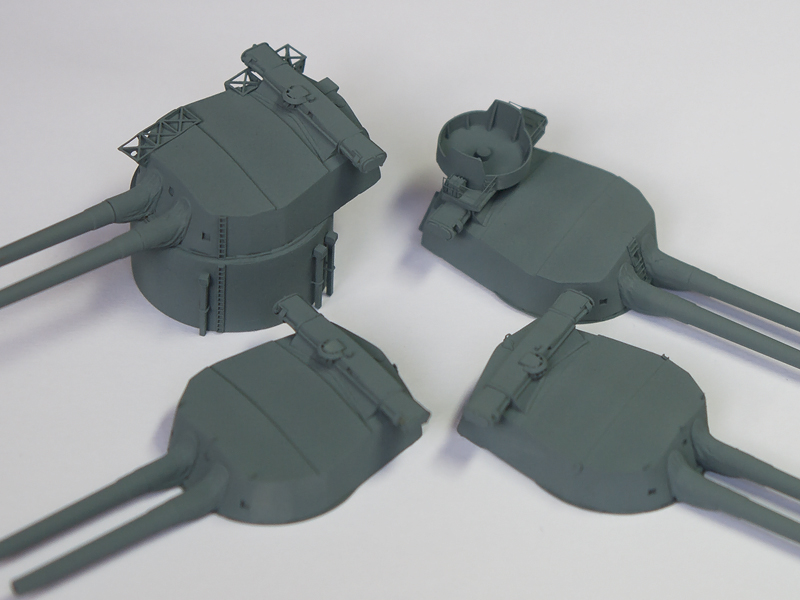
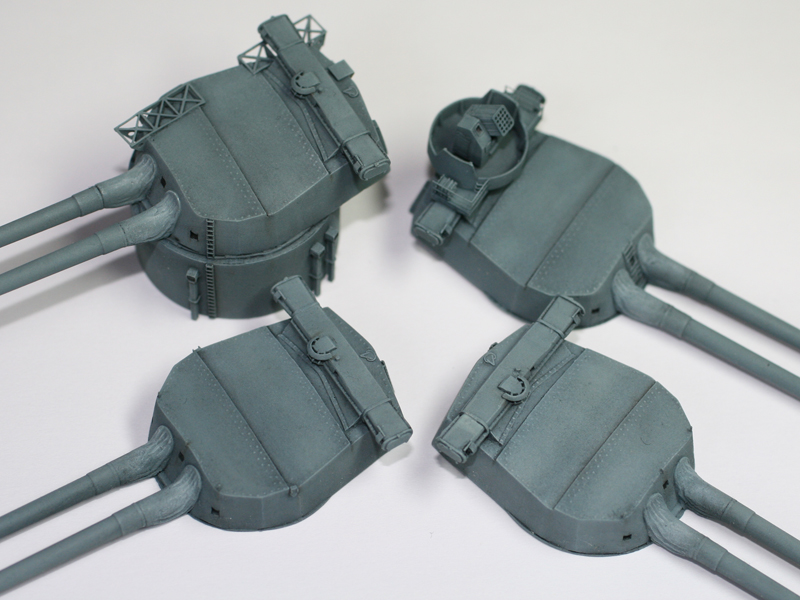
Existing detail was transferred; some railing, stairs, Carleys and ammo lockers. The structure consists of two parts for easy painting and is still very open.
TO BE UPDATED
The structure and searchlights are now painted. The fog light still needs to be assembled so no pics yet.