Page 27 of 27

Orion; production

I decided to make the speakers from American Walnut bought in the wood harbours of Amsterdam. It’s very expensive to have rough timber cut the panels of an exact size so I learned how to work with the overhand planer (surfacer) and the thicknesser (vandiktebank) at work. I made strips of 90 and 110 mm wide, glued them together and cut them to the correct thickness. I spent nearly three days in the woodworking workshop explaining the high price of custom-made panels admirably.

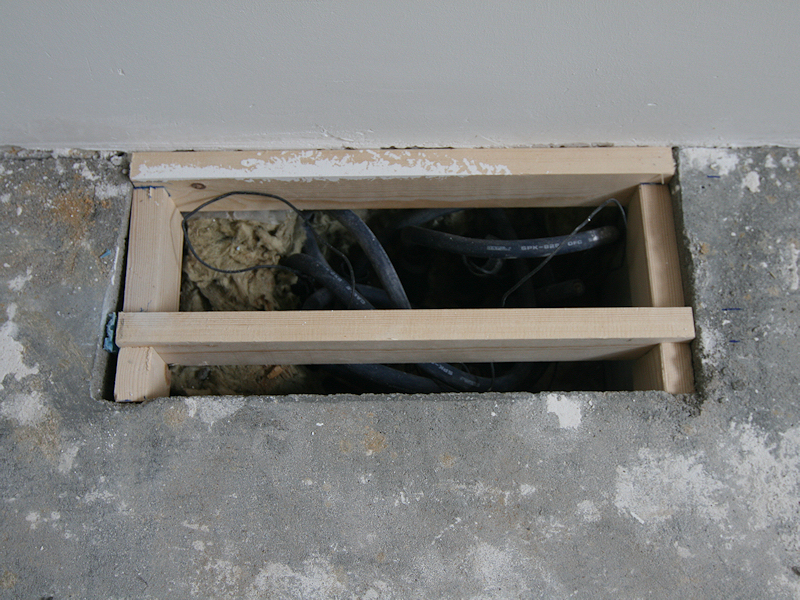
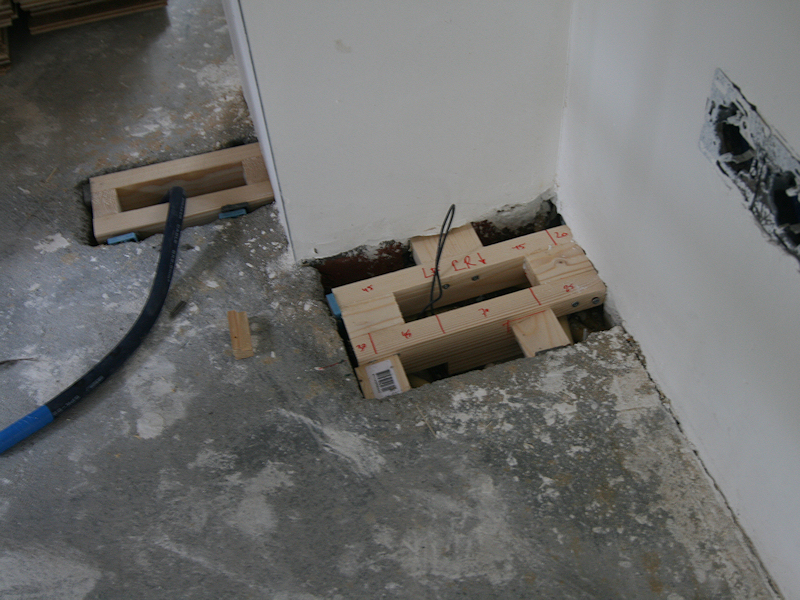
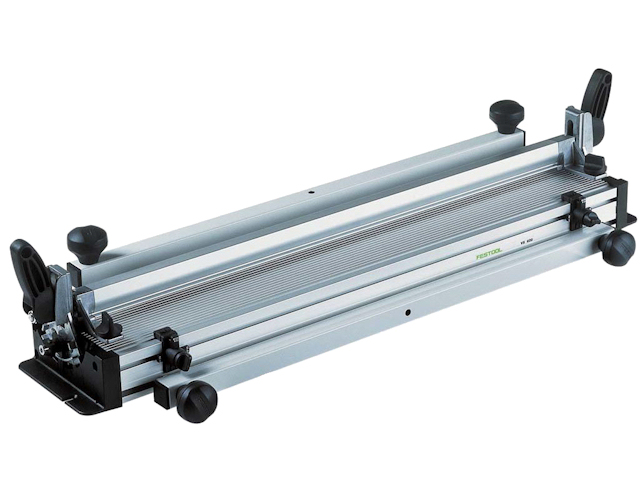
I had a few templates made by a CNC router from waterproof MDF, including templates for the floor hatches. The template at the far left is a bit smaller than the panel next to it; this was an error of the milling company but it worked just as well.

I do not have a nice workplace so I worked outside. I just clamp down a panel and start sawing and milling away with the router.

The panels weren’t sawed but milled to size with a template. Not overly accurate perhaps, but a good alternative to not having a decent table saw. Note the damage for this board that fortunately fell in a driver position. I’ll have to pay more attention when buying wood next time; this panel was too thin and couldn’t have possibly been suited for a decent panel.

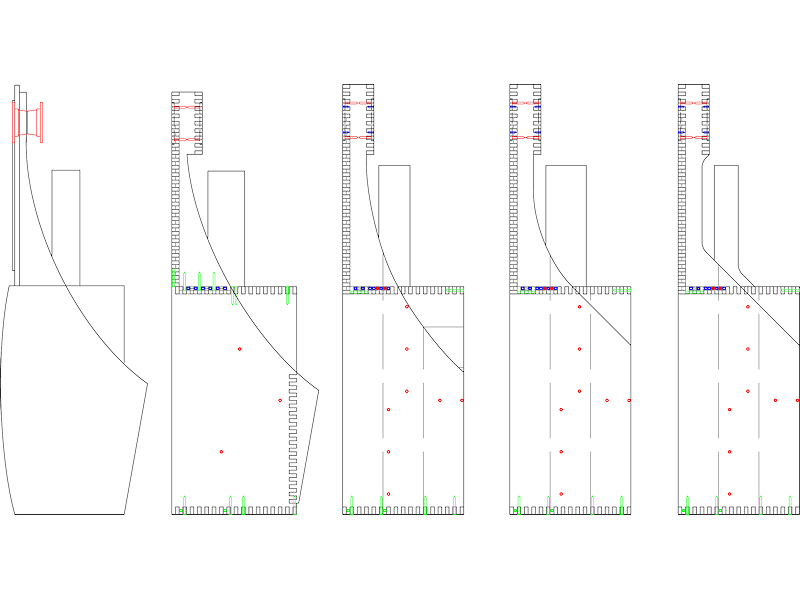
This is one of the smaller cover plates of the woofer cabinet with a channel for the wiring already in place. This channel should have been routed after producing the box joints and assembling the woofer cabinet; lots of the box joint ‘teeth’ broke off during handling and fitting. For the midrange baffle you have no choice, the channel cannot be routed afterwards.

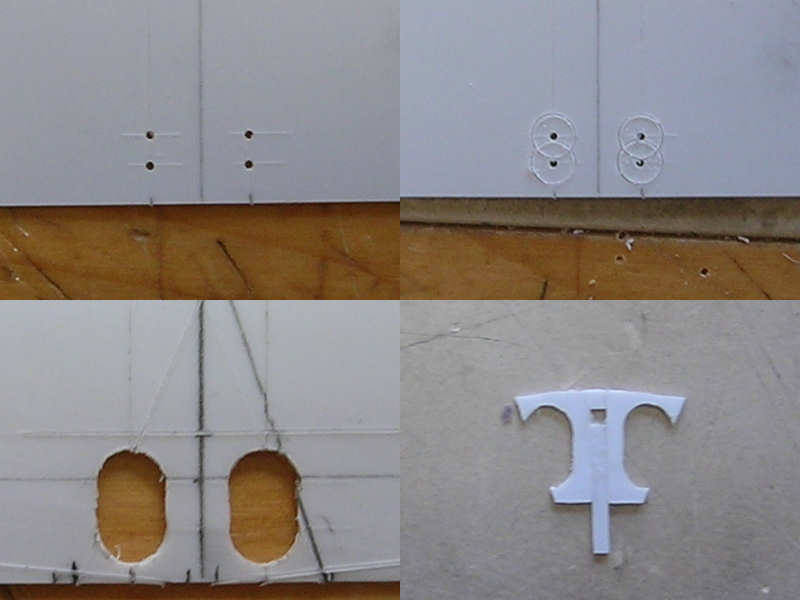
I also had to learn the hard way that when routing a circle that it’s best to use a jigsaw to remove most material and use the router to finish the circle off. If not, the disk being routed out of a panel separates from the panel and can bounce violently against the still routing router and panel. This destroyed one beautiful baffle. I also tried to route a wire channel through the side of this particular panel, leaving box joints 5mm thick and that didn’t work (1 panel ruined). I also changed the direction of the grain of the wood for the woofer cabinet cover plates (1 panel ruined). With all the practising, failed attempts and rejected panels I ruined enough wood for one additional Orion cabinet. Oh well, it’s a hobby.

The first parts were glued using a disproportionate amount of clamps. I used some random wooden strips to distribute the load and avoid the clamps damaging the speakers. Before you start gluing it is best that you keep filing away at the joints until the panels no longer require force to make a good dry fit. A proper dry fit will also ensure you’ll have the ingredients to quickly assemble the parts when gluing. I started differently and some of the joints, particularly for the front panel with the wire channel, bent a bit during assembly leaving an ugly pattern. I also learned too late that after the glue had dried (I wait for about three hours) you need to rinse the speaker and remove as much of the excess glue as possible (some say scrape excess glue, water may make the surface uneven). In any case, when you wait too long you can only sand the excess glue off and when the box joint isn’t flush you need to chisel it out between the recessed joints; not nice. Some of these beginner mistakes are still visible on the earlier-assembled parts.

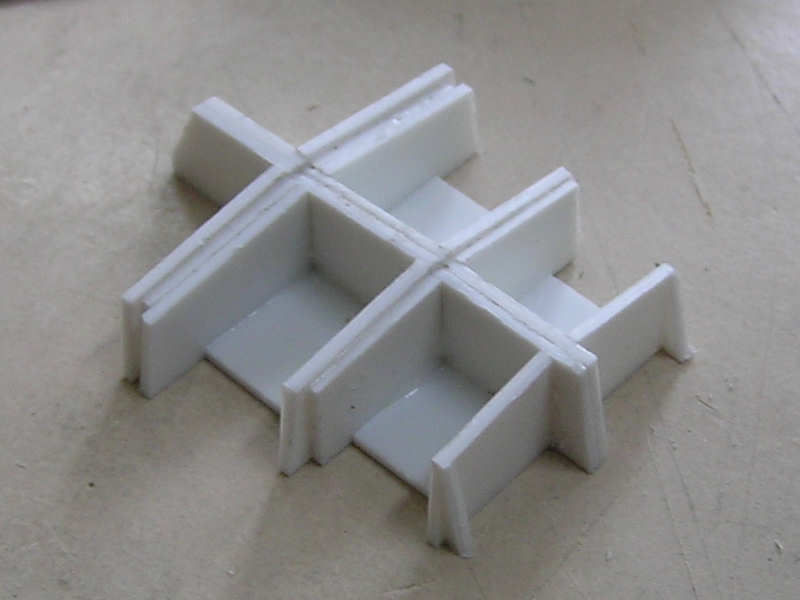
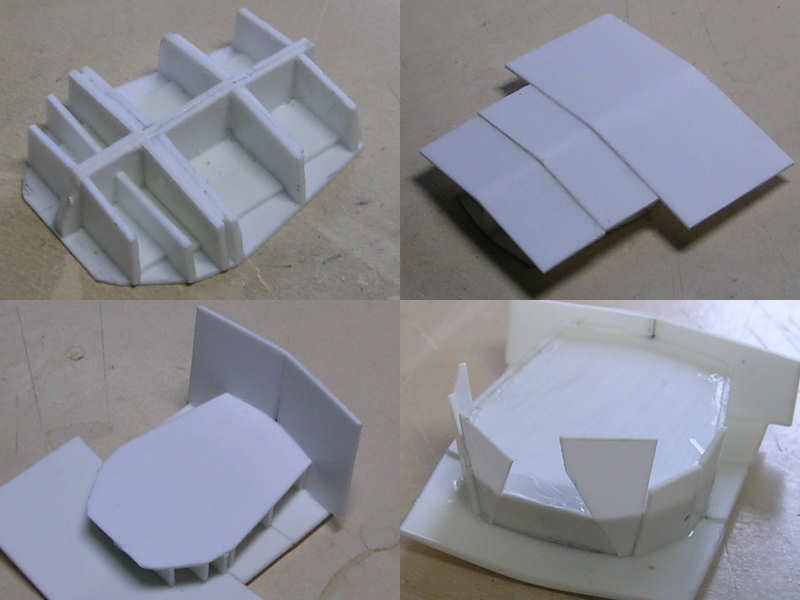
This is the support for the magnet mounting of the midrange driver. I used a rampa screw and M5 threaded wire to mount the driver, removing the screw that normally holds the midrange driver together. The wiring runs through the support and through the top plate of the woofer cabinet. I actually needed to practise drilling a hole that long. Drilling the final parts when I didn’t have enough panels left for a replacement was the most anxious moment of the build.

Here you can see the wiring of the tweeter and the midrange running behind a box joint; the row of box joints of the upper and lower side panel are only half as thickness of the panel. I carved a channel from the top plate of the woofer cabinet to the center panel.

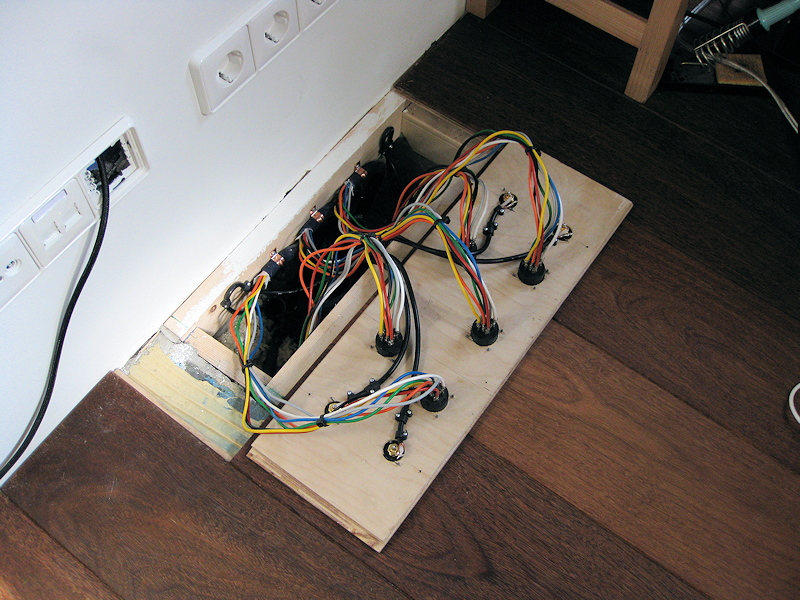
The two cables from the midrange baffle are joined by the two woofer cables. I later added the large recess to hold the cables in this folded position. Having a bit of extra length helped during assembly and should I have to resolder a connection I can at least remove the Speakon connector from the speaker. This was a very last-minute addition that was very convenient for the build.

A scary moment; the final panel is in place, covering up all the cables with no more room for repairs.

Here you can see the midrange driver without the phase plug. I started with the phase plug forcing the driver to its mounting but I later placed 15 washers and a hex nut. The phase plug is now screwed on with less force.

The cover of the midrange driver is still present. I cut out an opening and placed a few washers; the mounting is quite rigidly forced against its support. I hope the connection is strong enough or I’ll have to drill out the support and fix another nut & washer to the rear; now it’s a nice blind connection.

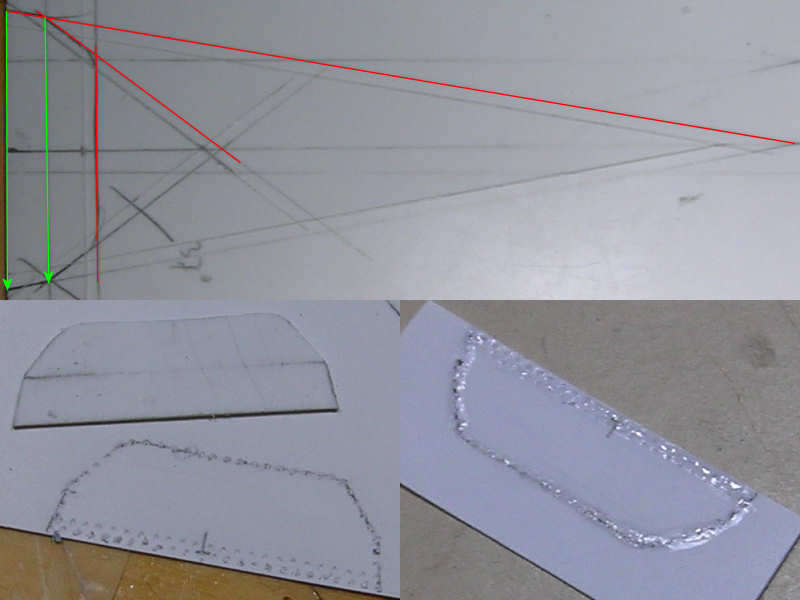
The Speakon connector fits in its own box-joint block. It’s a nice addition that was much easier to draw than to make!

Subproject complete!

NEXT

Introduction
The plan
Design changes
Signal processing
The listening room
Production
Listening

Orion; listening

As commanded by the Orion instruction manual, it’s better to start with the accompanying CD with test tones. Although the final wiring setup with three amplifiers should be a no brainer, my quick two-amplifier setup wasn’t connected properly and I had bass set up from maximum cancellation. Naturally, solving this problem helped the quality of the sound tremendously.

A second problem that was less easily solved was that first the left speaker, and unnervingly, later the right speaker, started to produce an annoying buzz. Using frequency sweeps from 20 to 200 Hz the resonance frequency was determined at 60-75 Hz with the buzz appearing to come from either the front panel or midrange support (It’s very difficult to try to find the source of the sound; it changes position as you walk around the speaker). At first I thought that I should have glued the midrange support to the woofer cabinet as that is the only part that is screwed and not glued. Some ad-hoc repair didn’t help. Perhaps the midrange was too close to the midrange baffle? Adding more spacer rings did appear to help, but now I could more clearly hear the midrange hitting the foam strips that should seal up the gap between driver and baffle. A better strip was added solving the problem I just created; I have to admit that using good strips is recommended in the manual. But the buzz remained. I finally traced the buzz coming from the top side panel hitting the top panel of the woofer cabinet; the fake row of box joints doesn’t allow for a good connection between those parts and wasn’t glued. Adding some glue and a few clamps for an hour or three solved the problem. This played out over a period of a few weeks.

When you hook up your new equipment, there is a crucial break-in period. Some people will literally spend days playing white noise to let the speaker get used to hearing itself. Of course, the break-in is completely between your ears. Although you know you have bought something worthwhile, or so you hope, you still listen for errors and shortcomings and worry that you might have made the wrong choice. With this project spread out over a few years and even being aware of this break-in period I still couldn’t listen entirely relaxed. This feeling dissipated over a while and I started to listen to the music and not the speaker. It took some time though, strangely coinciding with the time it took to solve the rare buzzing.

Now, I noticed that many people will write passionately about listening with their eyes closed, being very emotional and literally reaching out to ‘touch’ the performers as they appear to be right in front of them, even when they are just testing a new power chord (power chords are really important to people who sell power chords). For the Orions it is claimed that they nearly disappear acoustically as a source and this enveloping sound field is wonderful to listen to. That second part I can agree with more easily than the first as from time to time I find it quite apparent from what direction the sound is coming. Still, for many recordings the sound does appear to originate from a location right between the speakers and the ‘soundstage’ of the Orions is huge.

I had to get used to the Orions and unlearn appreciating my old speakers that do not really have any bass to speak off. I compensated by running most of the low-frequency content through a pair of very good subwoofers. Getting the balance right between speakers and subwoofers is something I really never managed to accomplish; always too much or too little, always missing a bit of the music. With the Orions this problem is fully solved and the subwoofers can go back to their menial business of playing movie effects. Although the subs are not really required for music, they do really add for some movies (but not the movies that matter). The bass kicks in around 30Hz; frequency sweeps do not really show a response between 20-30Hz. Is it the Orion or my tinkering with the woofer cabinet? But above 30Hz the bass is really nice and I had to convince myself that the subs were really not playing.

The sound of the tweeters is also much improved. Not really surprising as the costs of a single tweeter is about 60 times higher than for my old speaker. Really high and loud sounds such as a piccolo can now almost be enjoyed (I think piccolo’s are only used to wake up people who dozed off during a concert). Brass and wind is more lifelike. And so on. It’s not as if every CD you thought you knew sounds radically different; that only happens when you start listening to good speakers for the first time. But the Orions are much clearer; compared to my old speakers there is no deformation to speak of. The entire project has been very much worth it. Are they better than the better speakers? I do not know; I haven’t heard many. But, the sound of the Kef Reference is in a distant past and there it shall remain.

So, the sound of a pair of Orions is just as good as advertised to me and the detail of the sound is much better than my old speakers. However, compared to the 5.1 setup, a few things are not accomplished. Linkwitz reports on his website that he experimented with a center speaker and concluded it is not really required. It wasn’t even always clear if the center speaker was working with my old setup and it’s not surprising that a center is even less useful for the Orions. Indeed, I did not miss the center speaker at all when watching a movie by myself. However, the lack of a center becomes very apparent when sitting off-axis, even when moving only one hip to the side; the volume difference between the two speakers is enough to not convince you that the sound isn’t coming from the screen. My significant other agrees with the huge improvement in sound quality but more so on the absence of the center. Fortunately the television is mounted high enough that a center Orion will not block the line of sight.

Although the sound field of the Orions is very good, they do not give you any sound from the rear. This sound is missed when playing well-recorded multi-channel music or when watching movies. I’m not referring to those cheap rear-speaker sound effects or overreaching multi-channel recordings. The immersion in sounds of a 5.1 system is more complete than a stereo sound image, even for the Orions. Rear speakers have a low priority though; the costs for full-range rear Orions is a bit excessive.

So what is next? I want to upgrade the Orions to the latest versions. This means replacing the woofers and upgrading the filter. Then, perhaps, I’ll order some more walnut and start producing more cabinets. They take long to build so I should be able to save up to outfit a few in the coming years. The cabinets cost about €100 in wood each and a lot of spare time; most of the other costs have been made; amplifiers and filters are already present, tools lie on a shelf. As there is no need to buy drivers before a cabinet is finished I could hobby on for a while before committing myself to actually buying new drivers. I’ve been even entertaining the thought of replacing the current cabinets with new versions that do not have the shortcomings you can only see when you are standing really close to them. You know, that debilitating trait called perfectionism. But for now, I decided I will do nothing except enjoying my latest completed project!

Do you want to build your own pair of Orions? Visit the Linkwitzs Labs Website.

Introduction
The plan
Design changes
Signal processing
The listening room
Production
Listening

Orion; signal processing

The Analogue Signal Processing filter (ASP) of the Orions is a separate Printed Circuit Board (PCB). As the signal is not yet amplified and doesn’t at all depend on the amplifier/filter/driver/speaker interaction, you can build and test the filter separately. A PCB can be ordered directly from Linkwitz, but I thought it would be nice to make it myself so that I could fit all five in one casing. I hadn’t designed a PCB before but with the help from our electrical engineer at work I managed. I used the PCB design program Eagle to first draw the circuit and then place the parts on the circuit board. Eagle can add the routes between parts automatically, but I wanted to do that myself as well. As an extra cumbersome challenge, I wanted to have all routes on one side only. I suppose this added to the general idea of solving an intriguing puzzle. With the electric scheme that came with the plan set it was little more than connect the dots and paint by numbers to make the PCB work.

This is the signal route side with the locations of all the parts. This is really a complicated design especially compared to my old speakers that have only two filter components total (the midrange driver isn’t even filtered). The theory behind the filtering is all explained in wonderful detail on the Orion Website with a nice decomposition of all the ingredients and their complex (i.e., not real) gain and phase transfer functions. I designed this PCB with all parts fairly close together. I started by ordering a single test board that was error-free and sent my order for 5 revised boards priced to Eurocircuits; they sent me six.

Here are the boards fully loaded. As I ordered enough parts for the 6 boards and one test board, I decided to load them all should one fail completely. I found soldering all the parts in place quite calming.

I tested all the boards and they all worked fine; I had a bit of stray solder short-circuiting one board (nasty burn) but that was quickly solved. These are measurements of all boards showing the transfer functions of the gain for the three frequency ranges and this is what they are supposed to look like. They are nearly the same, quite surprising given the few percent of uncertainty in the value of capacitance and resistance of all components. The current boards are Orion version 3.2; the Orion and its ASP received a few updates over the years that are not yet implemented.

The boards were placed in the casing of an old Rotel amplifier; the height of the amplifier actually determined the maximum width of the PCBs and precluded the use of the standard PCB (the reason I made my own PCBs). I first asked the Rotel importer if I could have a Rotel casing, but they scorned at this indecent proposal. So I watched the second-hand market until I found a defective amp that was disembowelled. The rear panel of the amp was replaced by a sheet of brass hammered into shape and supplied with a very large collection of holes, plugs, sockets and connectors. The colors indicate the channel (ring) and the driver (red/blue/green for bass/midrange/tweeter).

Note that there are five large connects top-right by Speakon; these can be fitted to a speaker cable with 8 cores. I choose to have the pre-amplified signals run to all amplifiers, collect all the amplified signals back to the filter cabinet and move them internally to the Speakon connectors for an easy connection. This way the ASP cabinet and three amplifiers form one block with only five preamp signals and five Speakon connectors to disconnect when moving the gear. The complicated business of sorting out how to hook up the speakers is now simplified making the filter casing a ‘black box’.

A view of the inside of the filter with the power supply bottom right, the signal cables to and fro the filters top left and the amplifier cabling bottom left. After all the connectors and plugs and sockets were placed, the rear panel sprayed black, and the soldering completed—taking well over two days—I ran another test of the signal boards. It took some time to work out how to measure the ASP performance with a program called ARTA (meanwhile this is a few years later after finishing the filters) but after the right settings in Windows were found all the characteristics returned nicely. More than fifty cables running on the outside of the filter were made.

Sub project complete!

NEXT

Introduction
The plan
Design changes
Signal processing
The listening room
Production
Listening

Orion; the plan

The construction of the Orions can be quite easy if you buy all the components and parts but you can also choose to buy the plan set only and do the rest yourself. This is one of the many appealing characteristics of the Orion but the drivers of the loudspeakers are very expensive. We were planning to expand our living room so I knew I had some time which ended up being over four years. As I wasn’t in a particular hurry I decided to do everything myself. This included designing my own circuitry and making my own cabinet from self-made panels. The trouble was that I had no experience in either electronics or woodworking so I knew I was in for a learning curve than might become uncomfortably steep! I decided not to be held up by these distracting facts.

Fortunately, the Orion is an active speaker. This means that the amplified signal from your receiver is not sent to your speaker to be distributed by a filter in the speaker for the low, mid, and high-range drivers; the signal is first split into one frequency range for each driver, amplified separately for each driver, and only then sent to the speaker with one speaker cable per driver. You could see the subwoofer as an active speaker as they nearly always have their own amplifier, but that is merely a self-powered speaker; there is not frequency filtering going on (a low-pass filters perhaps). Articles on the advantages of active verses passive systems can be found on the net and I’m not qualified enough to start lecturing. A clear disadvantage of active speakers is the cost of the amplification.

An active system needs to first filter the signal between that part of the receiver that processes your signal and the horde of amplifiers. There isn’t a single piece of equipment that can do that, so you need three; the incoming signal is handled by the so-called pre-processor, you then use the filter and the amplification is performed by separate amplifiers. Most audio systems have the filtering in the speaker; the pre-processor and amplifier are joined into a single receiver, or two ‘separates’, when you have two pieces of equipment performing the same function. Audiophiles will argue that such a system of ‘separates’ is superior to a receiver, but if you put separates into a new single casing nobody will know, right? Most receivers can work as a pre-processor, having the pre-amp out connectors for low-voltage signals to be amplified later, but then you won’t be using the amplifiers in the receiver which is wasteful. A dedicated pre-processor, without amplifiers, is typically twice as expensive as a receiver or more. This is probably due to the cost of leaving out the amplifiers. Then you need to amplify four channels per speaker; normally you need only one.

Separate amplifiers can be bought everywhere but I wanted to be prepared for a 5-speaker setup, meaning 20 channels and that is an absurd number for normal home systems. Fortunately I was able to buy a stash of Rotel RSP-1077 amplifiers, fitted with 7 channels of 100 Watts each, more than enough for the Orions. Next to being very small, they are also very efficient. These Rotels use the Bang & Olufsen ICE amplifier modules that B&O use for their own active speaker. I now have 21 channels, leaving one channel unused, using the space of a some stereo amps. I don’t really need to have 100 Watts standing by for each channel except for the bass drivers, but there aren’t many multi-channel amplifiers with lower power outputs.

NEXT

Introduction
The plan
Design changes
Signal processing
The listening room
Production
Listening

Copyright © 2024 On The Slipway

Theme by Anders NorenUp ↑